
Gexpress Is a Startup Dedicated to You. Shop With Confidence—Refunds Are Easy Through !

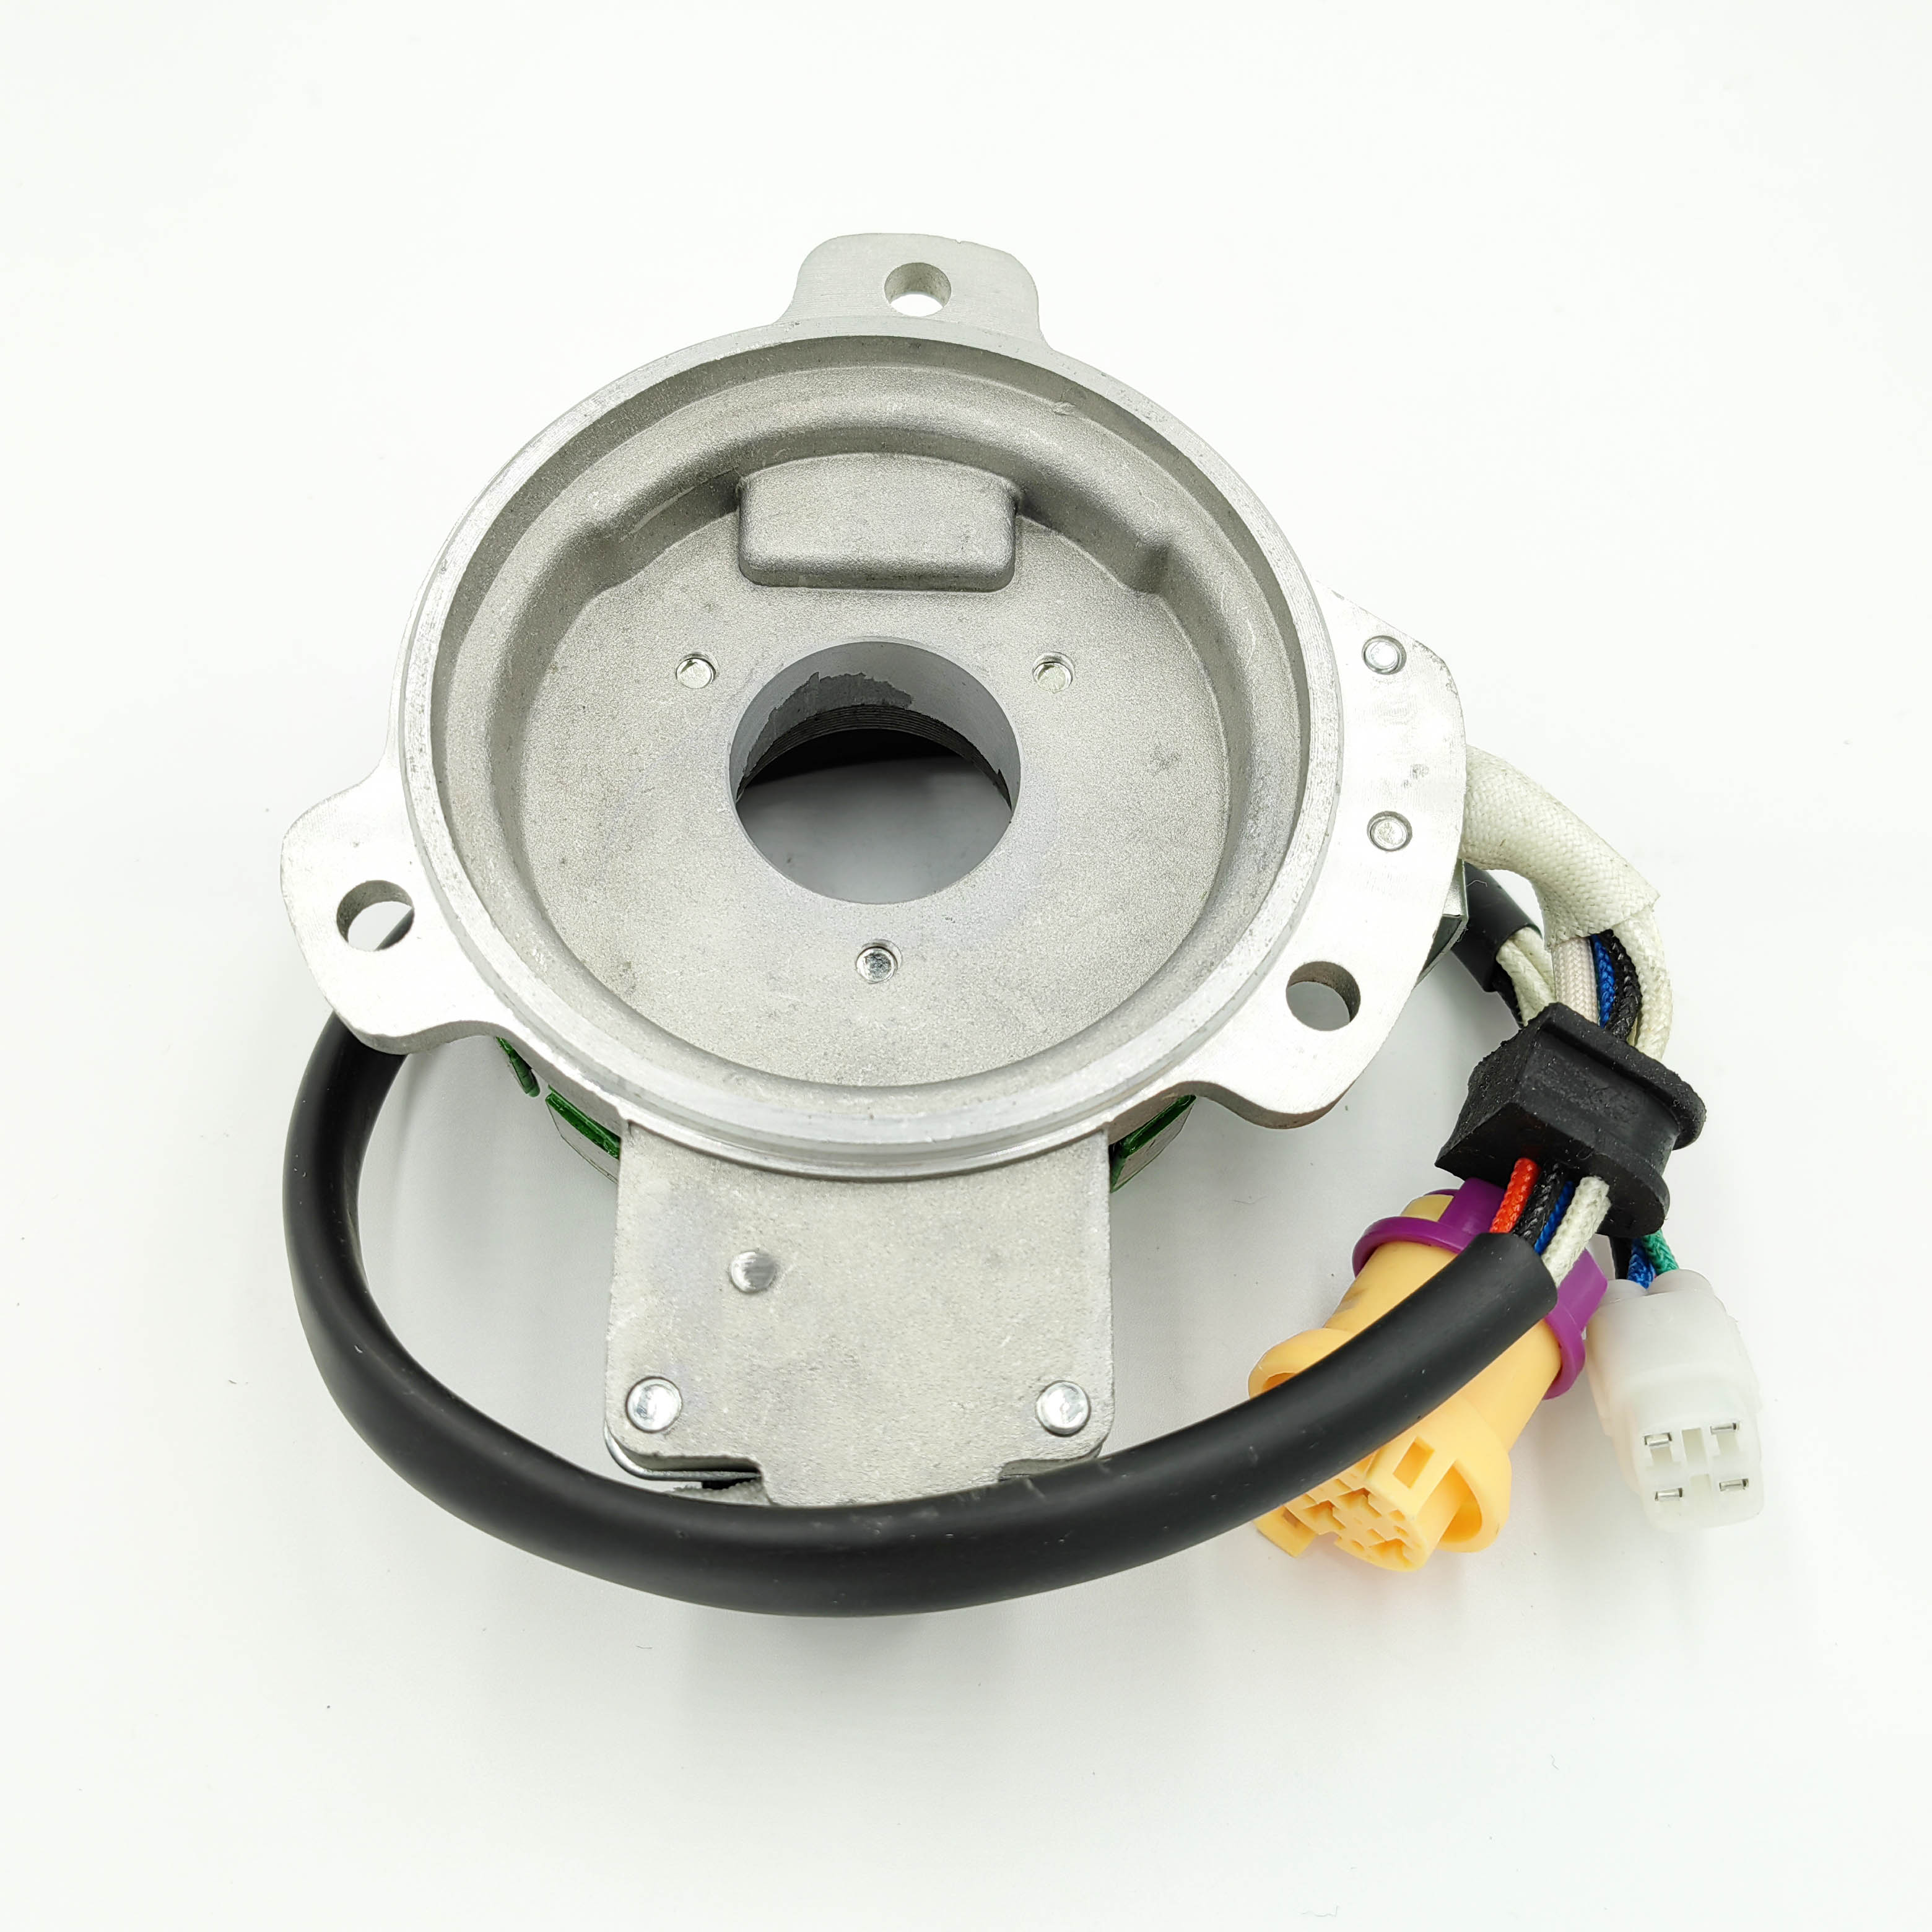
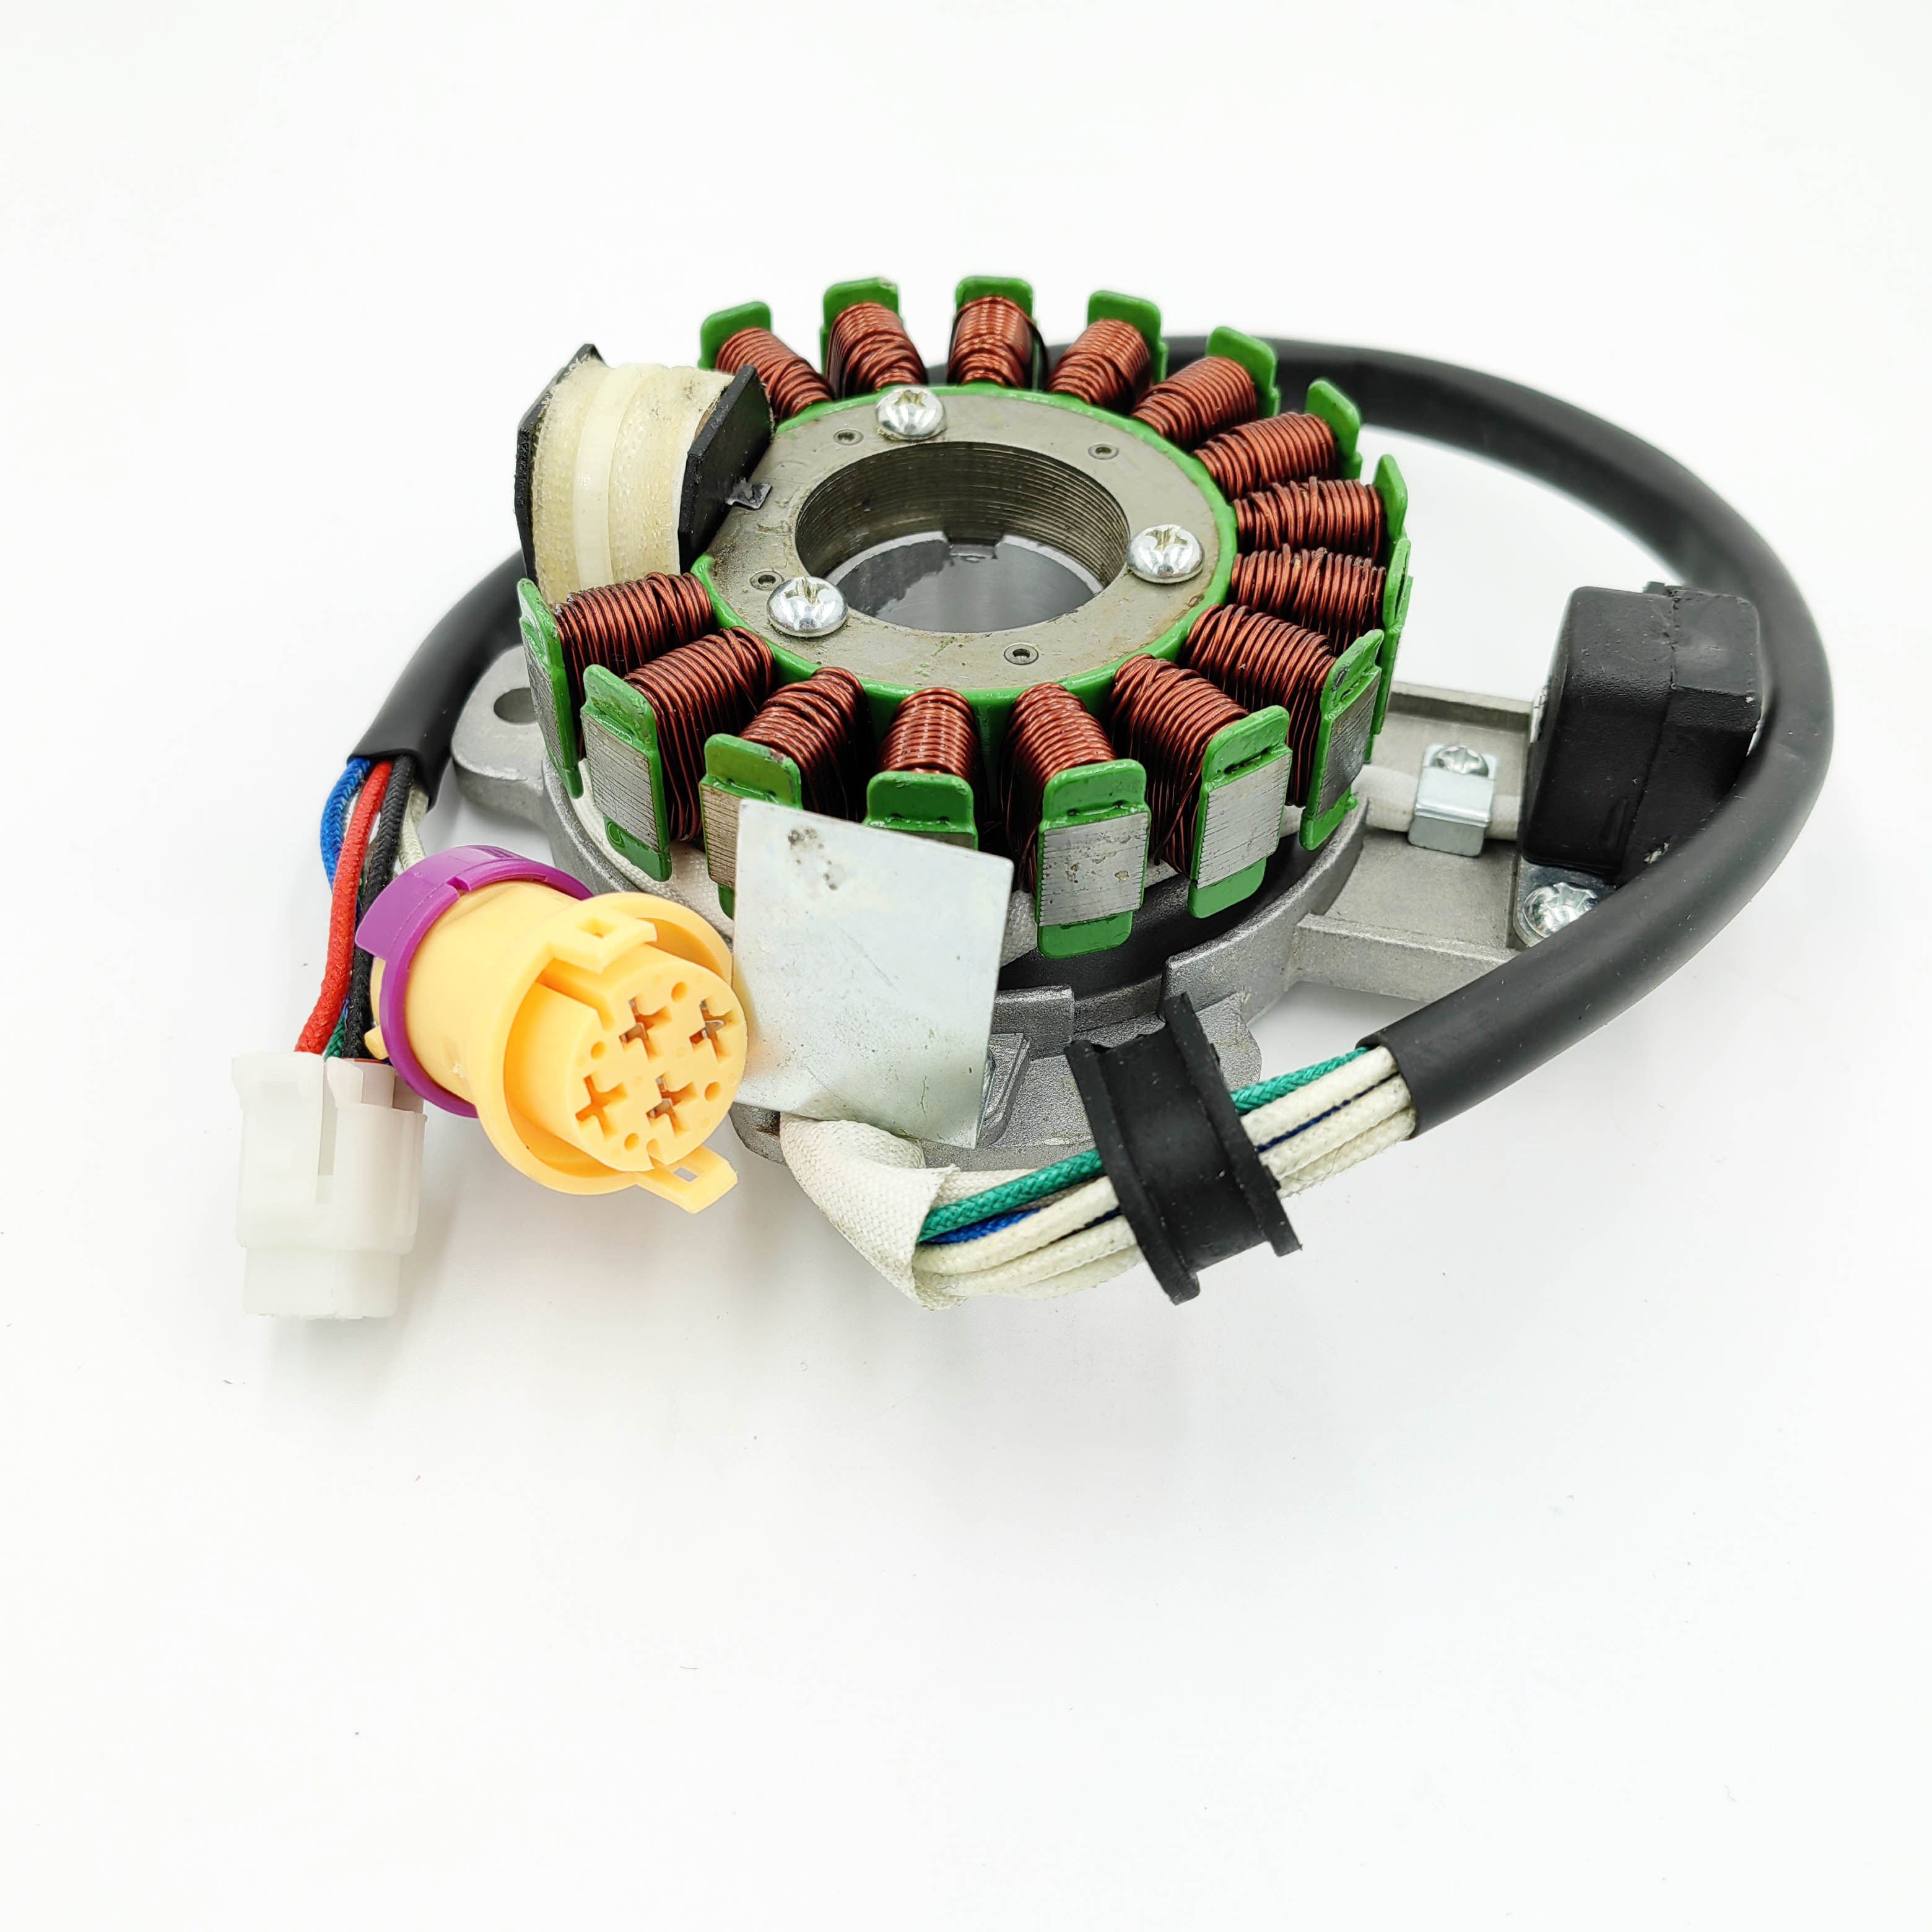
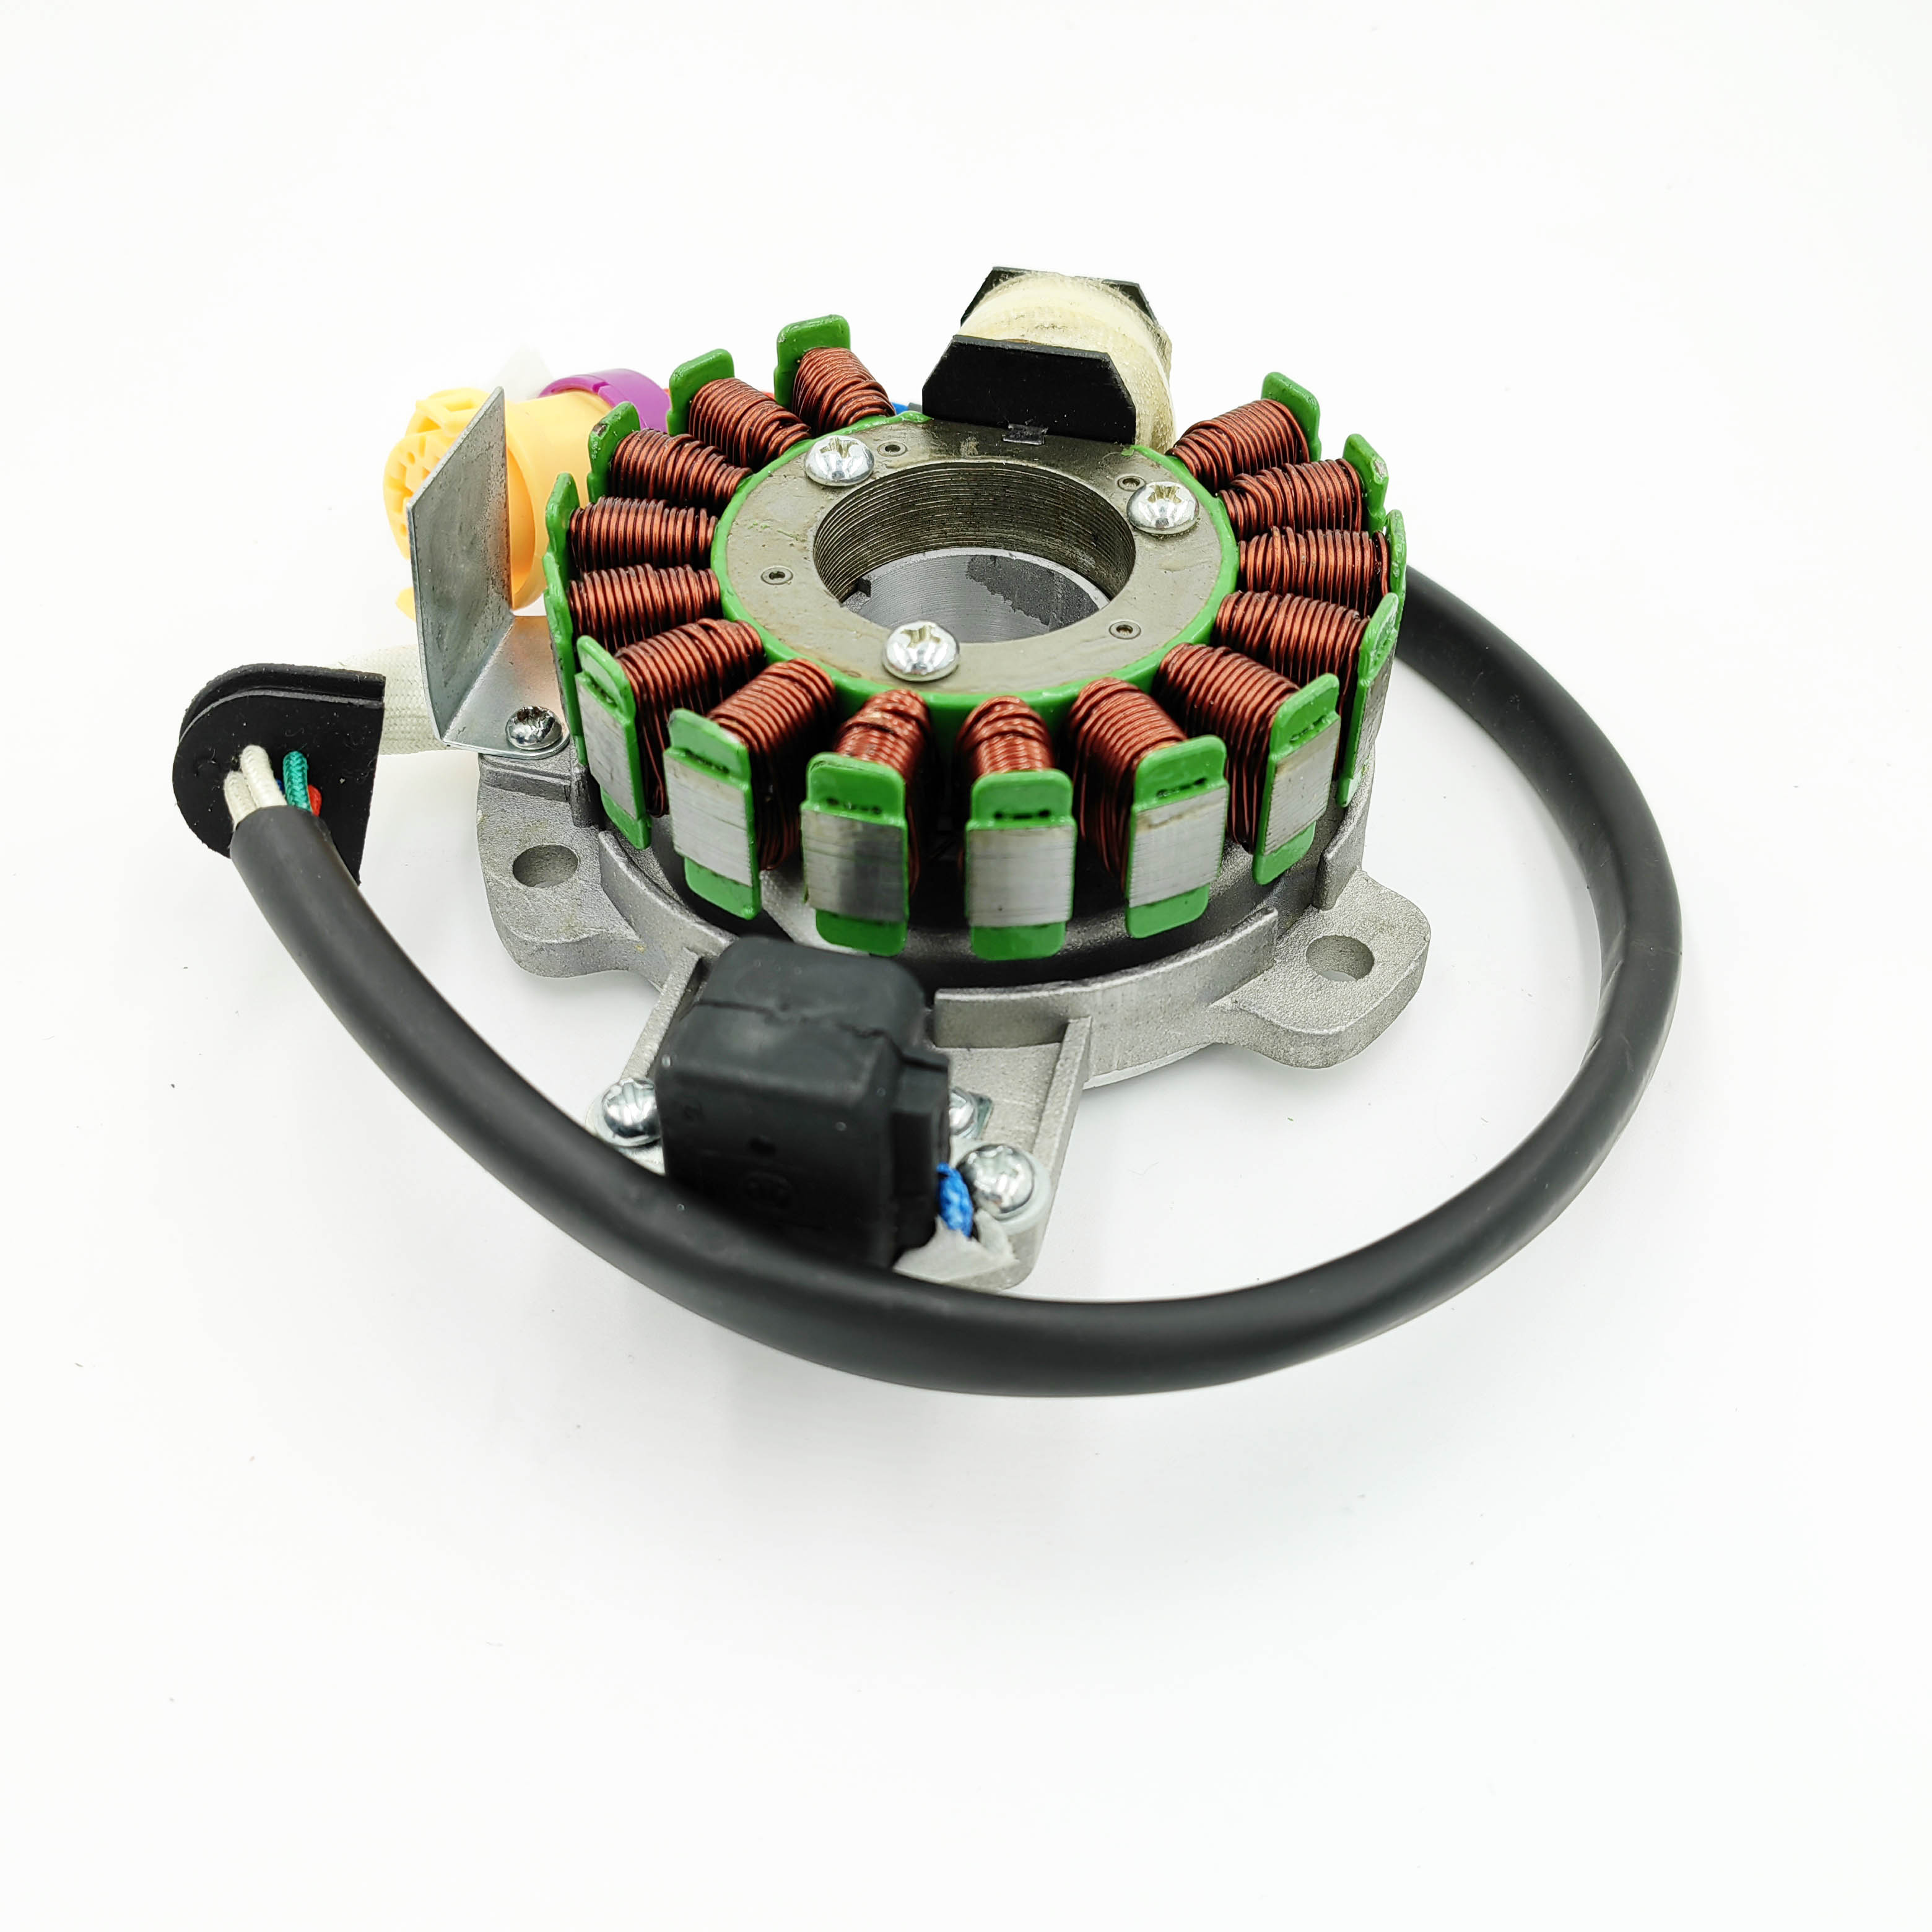
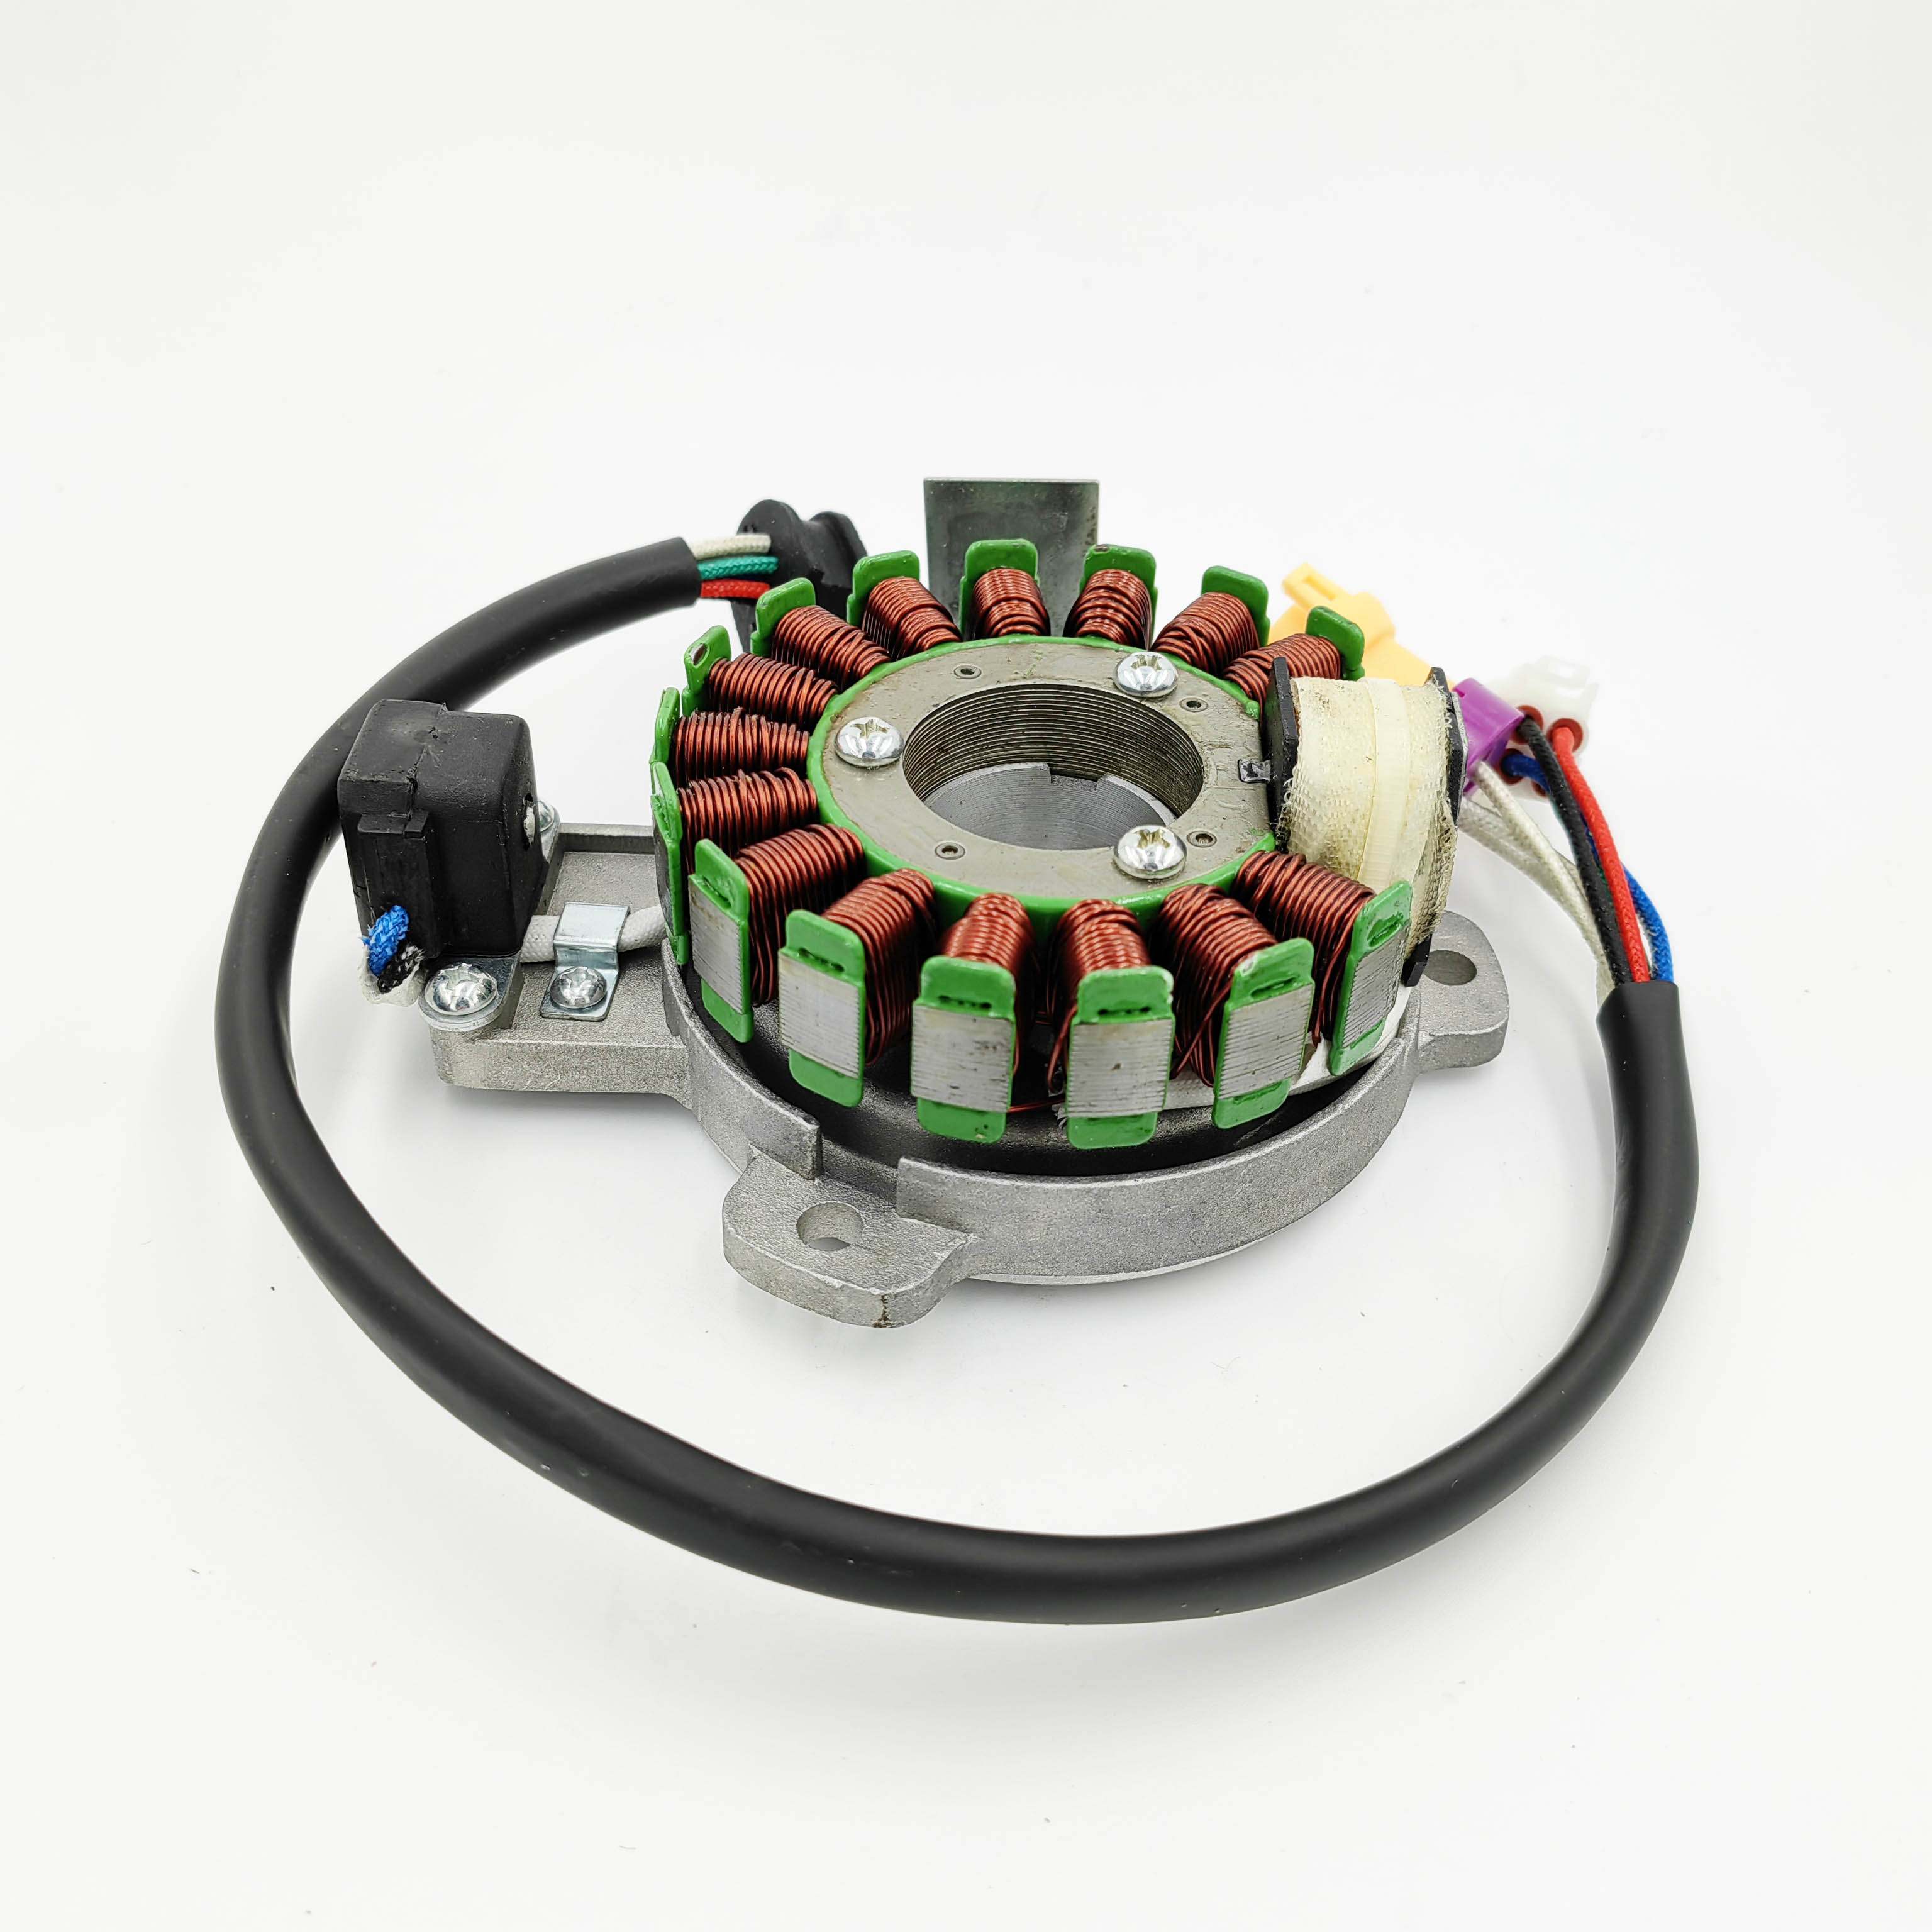
Product Installation Instructions for 12V 16 Poles Engine Magneto Coil for 250CC ATV
Tools Required:
- Wrench Set: For removing and tightening bolts.
- Screwdriver Set: Flat-head and Phillips-head screwdrivers for various screws.
- Pliers: For handling clips and wire connections.
- Torque Wrench: To ensure bolts are tightened to the specified torque settings.
- Wire Strippers: For any necessary wire adjustments.
- Electrical Tape: For any wire insulation needs.
- Socket Set: To easily access tight areas.
- Safety Goggles: To protect your eyes during installation.
- Gloves: To protect your hands while handling components.
Installation Steps:
-
Preparation: Ensure the ATV is parked on a flat surface and secured with wheel chocks. Disconnect the battery to avoid any electrical hazards.
-
Access the Stator: Remove any covers or panels obstructing access to the stator. This usually involves unscrewing bolts and unclipping panels.
-
Remove Old Coil: Locate the existing stator coil. Disconnect the wires and unbolt the old coil from the engine. Carefully remove it from the housing.
-
Install New Coil: Position the new 12V 16 poles engine magneto coil in place. Fasten it securely with the provided bolts, ensuring not to overtighten.
-
Reconnect Wires: Connect the wires from the new coil to the ATV's electrical system, ensuring correct color matching and secure connections.
-
Test Connections: Use a multimeter to check continuity and ensure all connections are correct and functioning.
-
Reassemble Covers: Once everything is connected, replace any covers or panels you removed earlier and secure them with the appropriate screws.
-
Reconnect Battery: Reconnect the battery terminals, starting with the positive cable followed by the negative.
-
Final Check: Before starting the engine, double-check all connections and ensure everything is securely in place.
-
Start the ATV: Turn on the ignition and check the performance of your ATV. Make sure everything is running smoothly without any issues.
Safety Note: Always follow safety precautions and consult the ATV's manual for specific details related to your model. If uncertain, consider seeking assistance from a professional mechanic.

