Gexpress Is a Startup Dedicated to You. Shop With Confidence—Refunds Are Easy Through !


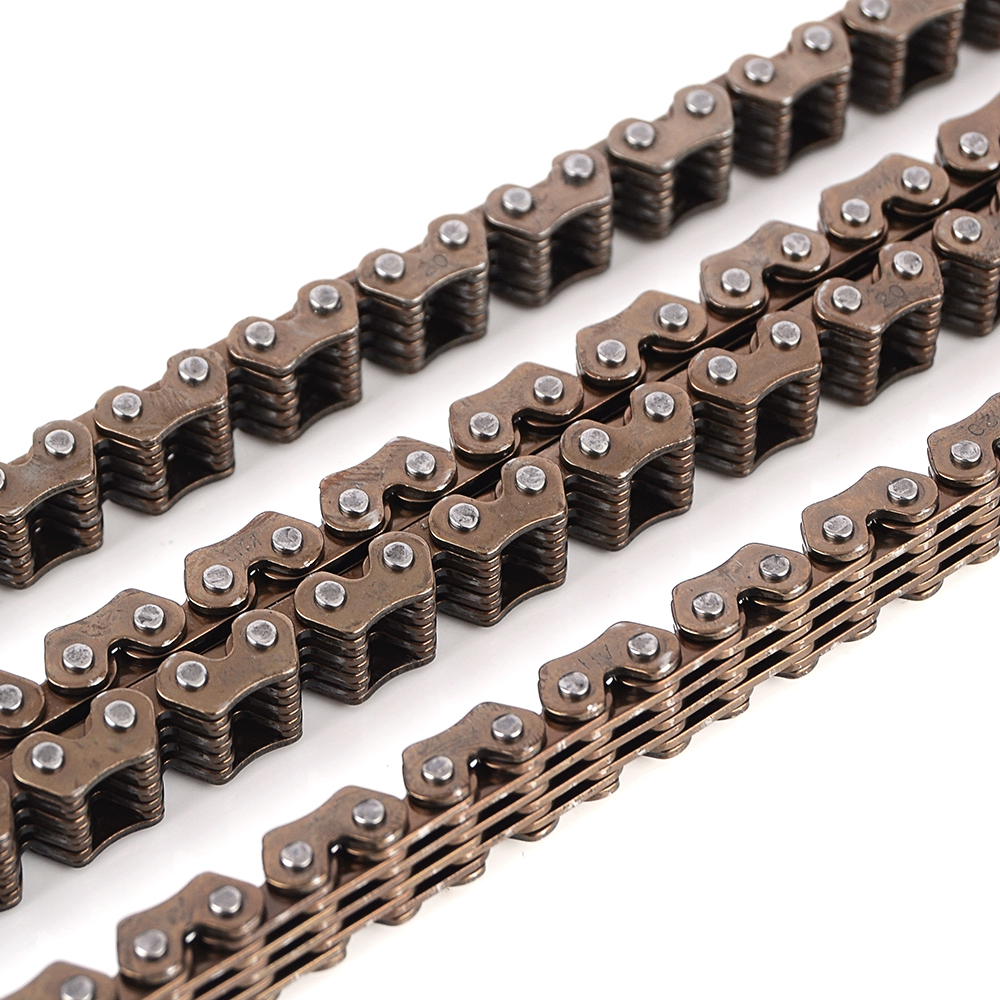
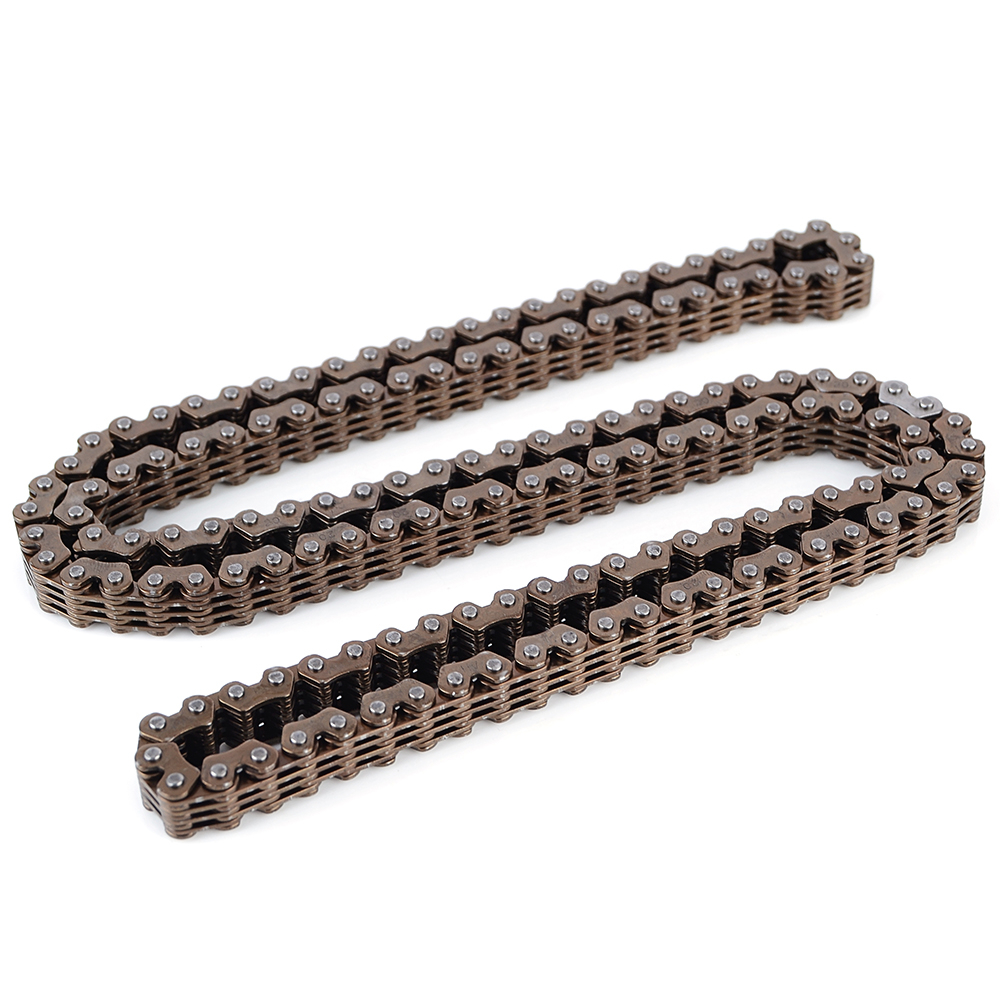
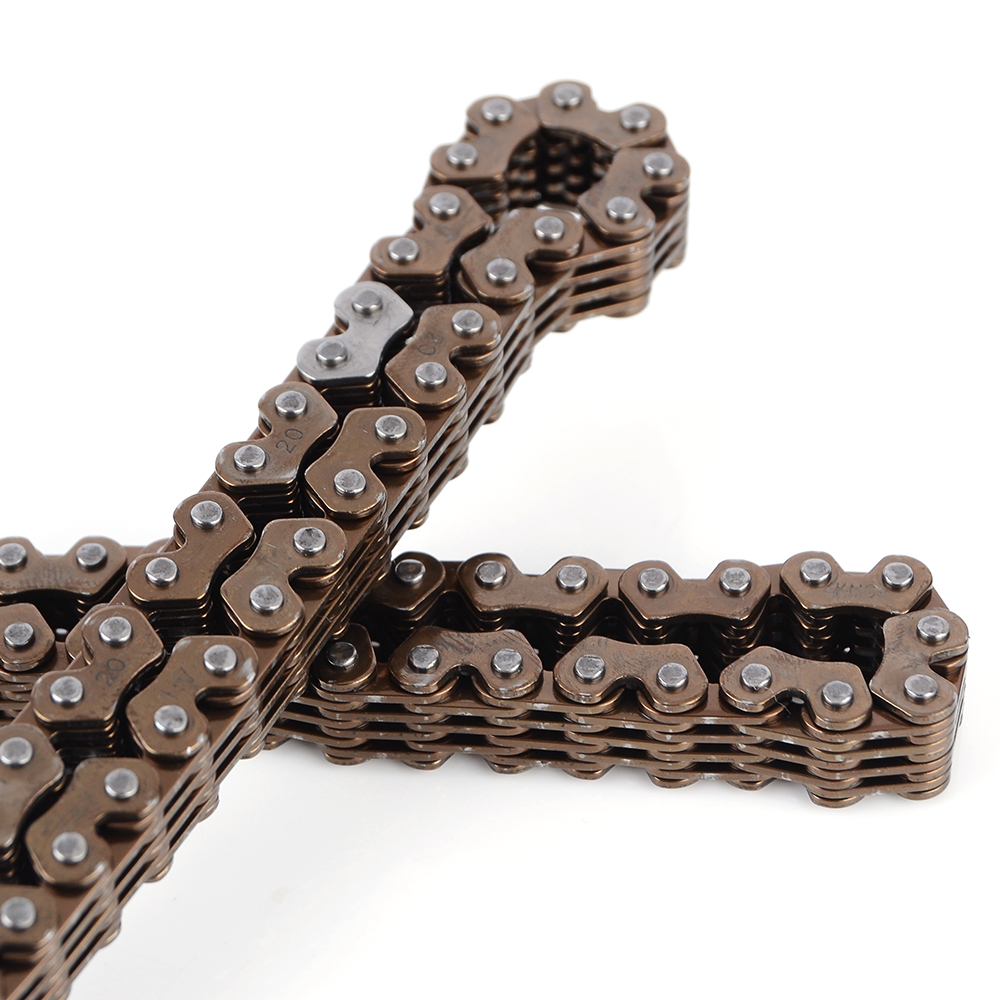
Product Installation Instructions for Engine Timing Chain Link Suitable for GSF1200S and GSX1200 Models
Required Tools:
-
Socket Wrench Set
- Various sizes (typically in mm) to accommodate different bolt sizes.
-
Torque Wrench
- To ensure bolts are tightened to the manufacturer's specifications.
-
Screwdrivers
- Both flat-head and Phillips for different types of screws.
-
Pliers
- For gripping and manipulating small components.
-
Chain Breaker Tool
- To break the old timing chain if necessary.
-
Alignment Tool
- To ensure proper alignment of the timing chain during installation.
-
Oil Filter Wrench (if oil filter removal is necessary)
- For easy removal of the oil filter.
-
Clean Cloths or Rags
- For cleaning surfaces and removing any debris.
-
Engine Oil
- To lubricate components prior to installation.
-
Safety Goggles and Gloves
- For personal protection during installation.
Installation Steps:
-
Safety First: Before starting, ensure the motorcycle is on a stable surface, and you're wearing appropriate safety gear.
-
Disconnect the Battery: Begin by disconnecting the motorcycle battery to prevent any electrical issues.
-
Remove Necessary Covers: Take off the necessary protective covers to access the engine timing chain area.
-
Remove Old Timing Chain: If there's an existing timing chain, use the chain breaker tool to remove it.
-
Clean the Area: Wipe down the area where the new timing chain will be installed, ensuring there is no debris.
-
Install the New Timing Chain: Align the new timing chain according to the manufacturer’s specifications. Utilize the alignment tool for proper placement.
-
Tighten Bolts: Use the socket wrench to tighten the bolts holding the timing chain in place. Make sure to follow the correct torque specifications with the torque wrench.
-
Reinstall Covers: Once the chain is securely in place, reinstall any covers removed during the process.
-
Reconnect the Battery: Finally, reconnect the motorcycle battery.
-
Test: Start the engine and listen for any unusual sounds. Ensure that everything is functioning correctly.
Remember to consult the motorcycle's service manual for specific steps and torque specifications related to the GSF1200S and GSX1200 models. Enjoy your improved driving experience with your newly installed timing chain link!

