
Gexpress Is a Startup Dedicated to You. Shop With Confidence—Refunds Are Easy Through !

Motorcycle and light motorcycle accessories
US /en/
USD
Hello, Sign In
Account & Lists
Cart
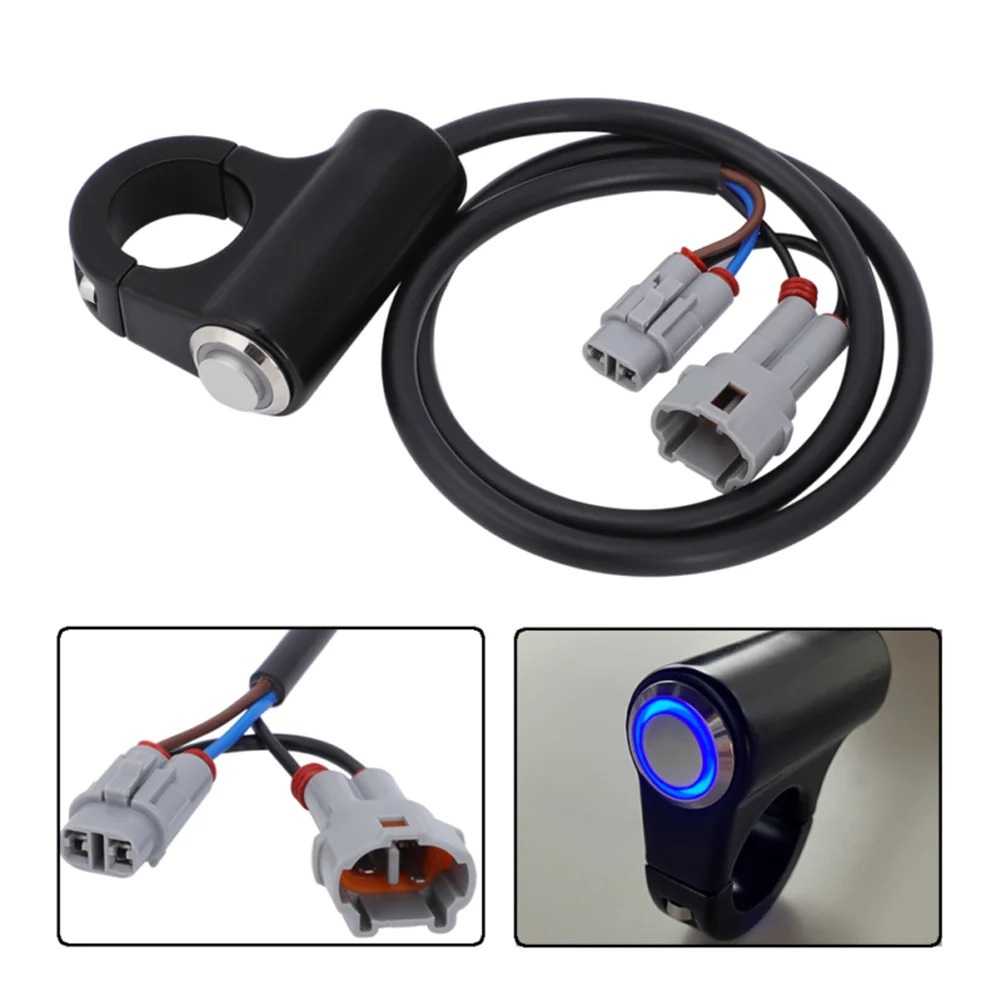
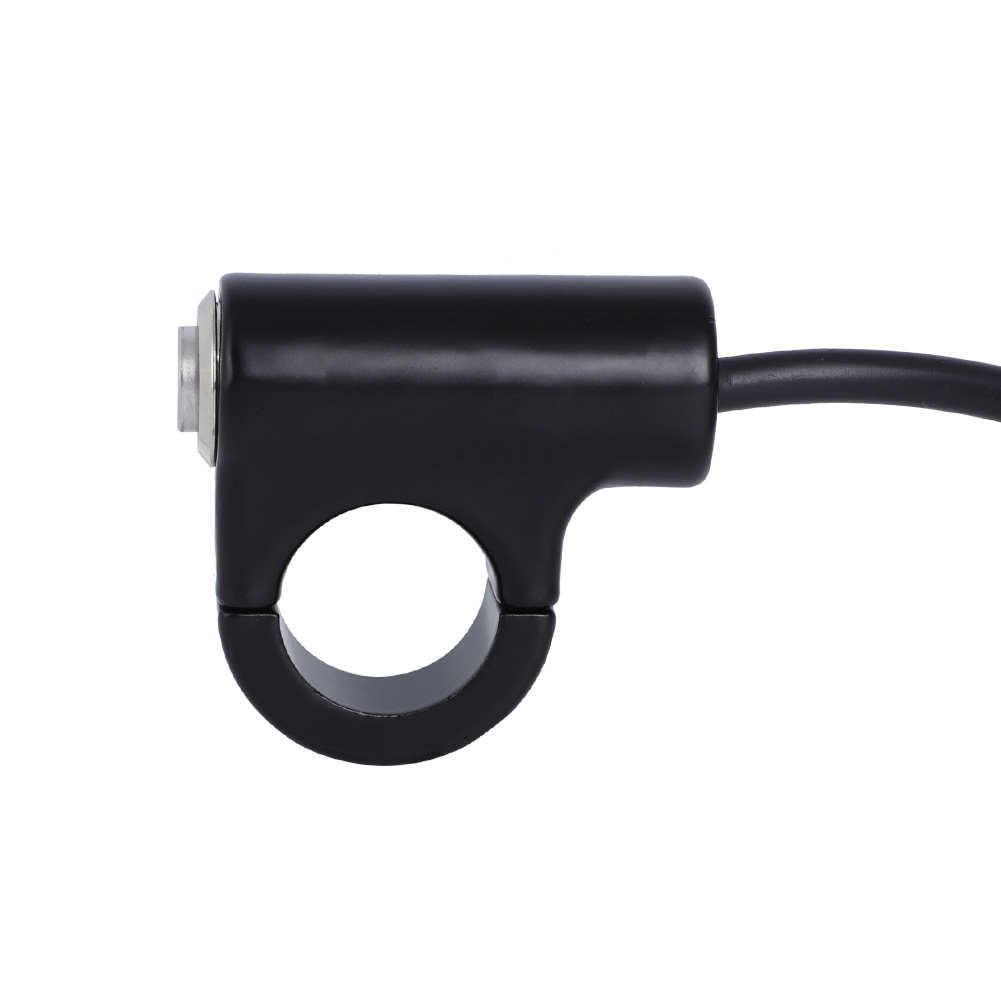
motorcycle headlights witch connector kit suitable for electric bike models
84 Sold
USD 8.44USD8.69
88% Limited Time
About This Item
Strong Compatibility: This motorcycle headlight switch connector kit is suitable for a variety of electric bicycle models, ensuring wide compatibility and meeting different user needs.
Easy installation: The design is user-friendly and the accessories are complete. Even beginners can easily complete the installation without professional tools and skills.
Improve safety: High-quality connections ensure circuit stability, provide better lighting effects for riding, and improve night driving safety.
Reliable and durable: Made of high-quality materials, resistant to high temperatures and corrosion, extending service life to meet long-term use needs.
Diverse functions: In addition to providing lighting functions, it can also be connected with other electric vehicle accessories to enhance the functionality of the entire vehicle.
Sold To
United States
USD 4.91
Delivery: 7-15 Business Days
Fast Delivery
Refund If Package Lost
Refund If Items Damaged
Refund If No Delivery in 30 Days
Quantity
1
Installation Instructions
Motorcycle Headlight Switch Connector Kit Installation Instructions
Compatibility:
This connector kit is compatible with a variety of electric bike models, ensuring broad compatibility to meet diverse user needs.
Tools Required:
To install the Motorcycle Headlight Switch Connector Kit, you will need the following tools:
- Screwdriver Set: A flathead and Phillips screwdriver for removing any coverings or housing.
- Wire Stripper/Cutter: To prepare the wires for connections.
- Heat Shrink Tubing or Electrical Tape: For insulating and securing the connections.
- Pliers: For bending and securing wires as needed.
- Multimeter (optional): To check for proper electrical connections and voltage.
Installation Steps:
-
Preparation:
- Disconnect the battery of your electric bike to ensure safety during installation.
- Gather all necessary tools and components.
-
Remove Existing Connections:
- Use a screwdriver to remove any coverings that may obstruct access to the headlight wiring.
- Carefully disconnect the existing headlight connector from the wiring harness.
-
Prepare the Wires:
- Use the wire stripper/cutter to strip approximately 1/2 inch of insulation from the ends of the wires involved in the connection.
-
Connect the New Connector:
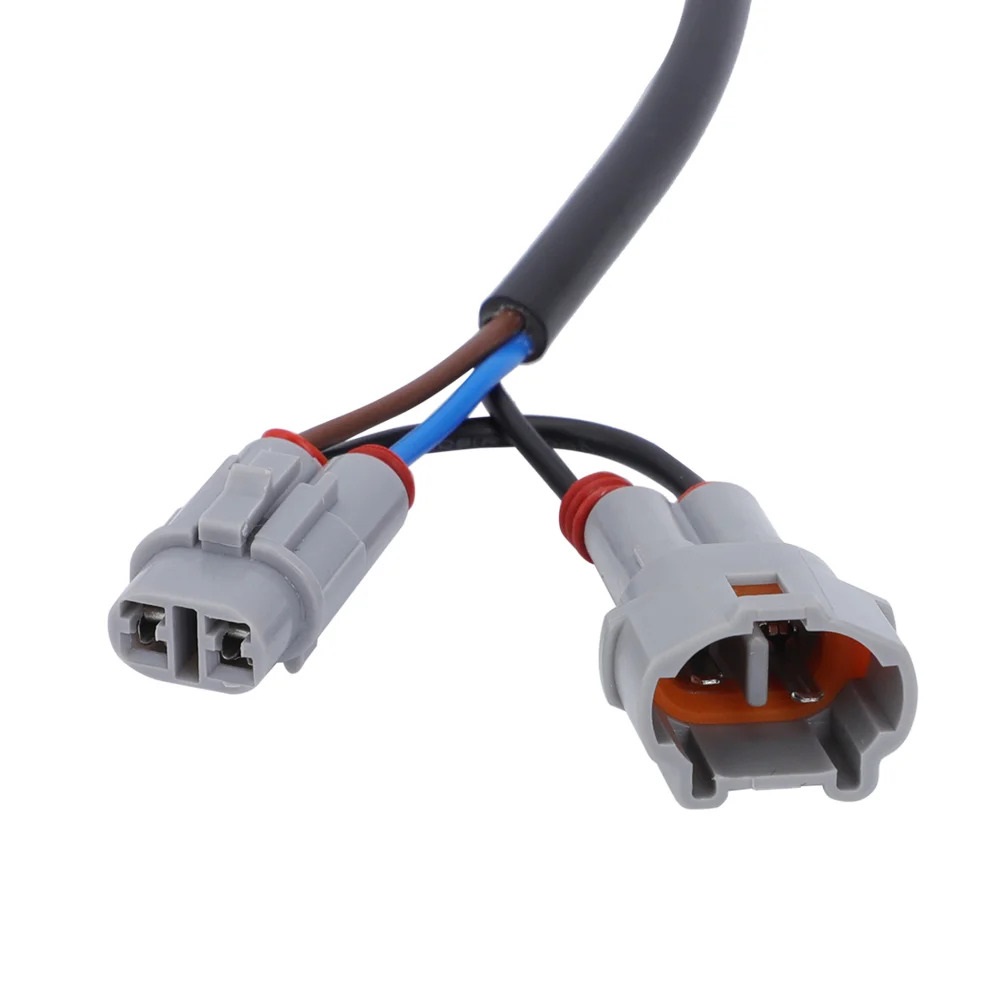
- Match the wires from the Motorcycle Headlight Switch Connector Kit with the corresponding wires from your bike’s wiring harness.
- Twist the stripped ends of the wires together securely.
- Alternatively, you can use crimp connectors for a more secure connection.
-
Insulate the Connections:
- Slide heat shrink tubing over the connection points and use a heat source to shrink it tightly around the wires.
- If using electrical tape, wrap it securely around the connections to insulate them properly.
-
Reassemble Components:
- Carefully place any coverings or housing back onto the bike and secure them with screws.
-
Connect the Battery:
- Reconnect the battery of your electric bike.
-
Test the Installation:
- Switch on the headlight to ensure that it functions correctly. If using a multimeter, check for proper voltage and connection stability.
Safety Precautions:
- Always disconnect the battery before starting any electrical work.
- Ensure that all connections are secure to avoid short circuits.
- Double-check compatibility with your electric bike model to ensure a proper fit.
By following these instructions, you should be able to successfully install the Motorcycle Headlight Switch Connector Kit, enhancing your bike’s lighting and overall safety during night rides. Enjoy safe and reliable riding!
Description
Features:
* Easy installation
* Made of durable and practical material
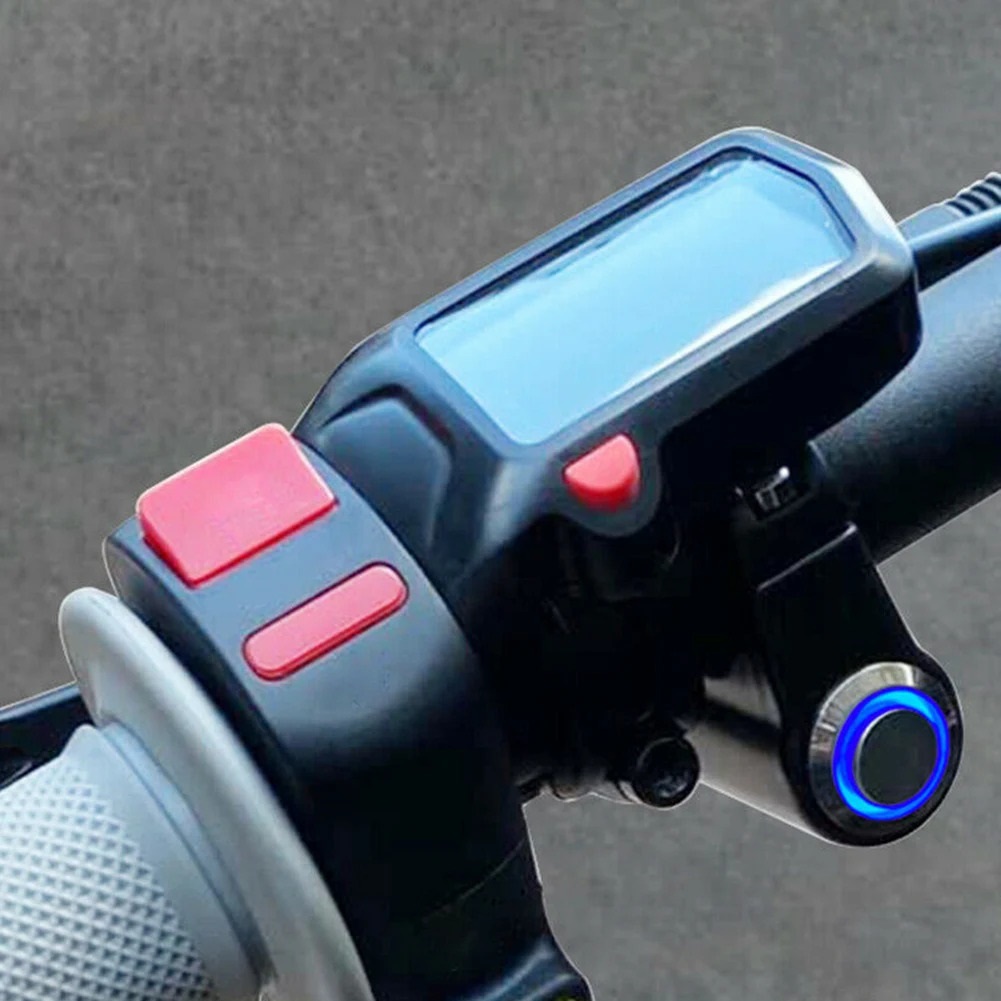
* Helps save battery – This bike model does not have a function to turn off the headlights, which consume electricity. With our headlight switch, you can easily turn on and off the headlights, saving electricity.
* Easy to install and use – With plugs, installation can be completed in a few simple steps. Once installed, you can easily control the headlight switch using only your thumb.
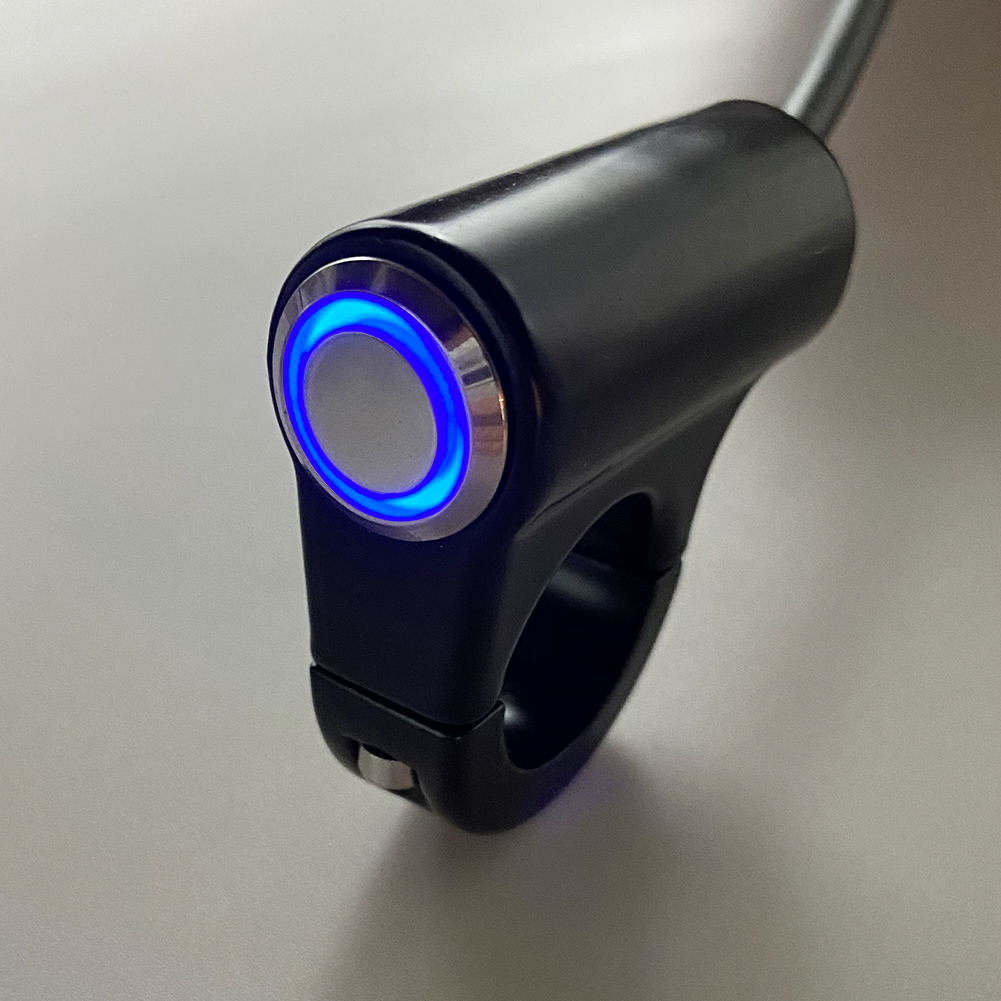
* Sturdy and durable – Using aluminum alloy material, it is built to withstand harsh environments and bumpy journeys.
* Simple and stylish design – Our headlight kill switch features a blue halo metal housing that is both simple and fashionable.
* Compatible with SurRon models, including Light Bee X, X260, and X160.
Specification:
* Type: Modified Headlight Switch With Plug
* Color: Black and Gray
* Light color: Blue
Installation Instructions:
1. Remove the key bezel.
2. Follow the wire from the back of the headlight to the connector and unplug it.
3. Plug in the switch plugs to the previously unplugged connections.
4. Mount the switch to the handlebars.
5. Complete the installation.
Package includes:
1 PC Headlight Switch
TAG:
Motorcycle and light motorcycle accessories
Related Items

