
Gexpress Is a Startup Dedicated to You. Shop With Confidence—Refunds Are Easy Through !

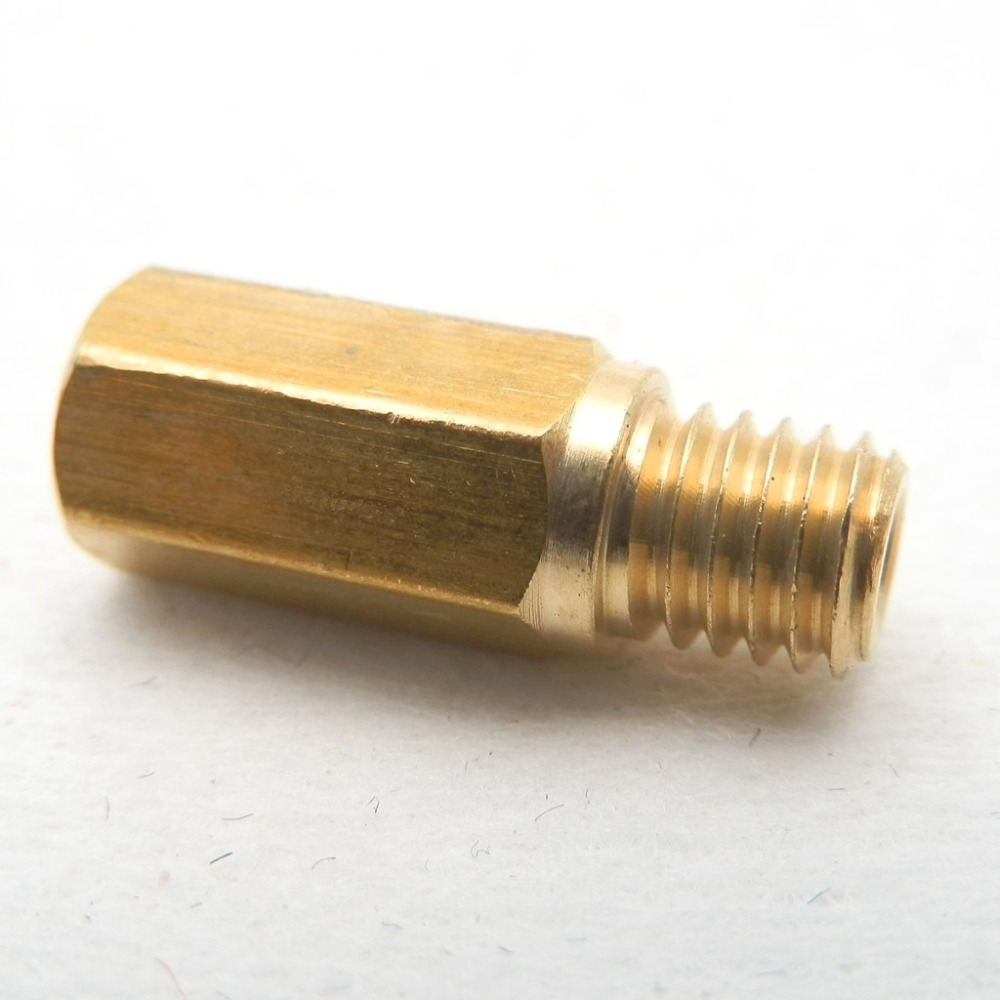


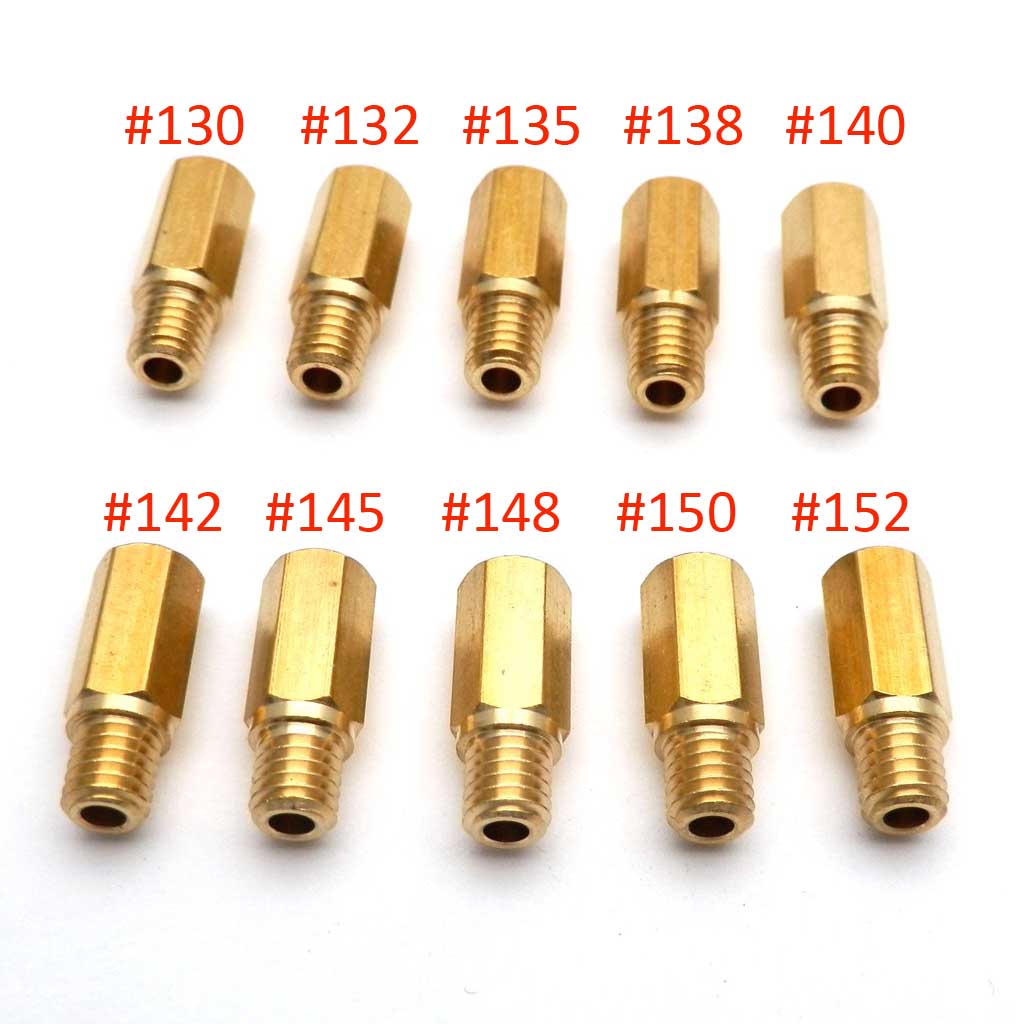
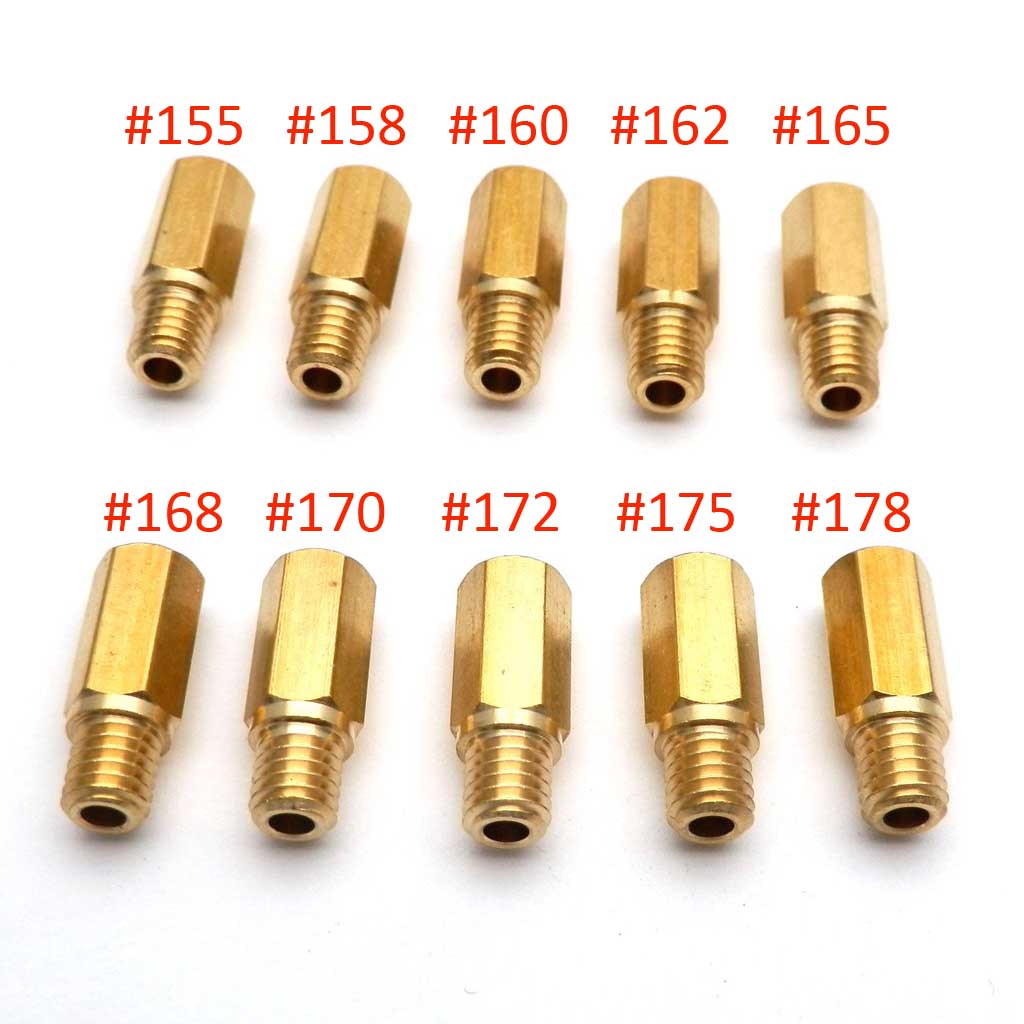
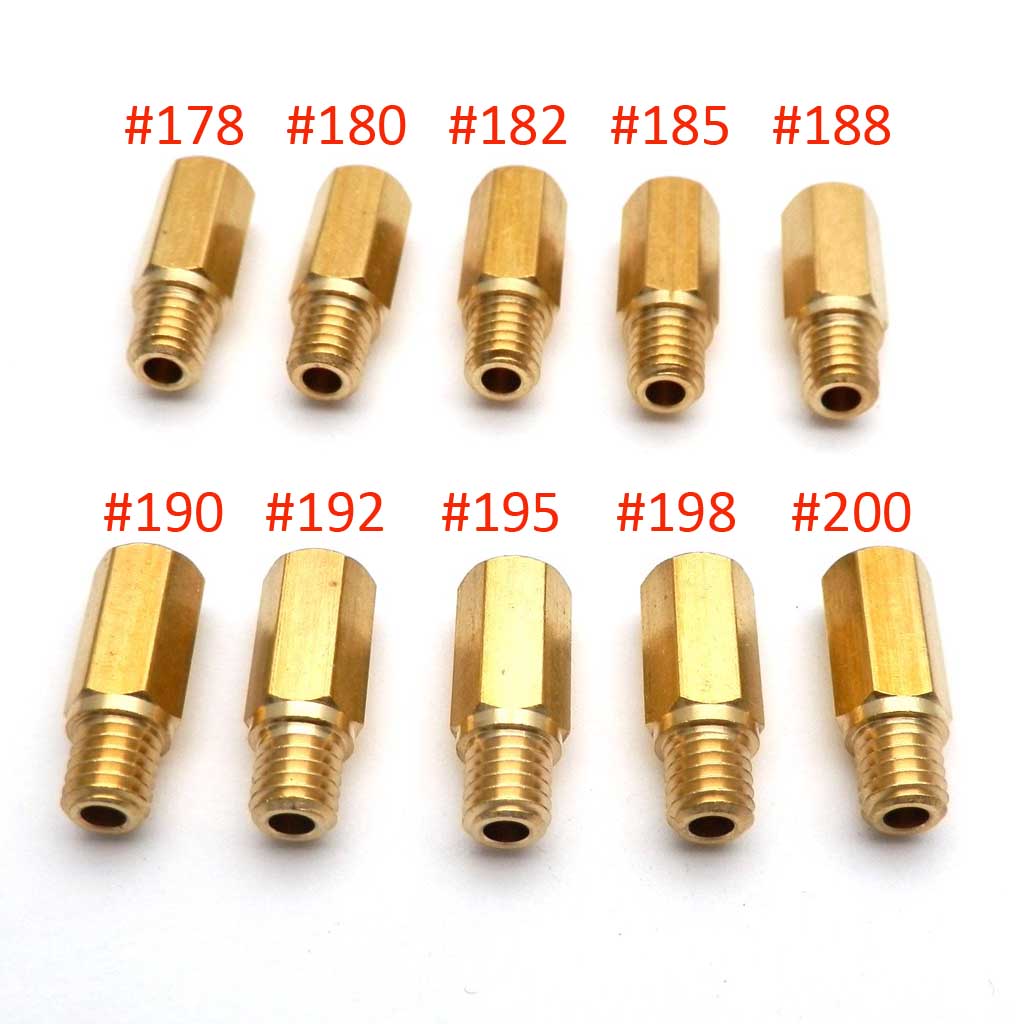

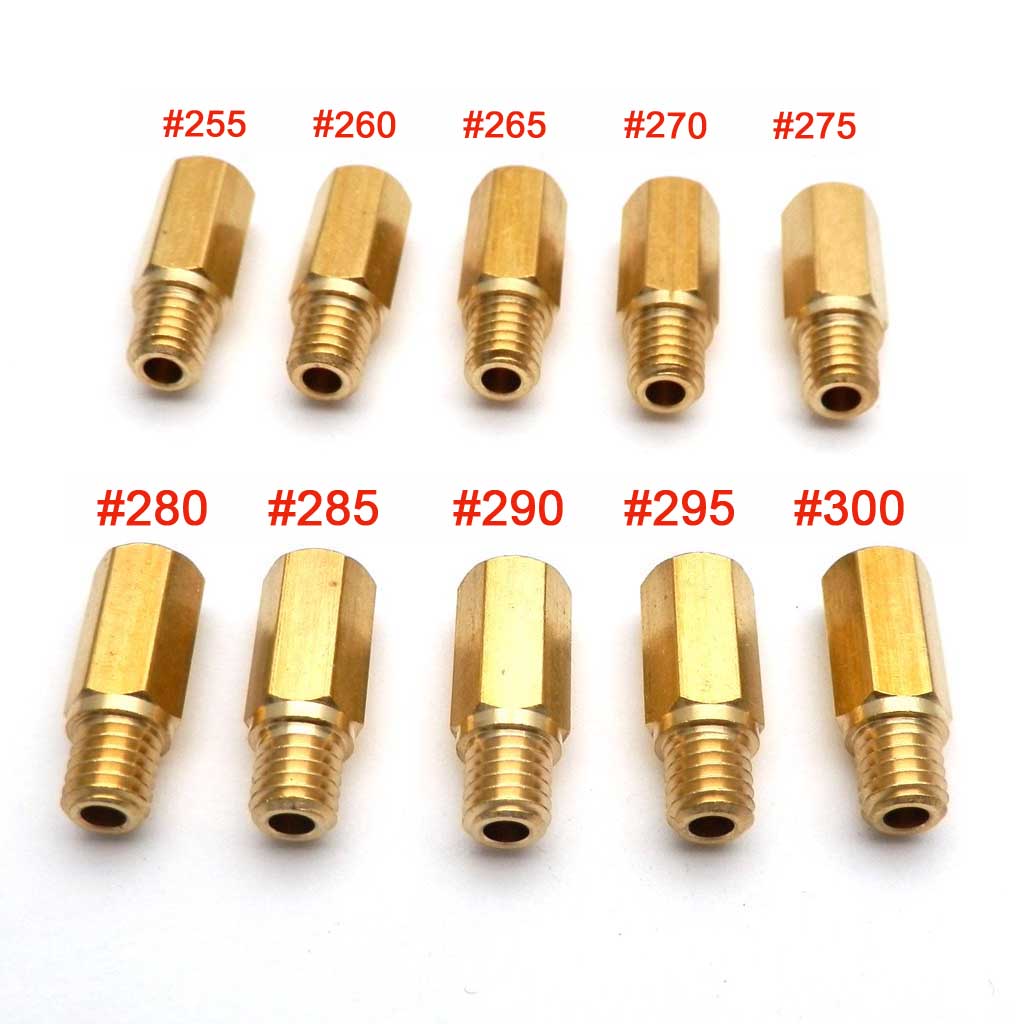
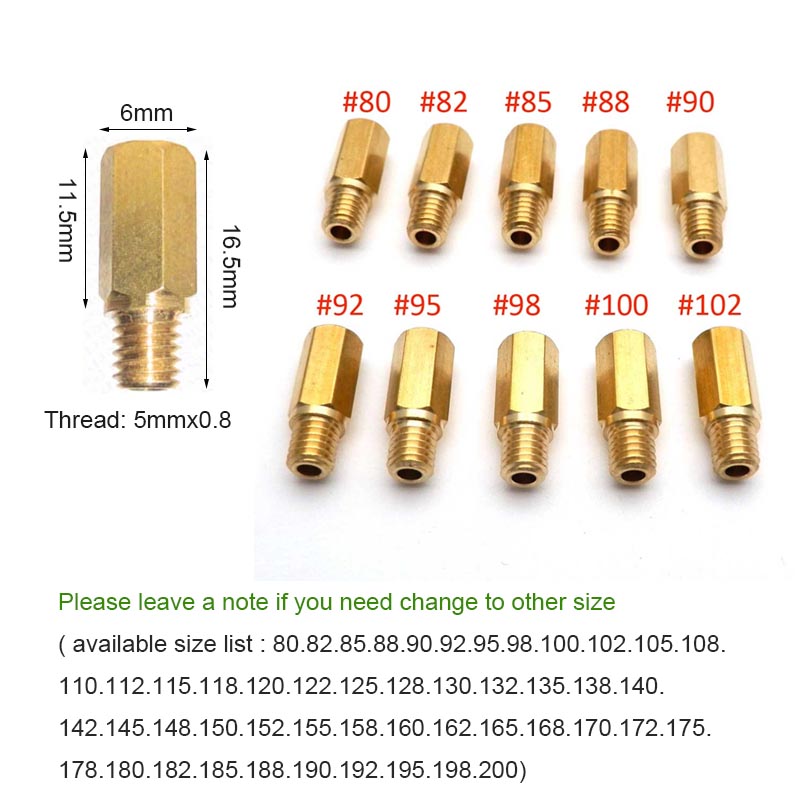
Installation Instructions for 10-Piece Hexagon Main Jet Set for FCR, PE, and PWK Carburetors
Tools Required:
- Socket Wrench Set - For removing and securing bolts and nuts.
- Screwdriver Set - Flathead and Phillips screwdrivers for various screws.
- Jet Wrench or JIS Wrench - For removing the jets specifically.
- Pliers - To assist in gripping and manipulating components.
- Cleaning Supplies - Carburetor cleaner and rags for cleaning the carburetor.
- Torque Wrench - Ensures that components are tightened to the manufacturer’s specifications.
- Safety Gear - Safety glasses and gloves for protection during installation.
- Notebook or Pen - To take notes or record original settings before modifications.
- Digital Caliper (optional) - For measuring jet sizes if necessary.
Installation Steps:
-
Preparation
Make sure the motorcycle is turned off and cool to the touch. Disconnect the battery for safety. -
Access the Carburetor
Remove any necessary panels or components that block access to the carburetors. This may include the seat or side panels. -
Remove the Old Jets
Use the appropriate size wrench to carefully remove the existing main jets from the carburetor. Keep track of the original settings for reference. -
Clean the Carburetor
Before installation, clean the carburetor thoroughly using a carburetor cleaner and rags. Ensure there are no debris or residual fuel inside. -
Install the New Jets
Select the desired hexagon main jet from the 10-piece set. Carefully screw in the new jet to the carburetor using the jet wrench. Make sure not to overtighten. -
Reassemble the Carburetor
Once all new jets are installed, reassemble any components that were removed. Ensure that all screws are securely fastened. -
Reconnect Battery and Test
Reconnect the battery and kickstart the motorcycle. Allow it to idle for a few minutes and ensure everything is functioning correctly. -
Final Adjustments
If necessary, make slight adjustments to the air-fuel mixture and idle settings to optimize performance.
Safety Reminder:
Always wear personal protective equipment when working on your motorcycle. If uncertain during any step of the installation process, consult a professional mechanic.
Enjoy Enhanced Performance!
With the installation of your new 10-piece hexagon main jet set, experience improved acceleration, fuel economy, and overall performance from your motorcycle.

