
Gexpress Is a Startup Dedicated to You. Shop With Confidence—Refunds Are Easy Through !

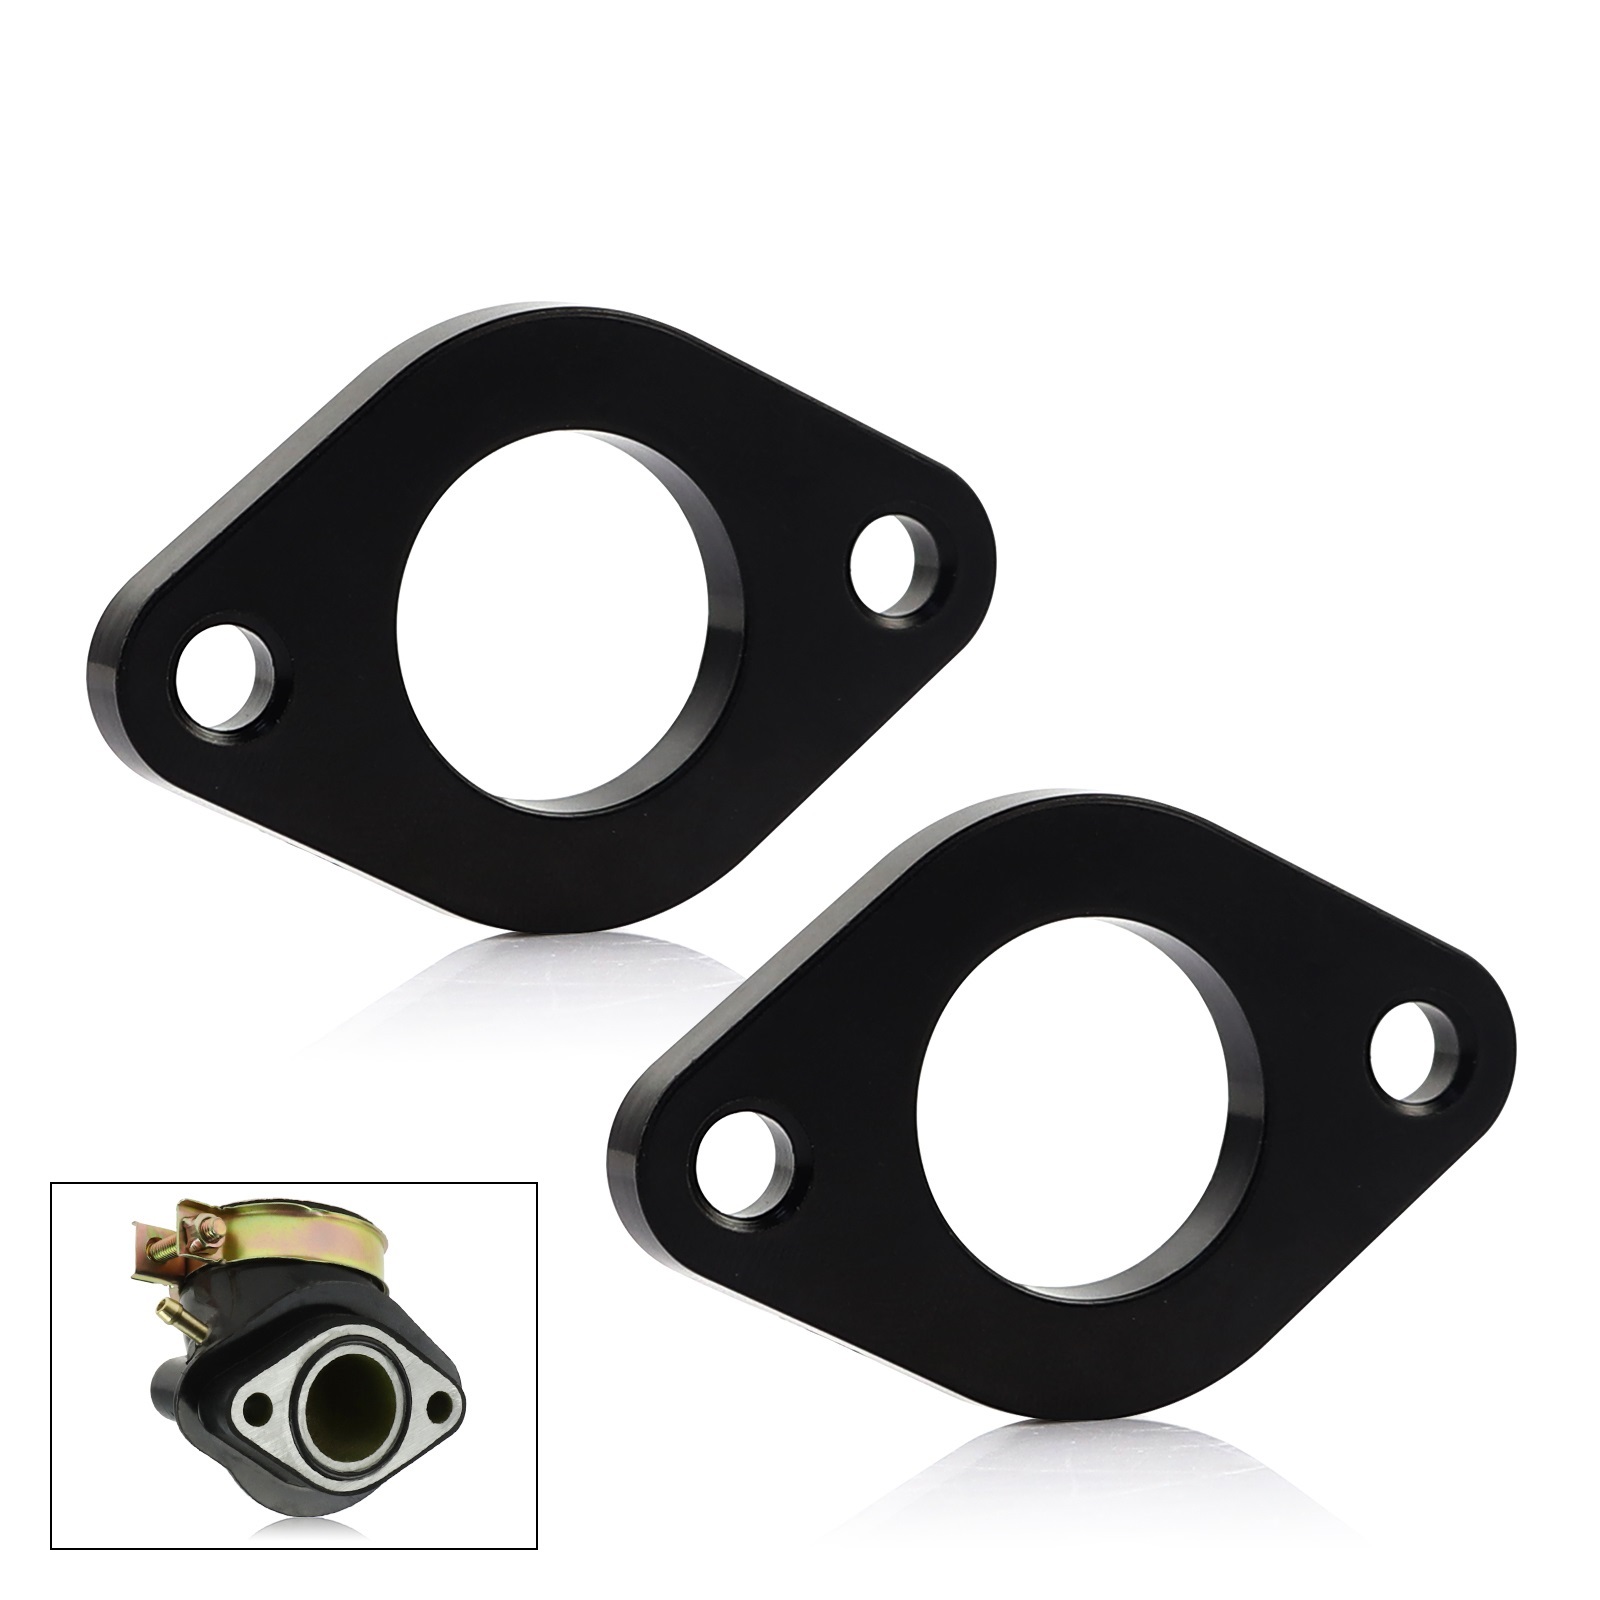
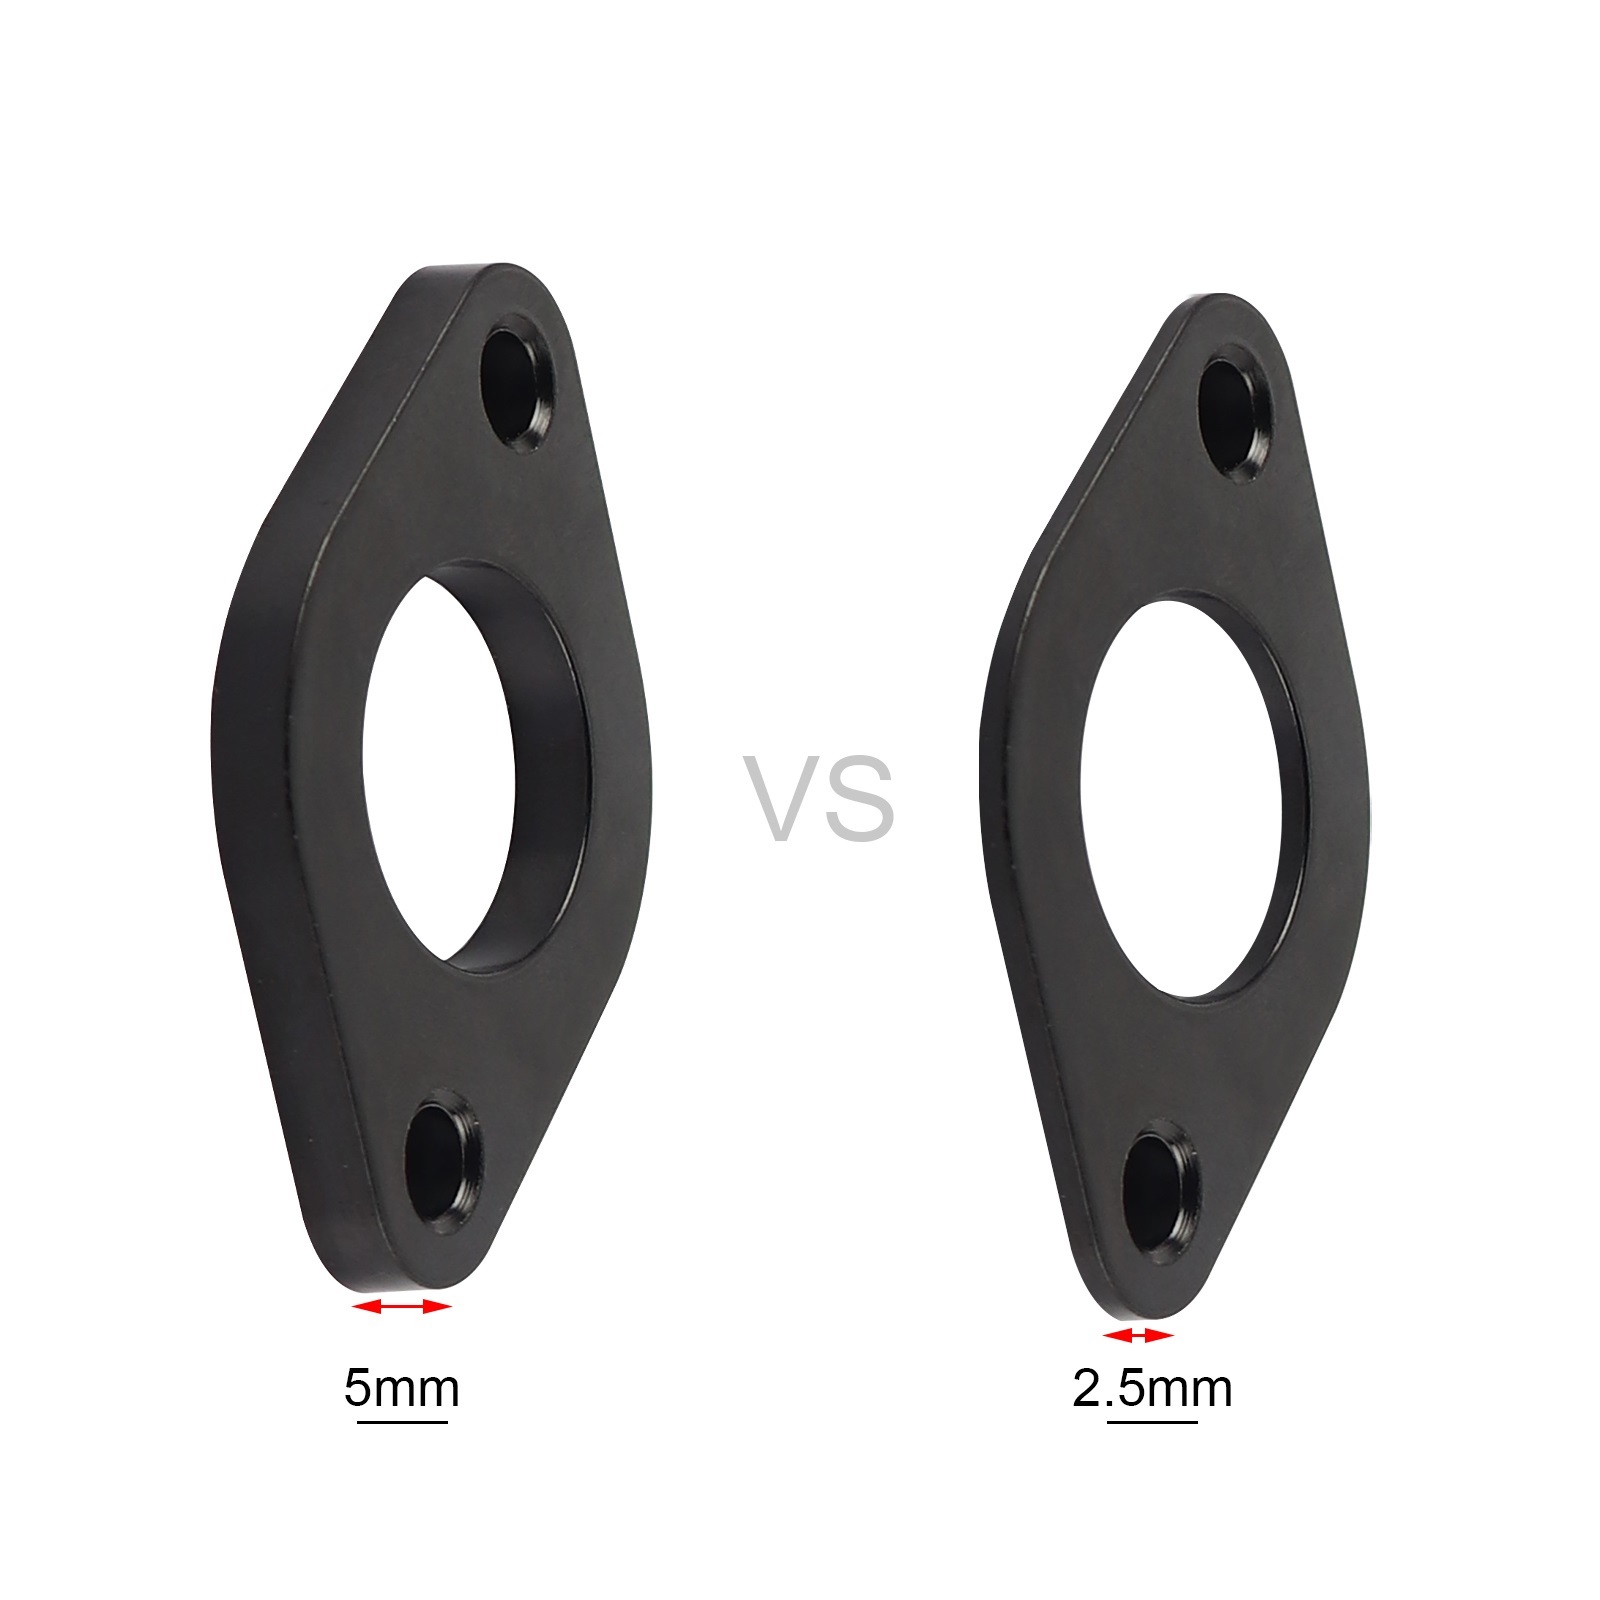
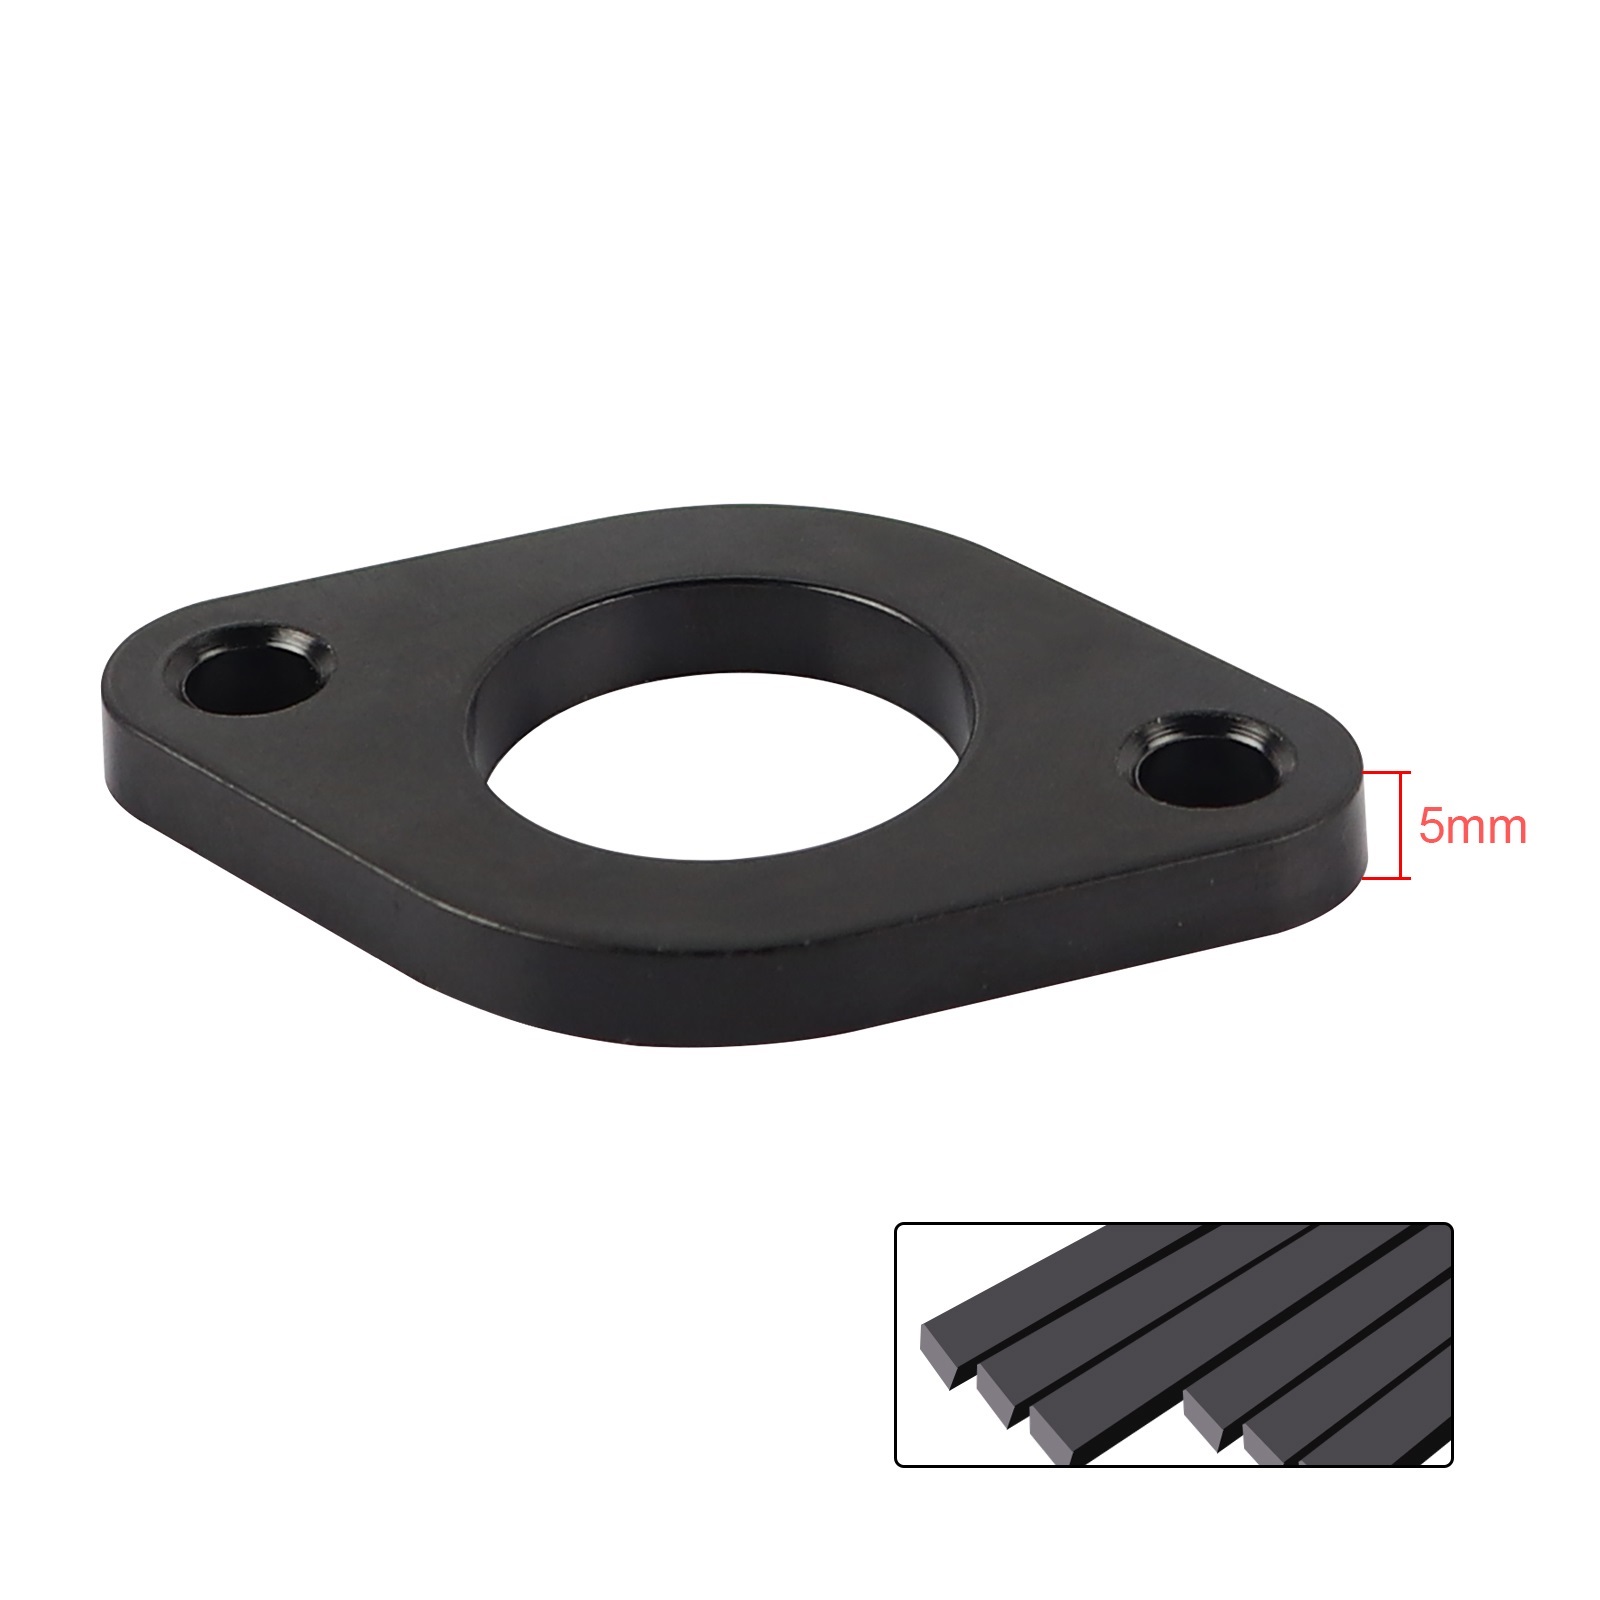
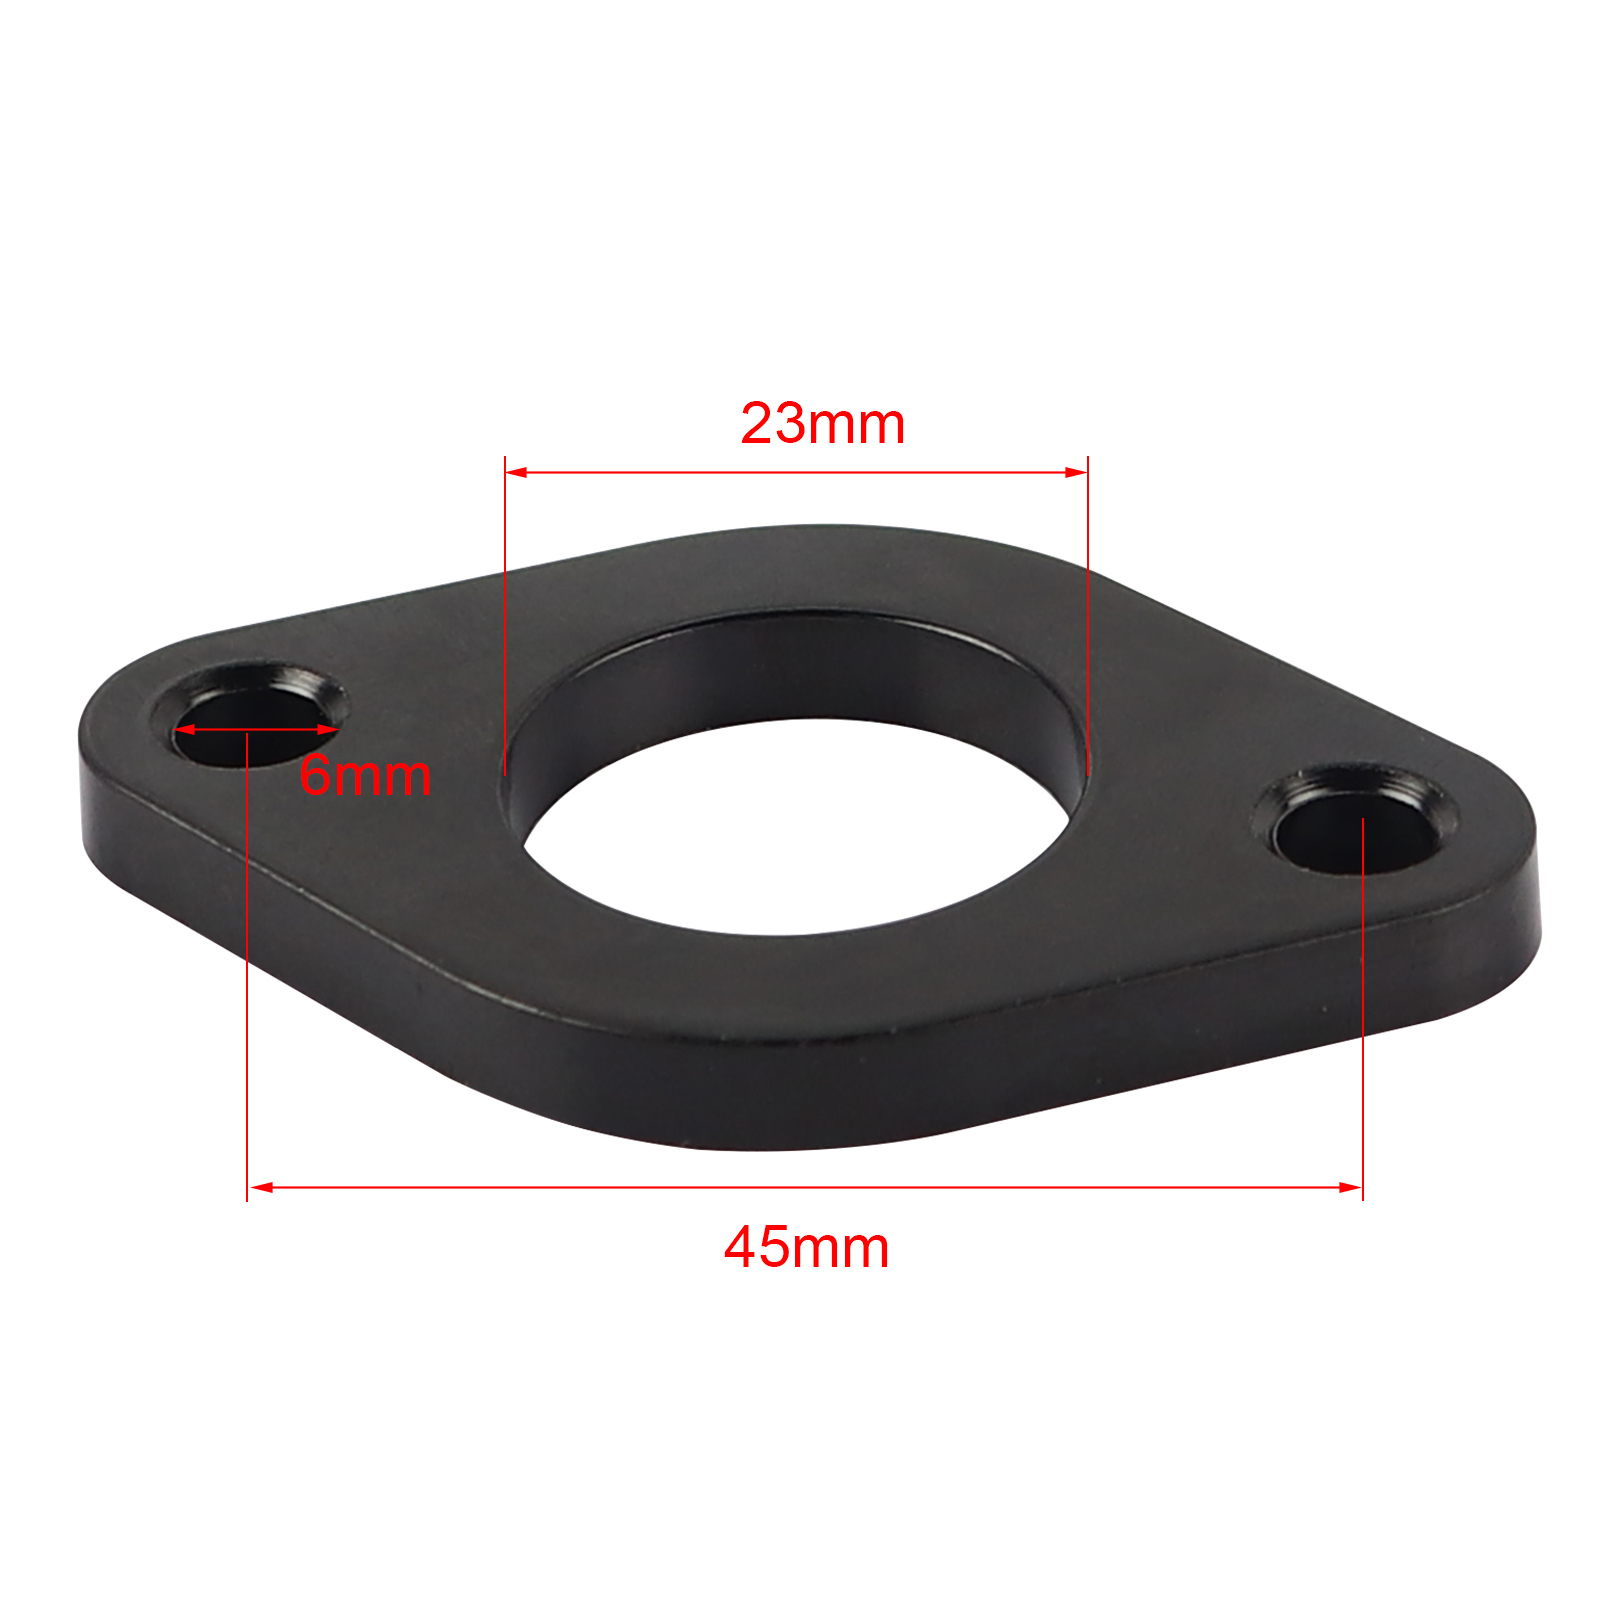
Installation Instructions for 2pcs Intake Manifold Gasket Spacer Insulator
Tools Needed:
- Socket Wrench Set: To remove the existing manifold and secure the new gasket spacer in place.
- Torque Wrench: For proper torque specifications when tightening nuts and bolts.
- Screwdriver Set: Flathead and Phillips screwdrivers for any necessary adjustments.
- Pliers: Helpful for removing any stubborn clips or connectors.
- Gasket Scraper or Razor Blade: To clean the surface of the old gasket material from the manifold and engine.
- Clean Rags: To wipe down surfaces and ensure there is no debris or oil.
- Engine Oil: A small amount for lubrication on gaskets if necessary.
Installation Steps:
-
Preparation: Ensure your engine is off and cooled down completely. Disconnect the battery to avoid any electrical issues during installation.
-
Remove Existing Intake Manifold: Use the socket wrench and carefully remove the nuts/bolts holding the intake manifold in place. Keep track of any washers or fittings.
-
Clean the Surfaces: Use the gasket scraper or razor blade to remove any old gasket material from both the intake manifold and engine surfaces. Wipe down with clean rags to ensure a clean installation.
-
Position the Gasket Spacer: Place the new intake manifold gasket spacer insulator onto the engine surface, ensuring it is aligned correctly with all mounting holes.
-
Reattach the Intake Manifold: Align the intake manifold over the gasket spacer and press down evenly. Secure it using the nuts and bolts you previously removed. Use the torque wrench to tighten to the manufacturer’s specifications, ensuring even pressure.
-
Reconnect any Hoses or Connectors: If you had to remove any hoses or connectors, ensure they are reattached securely.
-
Reattach the Battery: Once installation is complete, reconnect the battery.
-
Test the Engine: Start the engine and observe for any leaks or unusual sounds. Allow the engine to reach operating temperature and check that everything is functioning properly.
By following these instructions, you will have successfully installed the 2pcs Intake Manifold Gasket Spacer Insulator, enhancing the performance and efficiency of your 125cc or 150cc 4-Stroke GY6 engine. Enjoy your improved riding experience!

