
Gexpress Is a Startup Dedicated to You. Shop With Confidence—Refunds Are Easy Through !

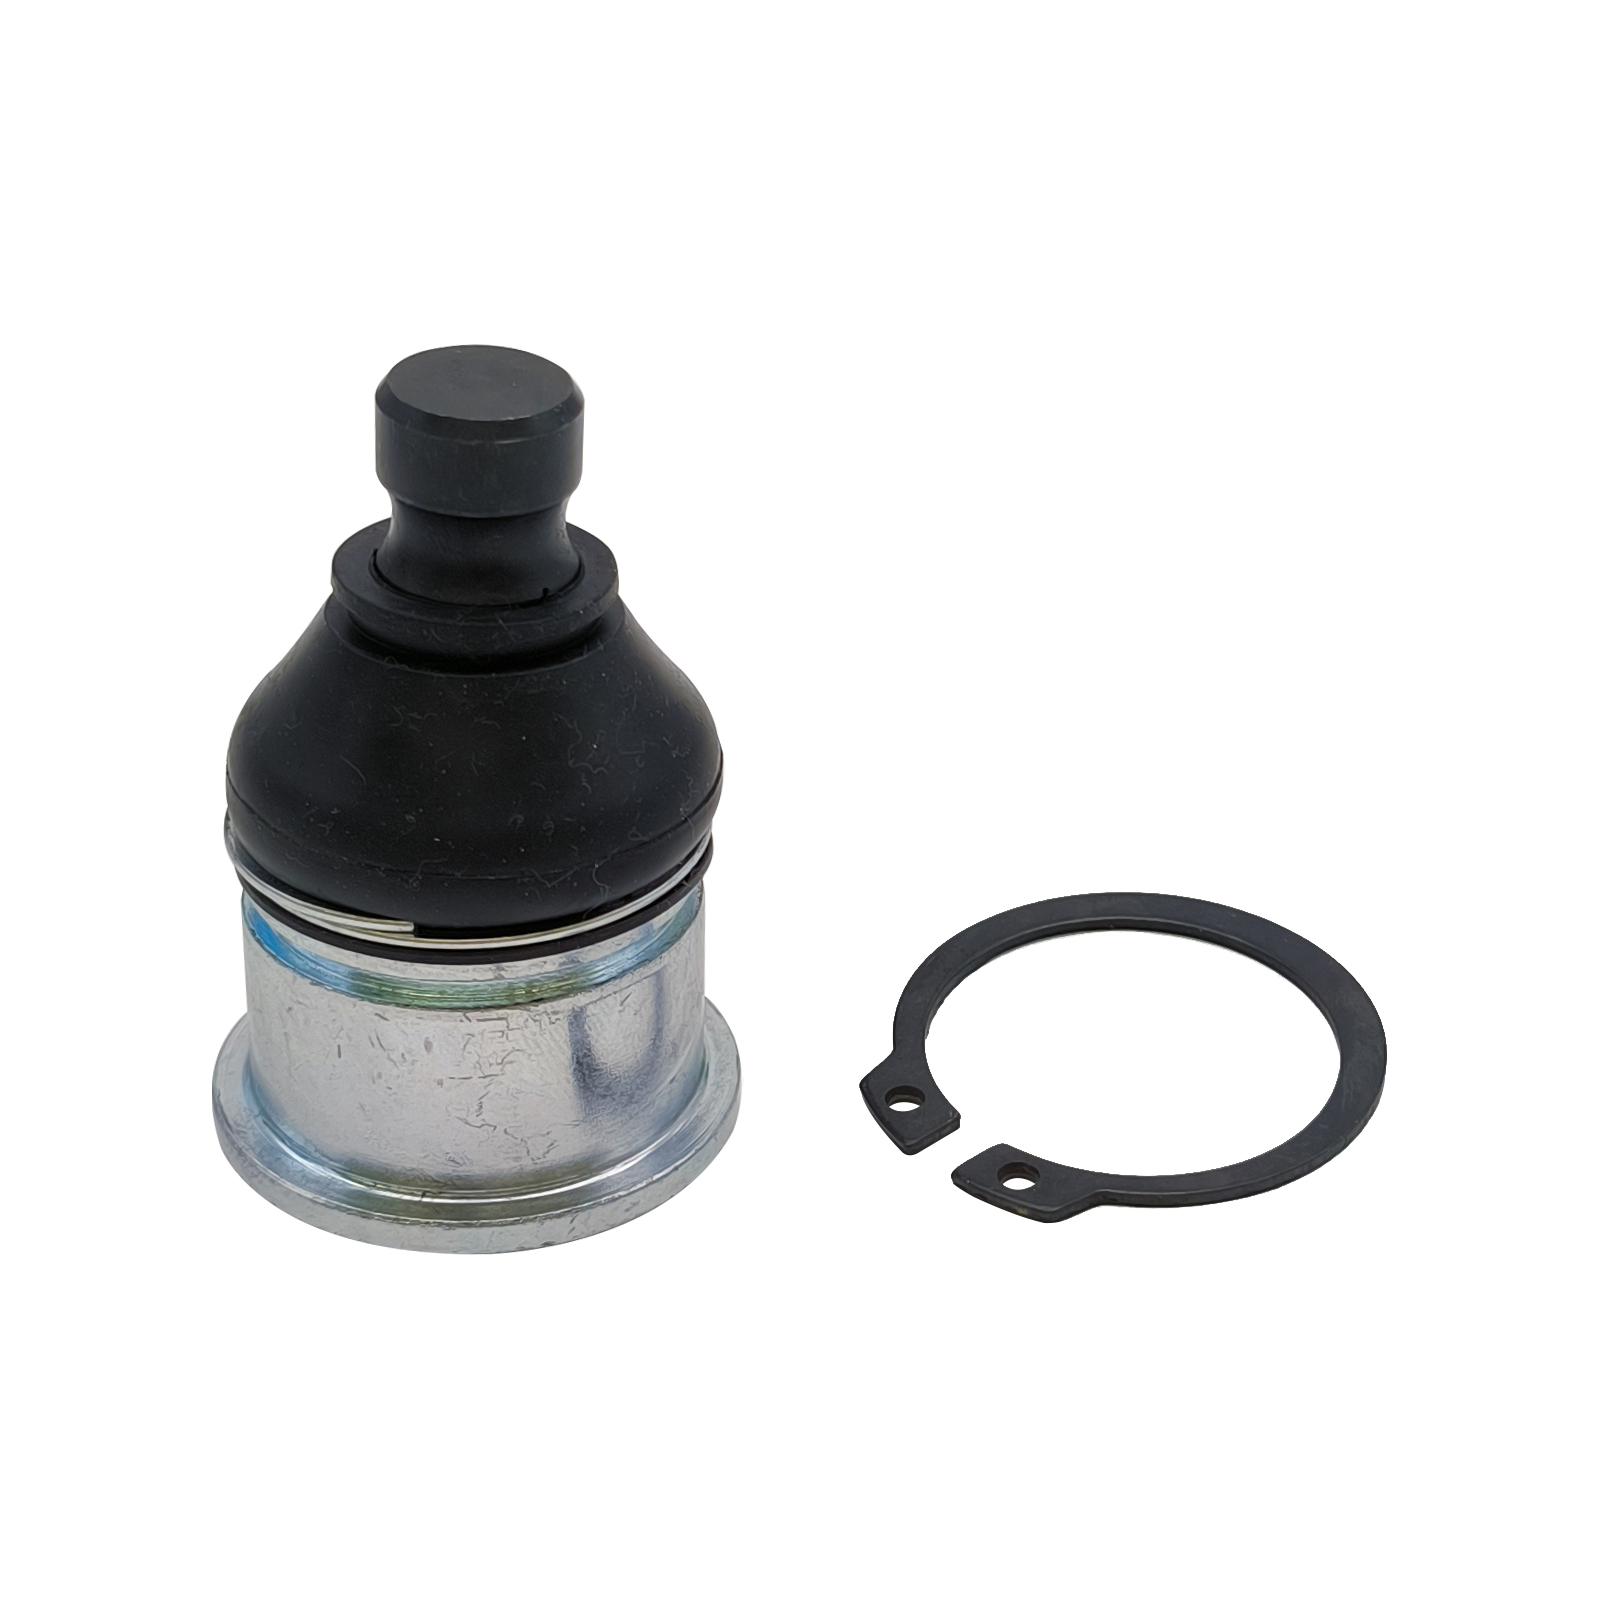
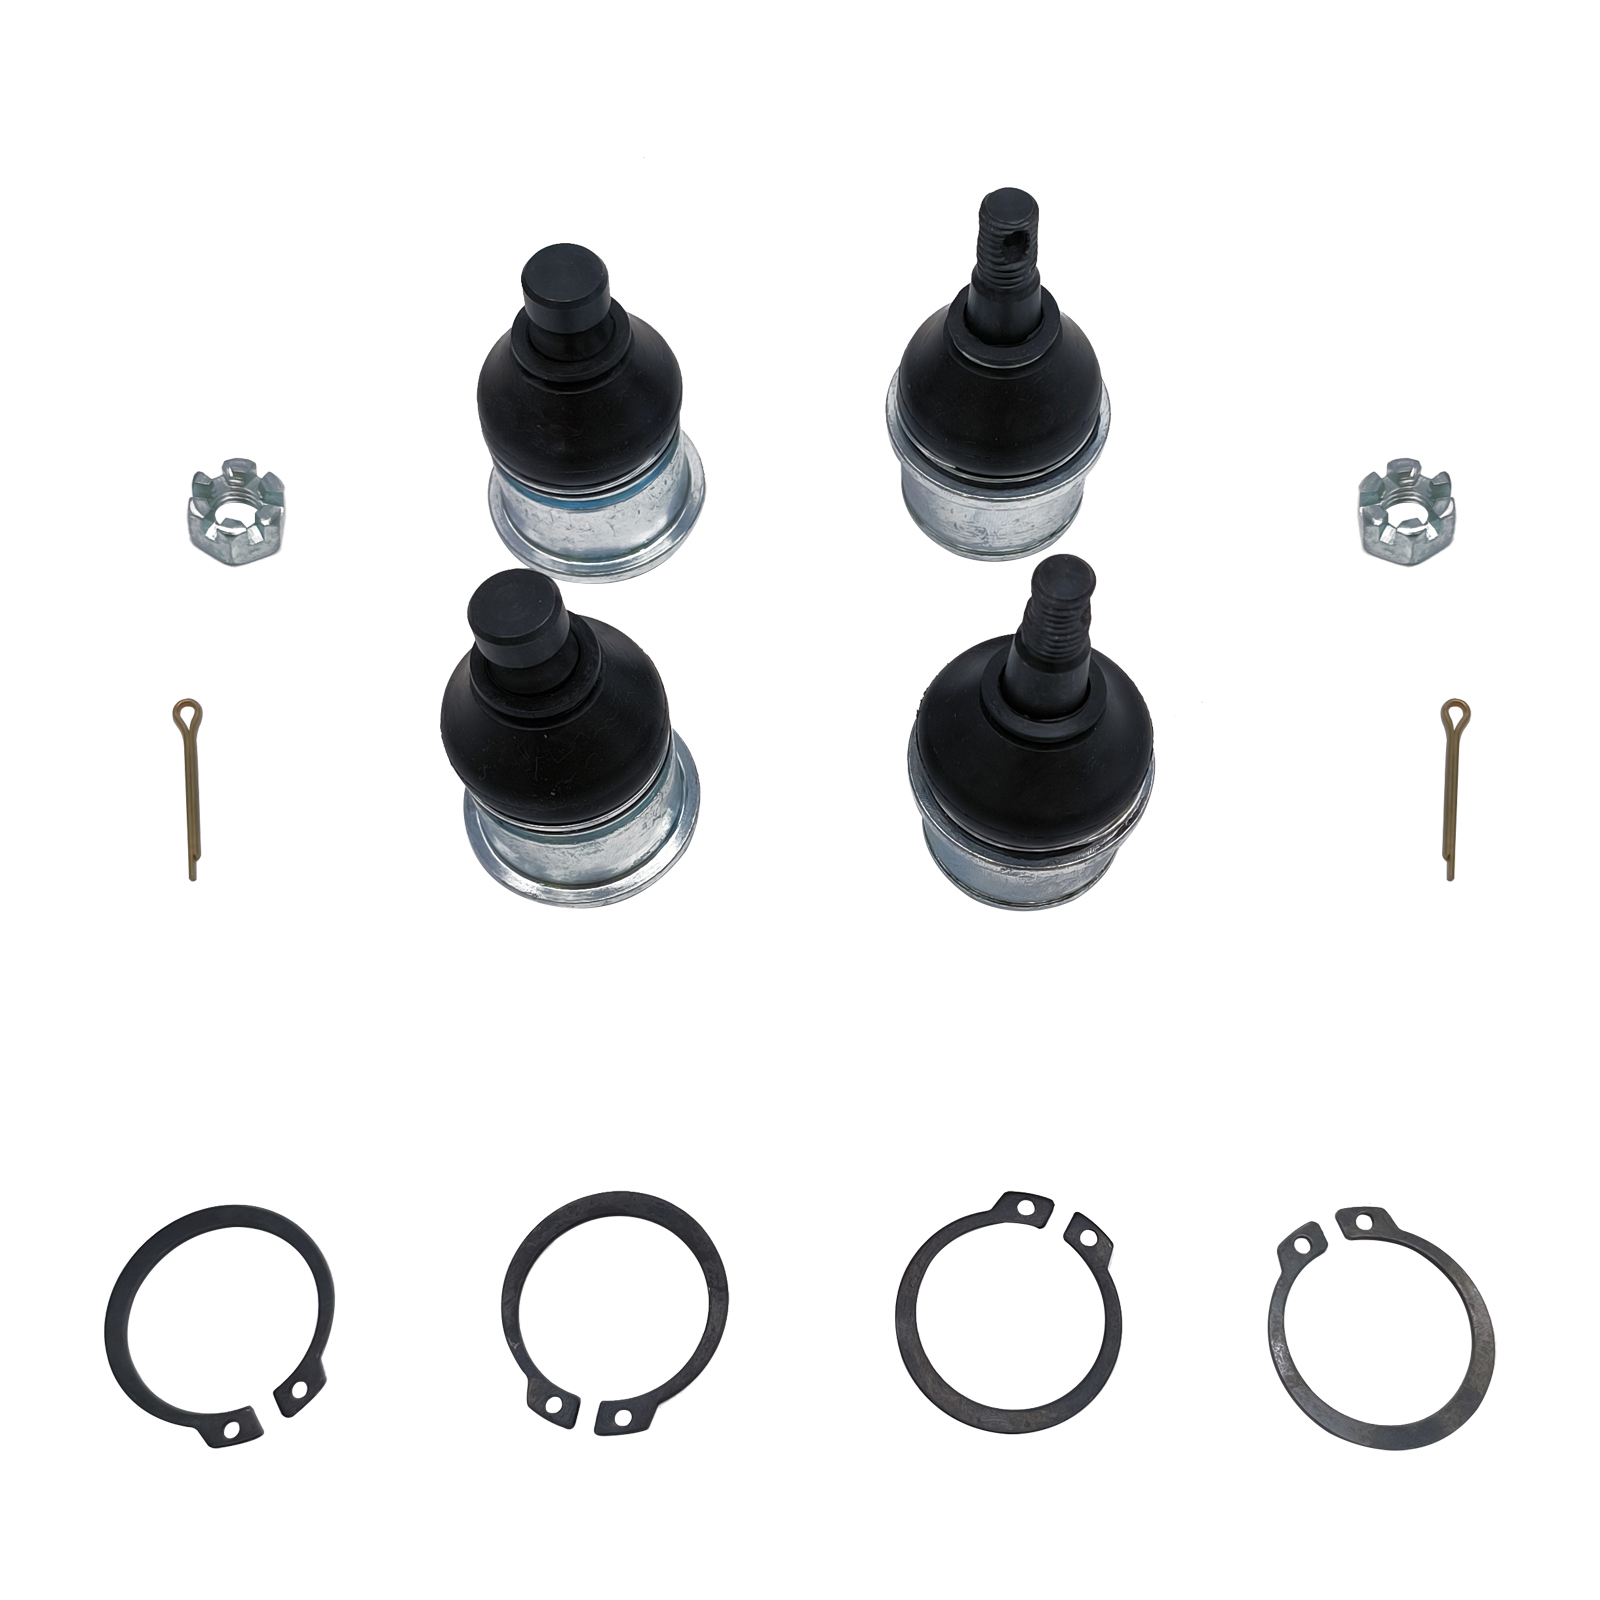
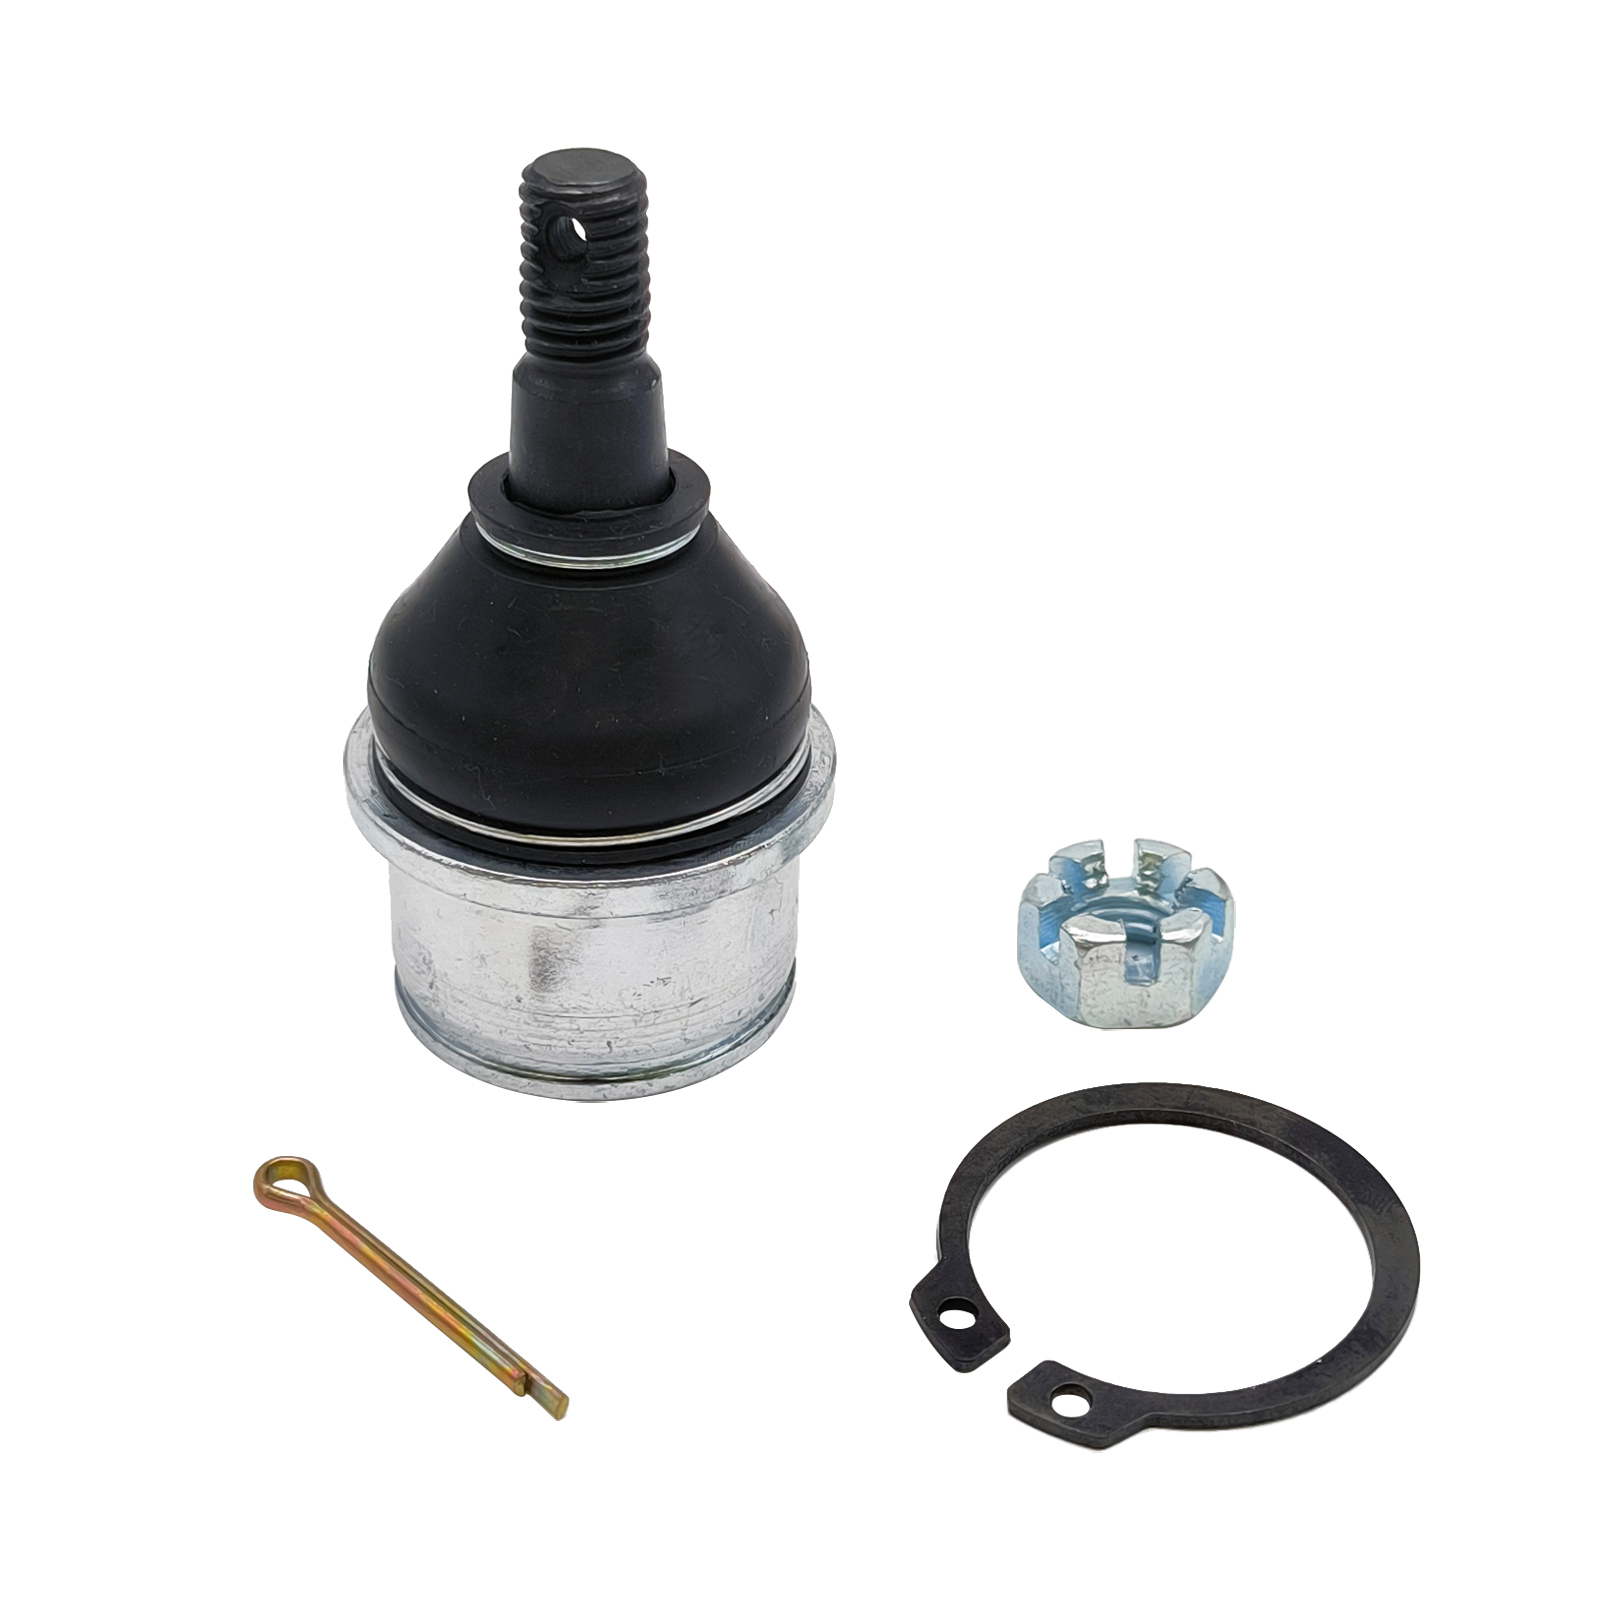
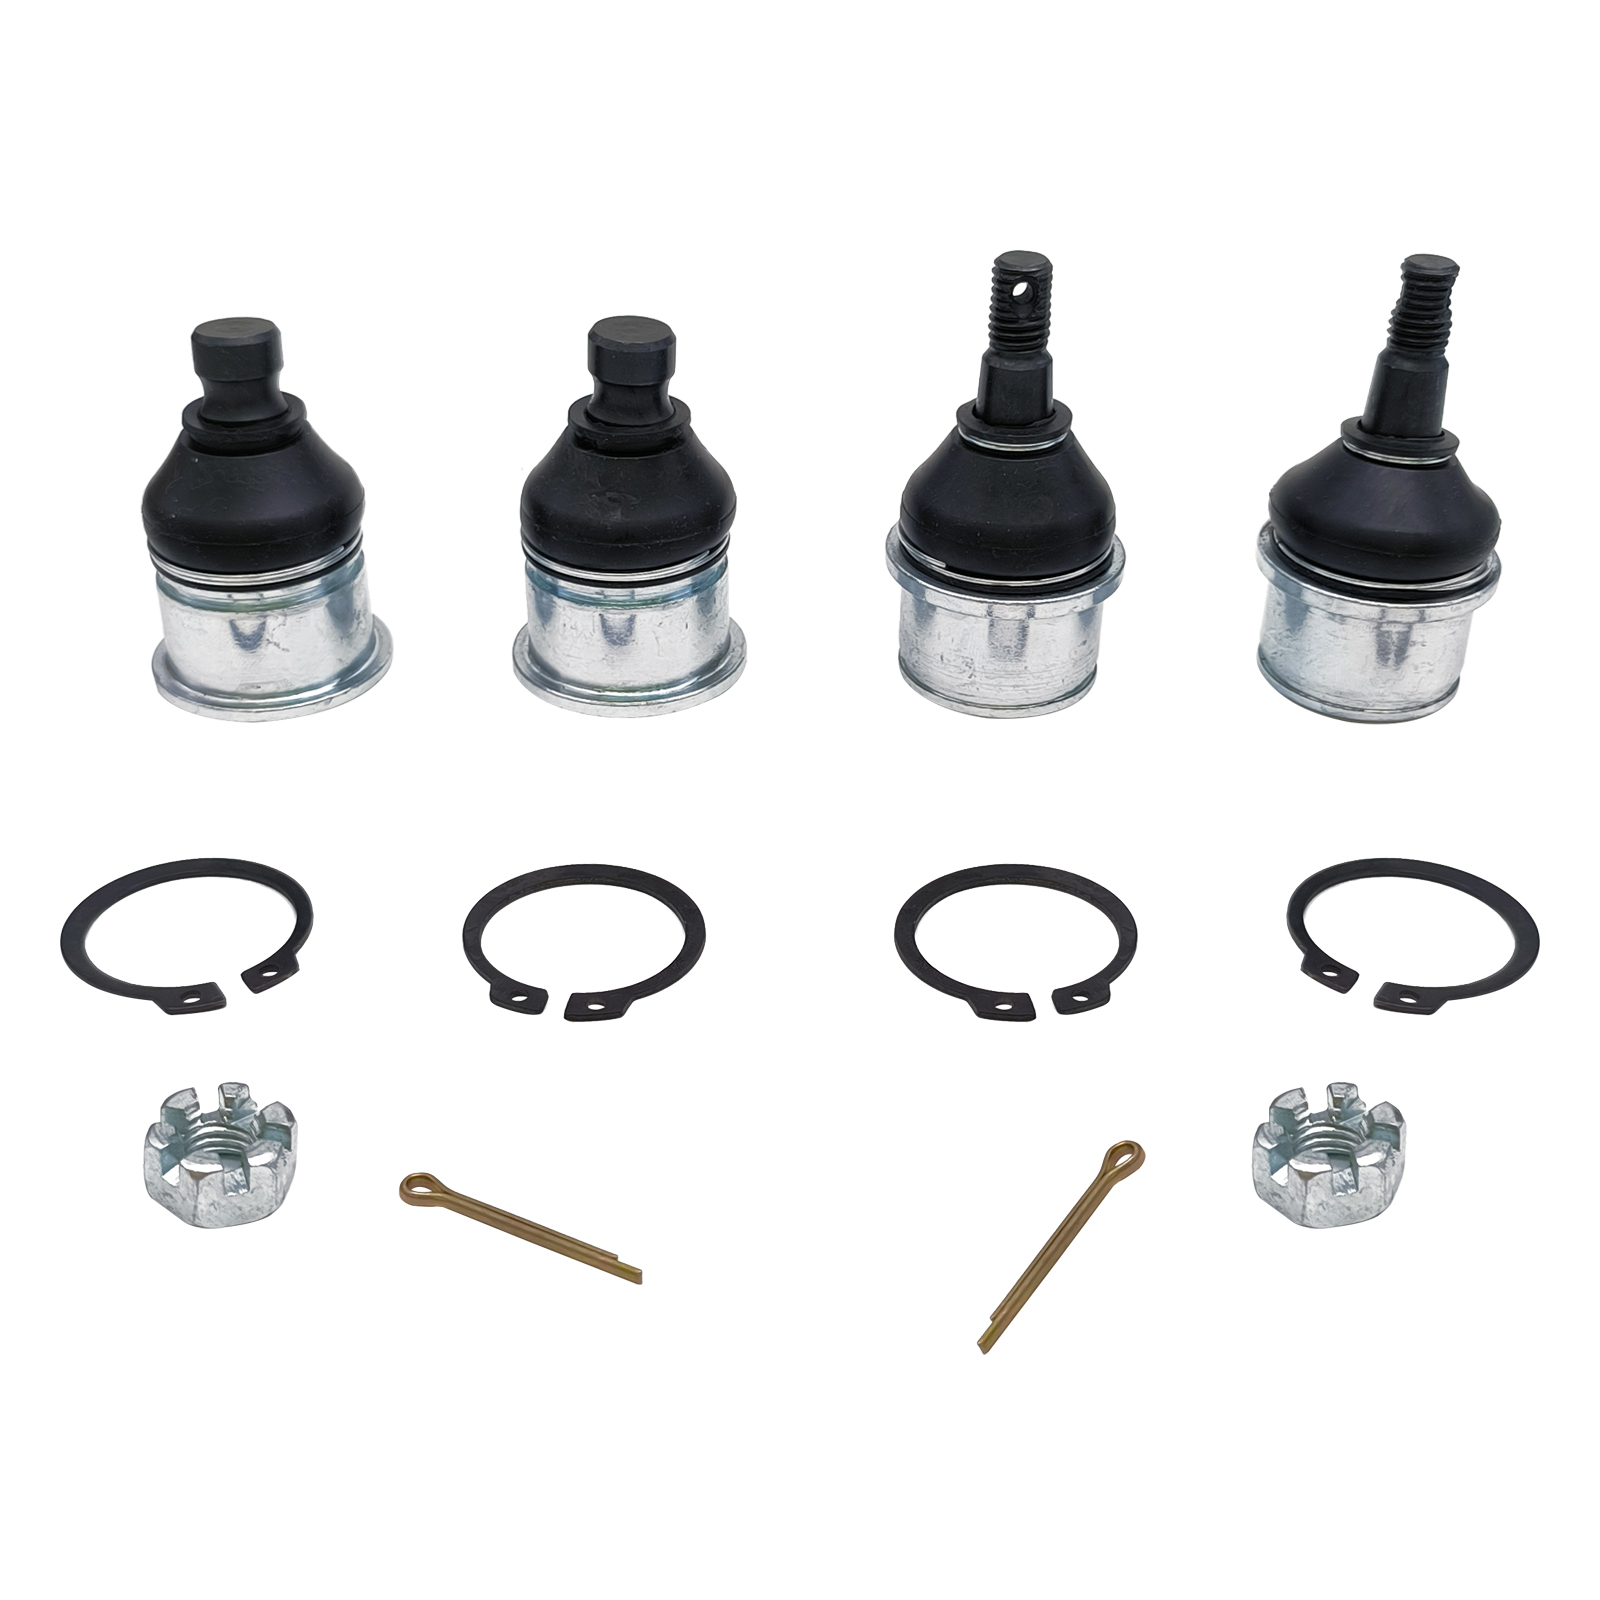

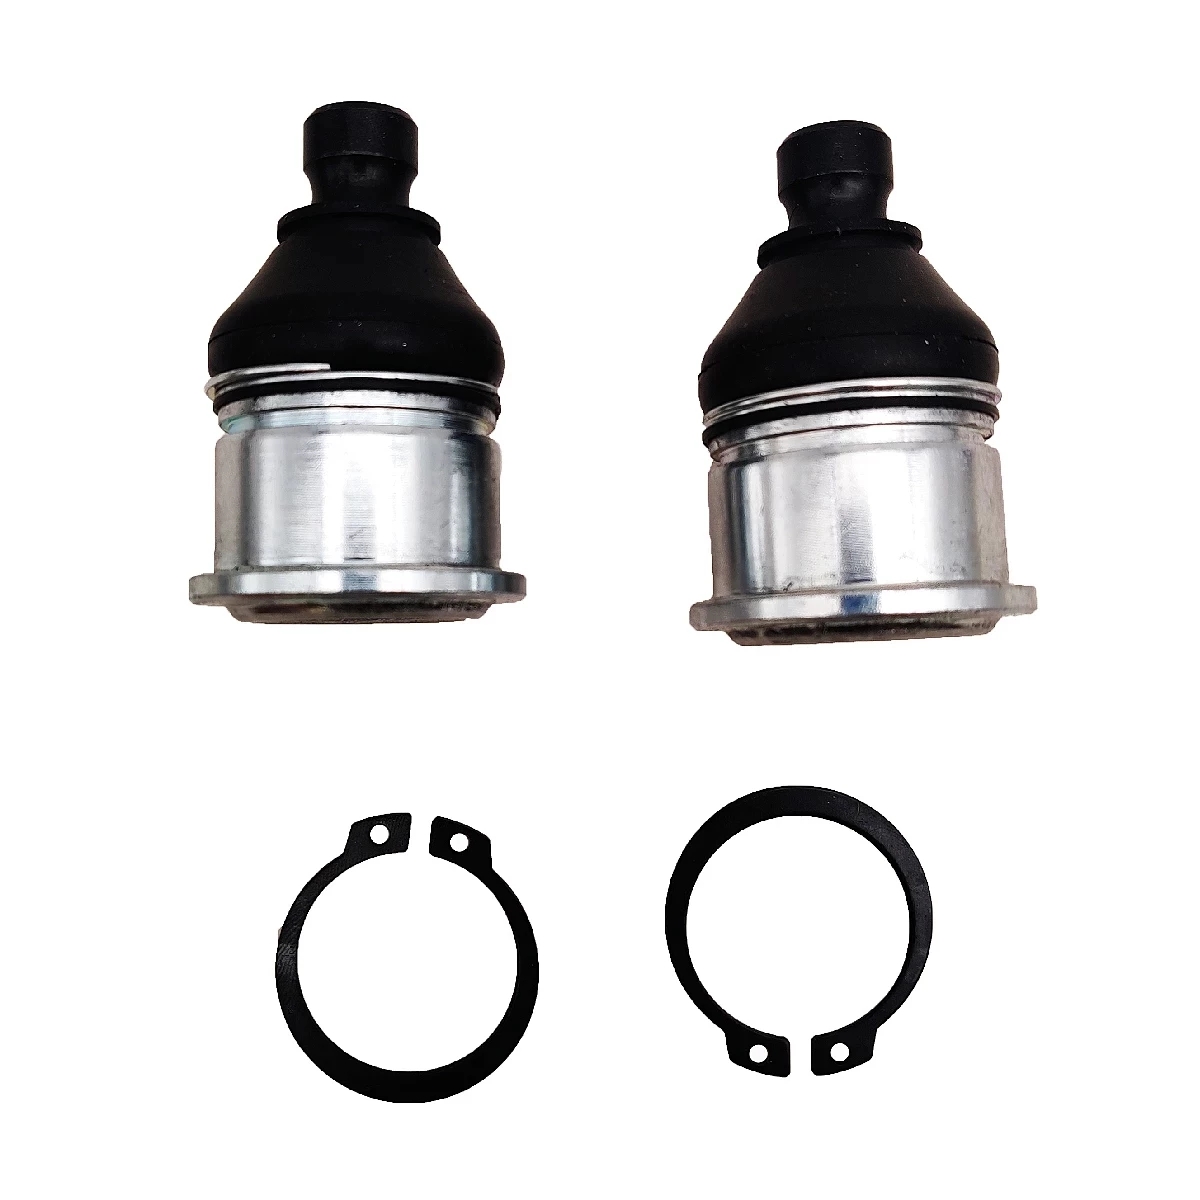
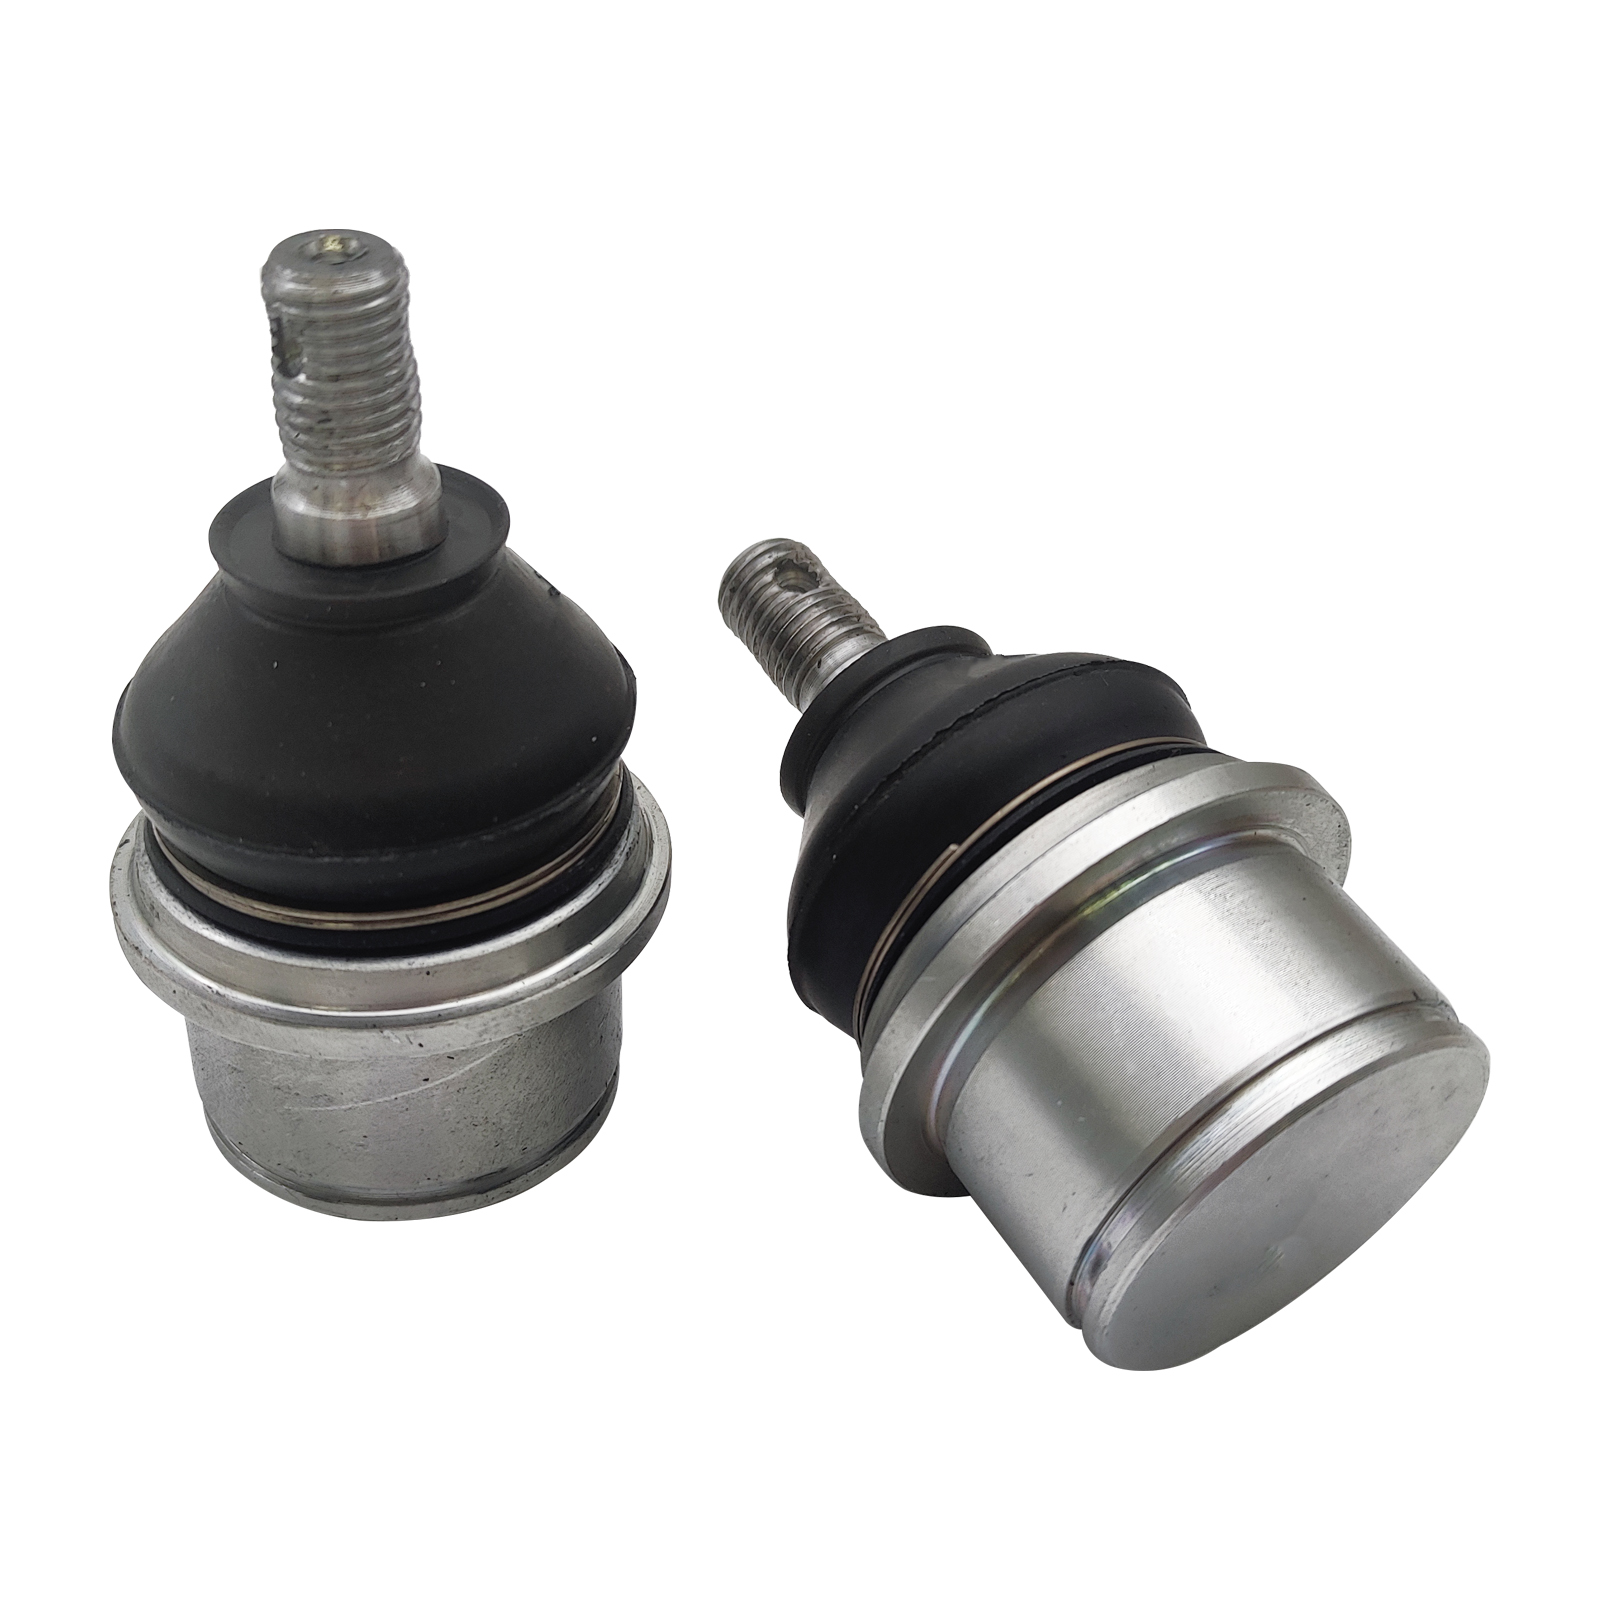
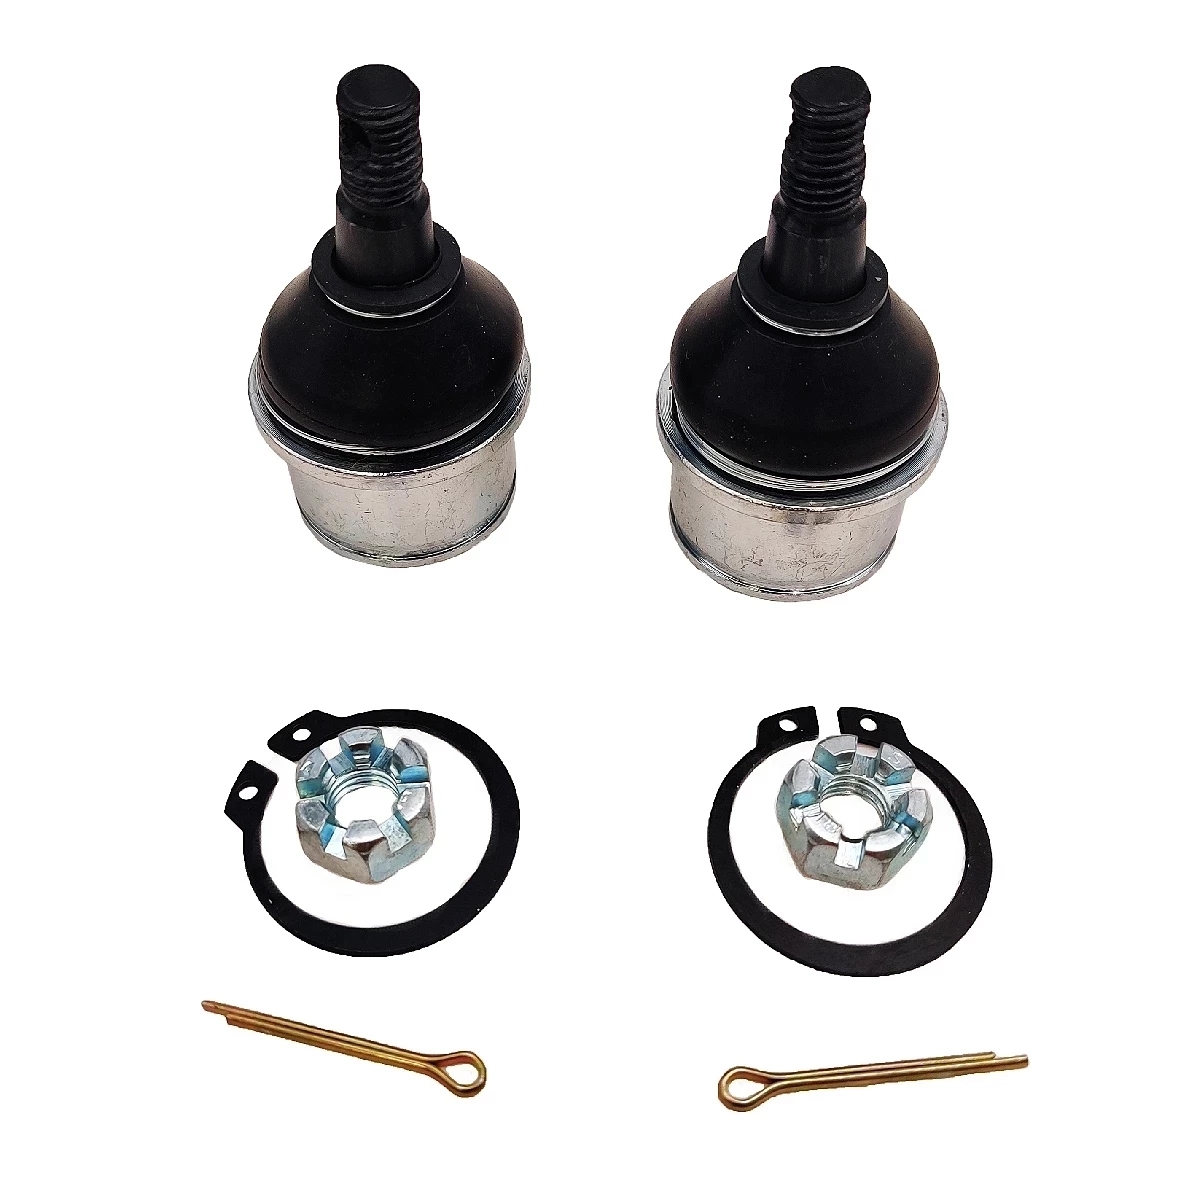
Installation Instructions for Compatible Ball Joint for ATV Models CF500A 2A X5 X6 X8
Tools Required:
- Wrench Set - for removing and tightening bolts.
- Socket Set - to securely fasten ball joint nuts.
- Ball Joint Separator Tool - for safely removing the old ball joint.
- Torque Wrench - to ensure proper tightening of bolts to manufacturer specifications.
- Hammer - for gently tapping the ball joint if necessary.
- Grease Gun - to apply grease to the new ball joint.
- Safety Glasses - to protect your eyes during installation.
- Gloves - to keep your hands clean and protected.
Installation Steps:
-
Preparation: Ensure the ATV is on a stable, level surface. Engage the parking brake and wear safety glasses and gloves.
-
Removal of the Old Ball Joint:
- Use the wrench and socket set to remove the nuts and bolts connecting the old ball joint to the suspension.
- Employ the ball joint separator tool to safely detach the old ball joint from its mounting.
-
Inspect the Area: Check the surrounding components for wear and tear. Clean the mounting area to ensure a good fit for the new ball joint.
-
Install the New Ball Joint:
- Position the new ball joint in place and align it with the mounting holes.
- Insert the bolts and hand-tighten them first, then use a wrench to secure them fully.
- Use the torque wrench to tighten the bolts according to the manufacturer's specifications.
-
Apply Grease: Use the grease gun to apply lubricant to the ball joint, ensuring it is properly lubricated for optimal performance.
-
Final Check: Once everything is installed, double-check all the connections and make sure everything is secure.
-
Test the ATV: Carefully test the ATV in a safe area to ensure everything is functioning properly.
By following these instructions, you will ensure a successful installation of your Compatible Ball Joint, enhancing your ATV’s performance and reliability.

