
Gexpress Is a Startup Dedicated to You. Shop With Confidence—Refunds Are Easy Through !

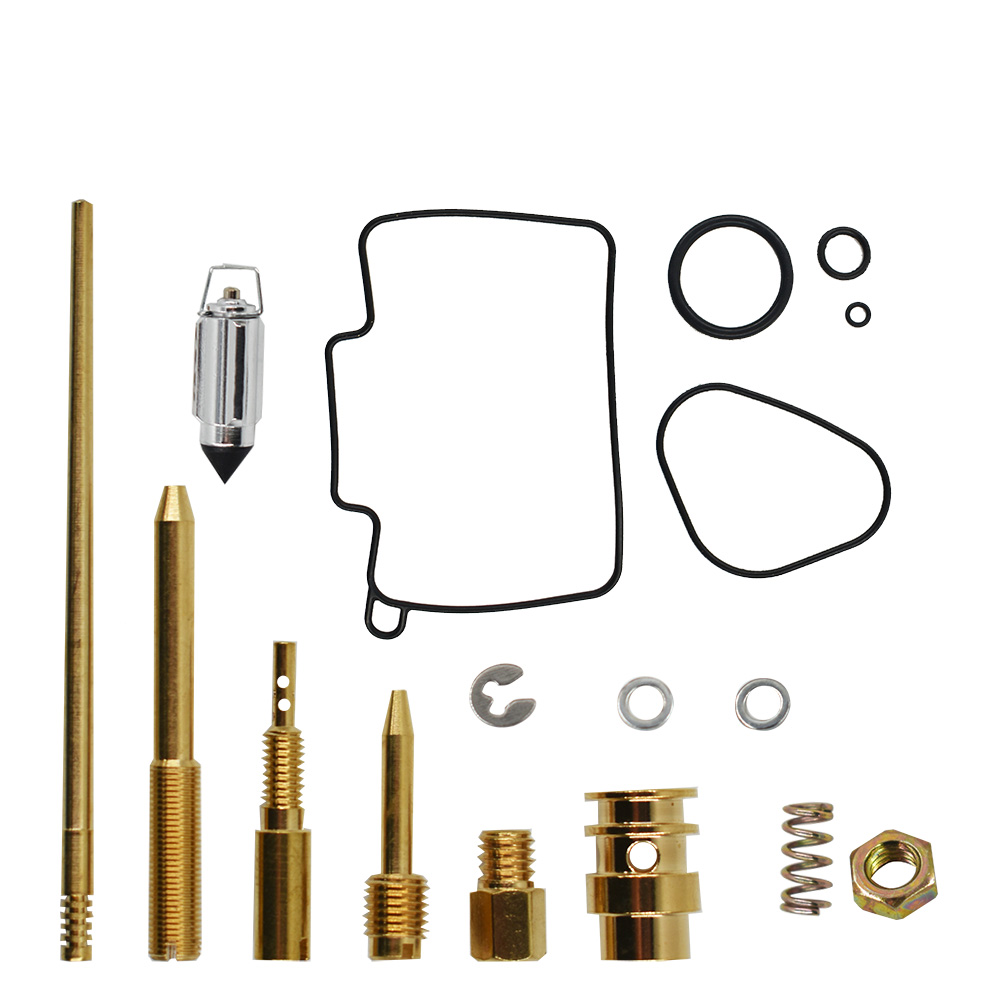
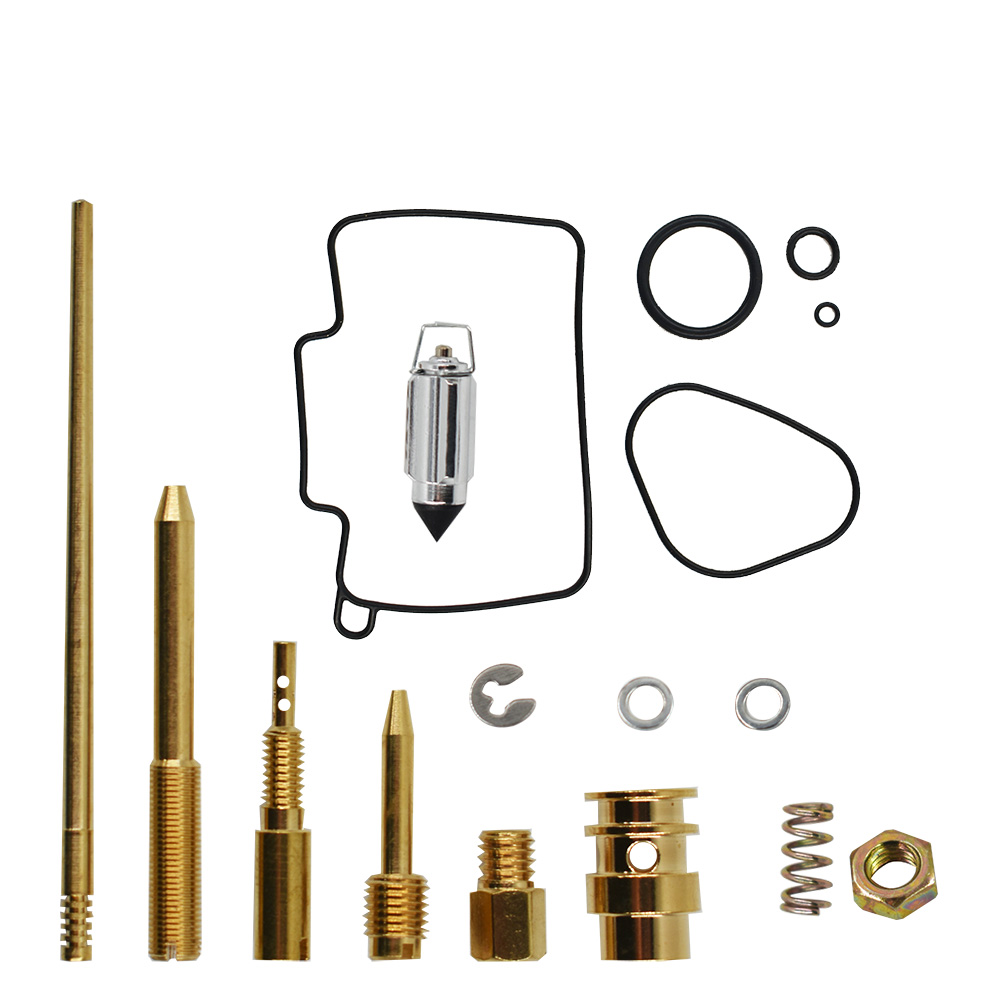
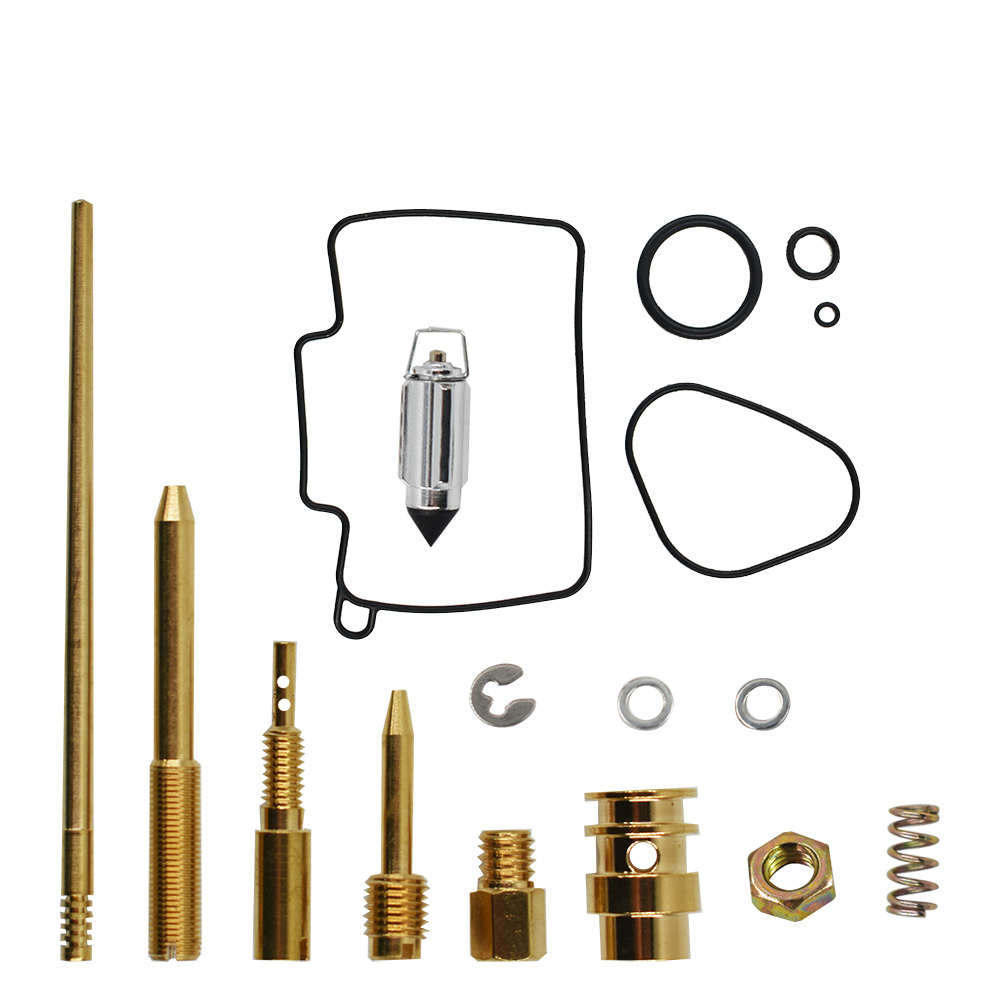
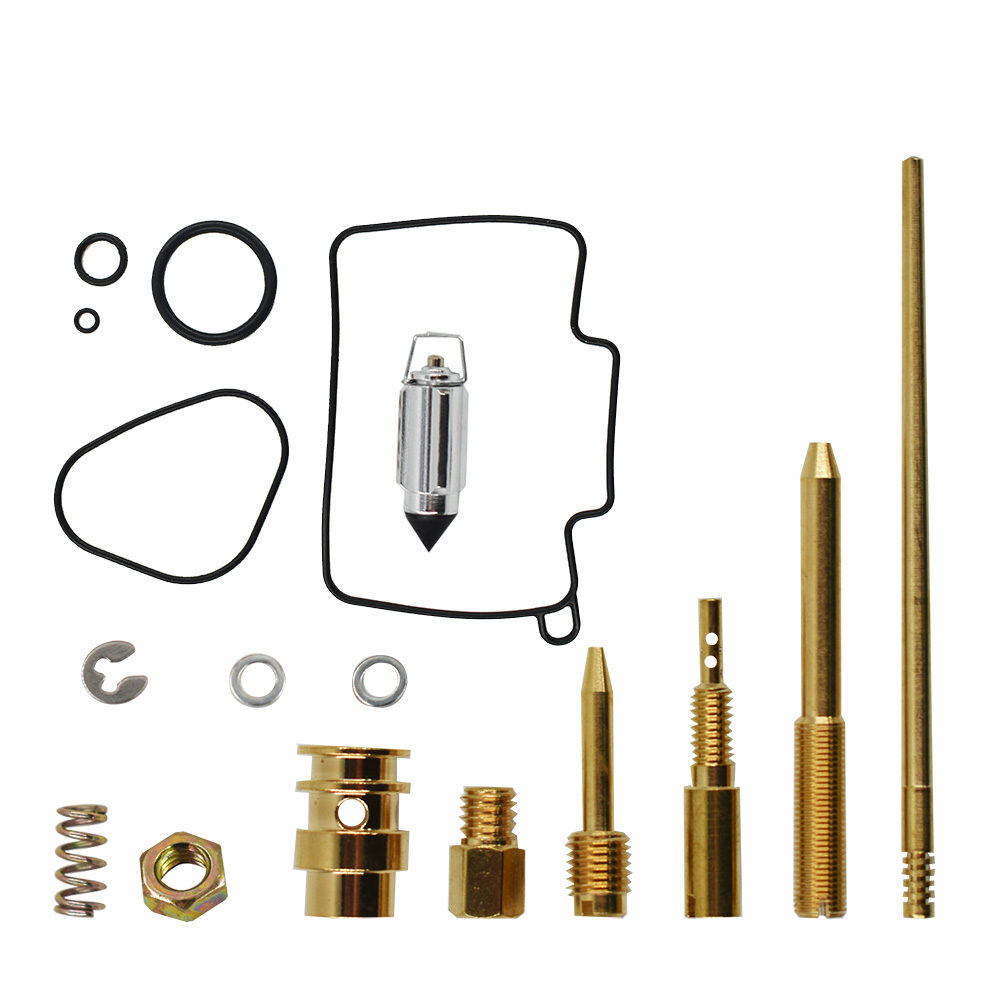
Product Installation Instructions for Carburetor Repair Kit for S RM125 Models 2001 to 2006
Required Tools:
-
Screwdriver Set
- Phillips and flathead screwdrivers for removing and securing screws.
-
Socket Wrench Set
- For loosening and tightening bolts on the carburetor assembly.
-
Pliers
- To help grip and maneuver small parts or clamp hoses.
-
Clean Rags or Paper Towels
- For cleaning surfaces and wiping off any excess fuel.
-
Small Container or Tray
- To hold screws and small parts during disassembly.
-
Fuel Line Disconnect Tool (if necessary)
- Helps safely detach fuel lines without causing damage.
-
Safety Goggles
- Protects your eyes during the disassembly and installation process.
-
Gloves
- To protect your hands from fuel and dirt.
Installation Steps:
-
Prepare the Work Area:
- Find a clean, well-lit workspace. Gather all necessary tools.
-
Remove the Seat and Fuel Tank:
- Use the appropriate screwdrivers and socket wrenches to carefully remove the seat and fuel tank.
-
Detach the Carburetor:
- Disconnect any fuel lines and cables attached to the carburetor using pliers or a fuel line disconnect tool. Carefully unscrew the carburetor from its mounting.
-
Disassemble the Carburetor:
- Refer to the installation guide included in the repair kit to properly take apart the carburetor.
-
Replace the Internal Parts:
- Install the new parts from the Carburetor Repair Kit, ensuring they fit snugly and correctly according to the guide.
-
Reassemble the Carburetor:
- Carefully put the carburetor back together, following the reverse steps of disassembly.
-
Reinstall the Carburetor:
- Attach the carburetor back to the bike, ensuring all screws and bolts are tightened securely.
-
Reconnect Fuel Lines:
- Make sure all fuel lines and cables are properly reattached.
-
Reinstall the Fuel Tank and Seat:
- Put the fuel tank and seat back on, securing them with screws.
-
Test the Engine:
- Turn on the fuel valve, start the engine, and check for any leaks or irregularities. Adjust as necessary.
Note: Always consult the repair kit's instructions for specific details and illustrations that can help you throughout the installation process.
Enjoy your enhanced engine performance!

