
Gexpress Is a Startup Dedicated to You. Shop With Confidence—Refunds Are Easy Through !

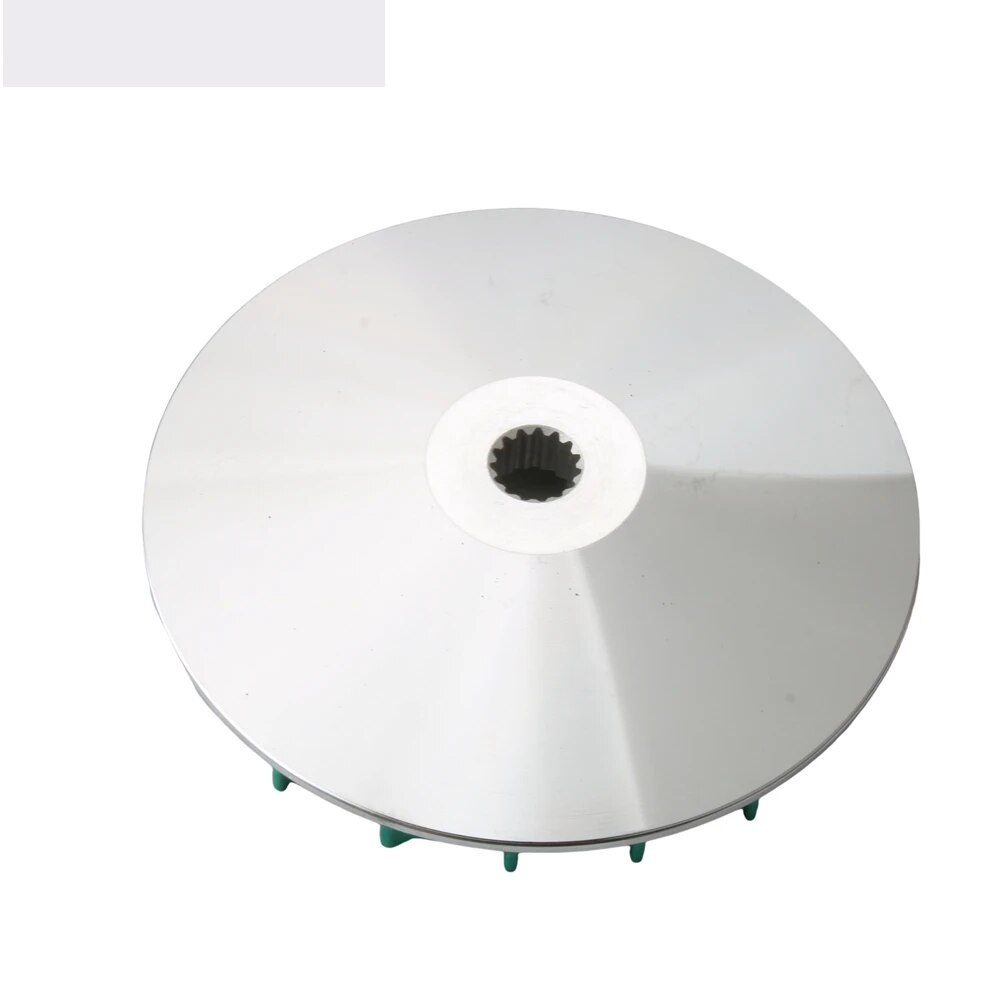
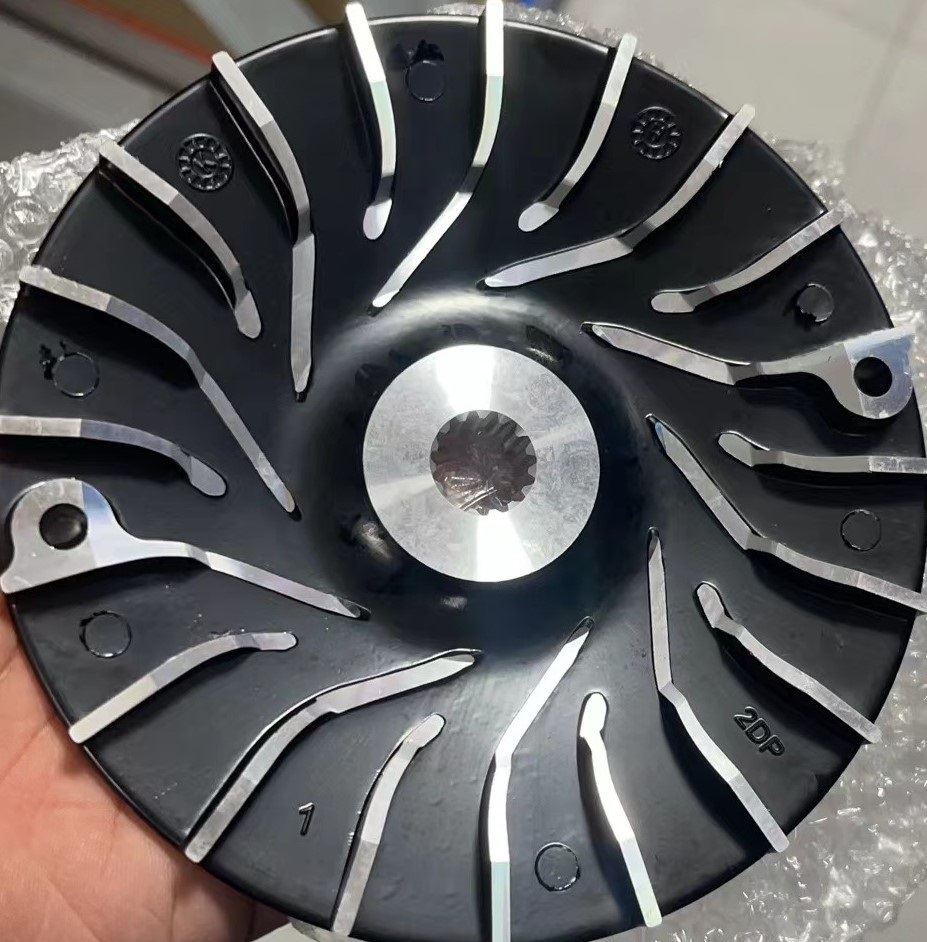
Product Installation Instructions for Performance CVT Variator Fan (155cc Compatible with 155 Aerox, NVX, and NMAX)
Tools Required:
- Socket Wrench Set: For removing the bolts securing the cover and fan.
- Screwdriver Set: A Phillips head screwdriver may be necessary for certain screws.
- Pliers: To assist with gripping small components or wires.
- Torque Wrench: To ensure bolts are tightened to manufacturer specifications.
- Work Gloves: To protect your hands during installation.
- Safety Glasses: To safeguard your eyes from debris.
- Cleaning Cloth: For cleaning areas before installation.
Installation Steps:
-
Prepare Your Workspace: Make sure you have enough space to work comfortably and gather all your tools.
-
Disconnect Battery: Before starting the installation process, disconnect the motorcycle’s battery to prevent any accidental short circuits.
-
Remove the Existing Cover: Use your socket wrench to remove any bolts securing the variator cover. Carefully take off the cover and set it aside.
-
Remove the Old Fan: Locate the old CVT fan and disconnect it. Unscrew any securing bolts or clips, and carefully remove the old fan, taking care not to damage any surrounding components.
-
Install the New CVT Variator Fan: Place the new Performance CVT Variator Fan into the same position as the old fan. Secure it with the screws or clips that were removed earlier.
-
Reattach the Cover: Once the new fan is securely in place, reattach the variator cover. Ensure that all bolts are tightened to the correct torque specifications using the torque wrench.
-
Reconnect the Battery: Once the cover is secured, reconnect the motorcycle's battery.
-
Test the Installation: Start the engine and let it run for a few minutes. Check for any unusual noises and verify that the fan is functioning properly.
-
Final Check: Make sure everything is secured and clean up your workspace.
By following these steps and using the required tools, you can successfully install your new Performance CVT Variator Fan, enhancing your motorcycle's performance and reliability. Enjoy the improved riding experience!

