
Gexpress Is a Startup Dedicated to You. Shop With Confidence—Refunds Are Easy Through !

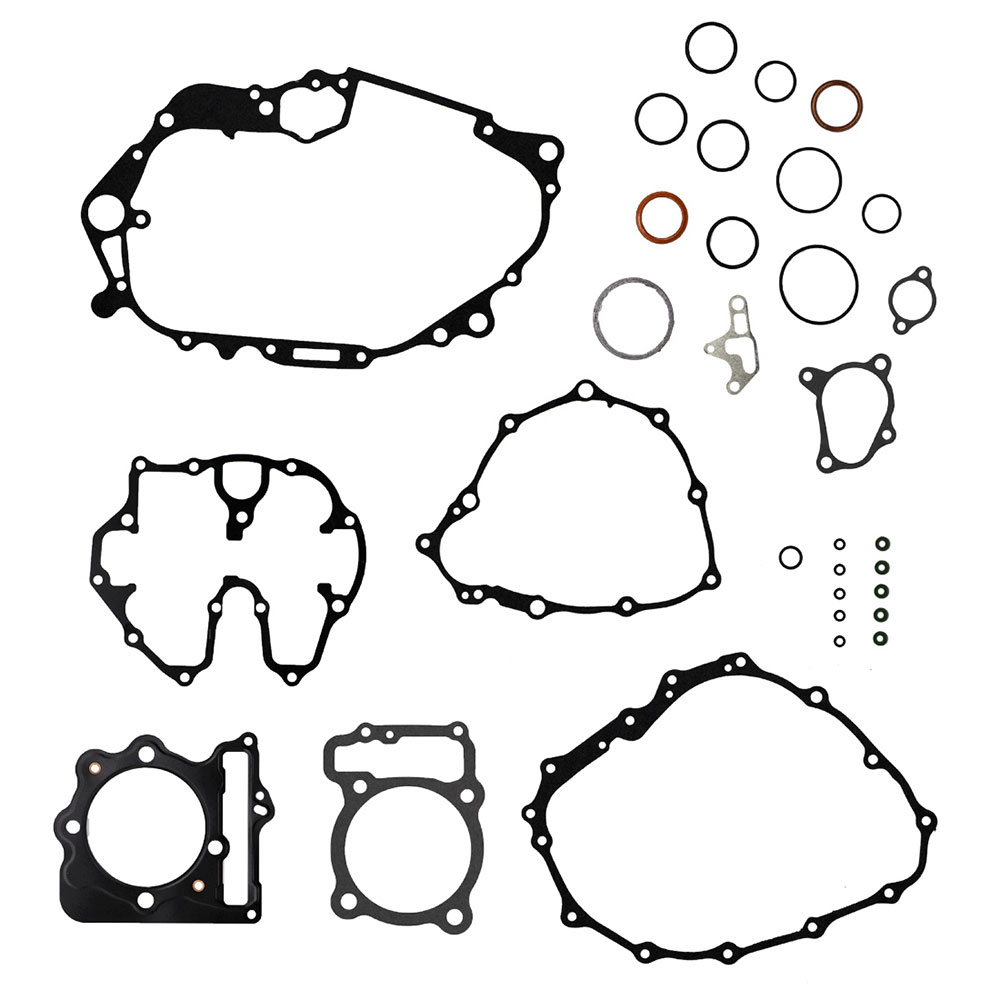
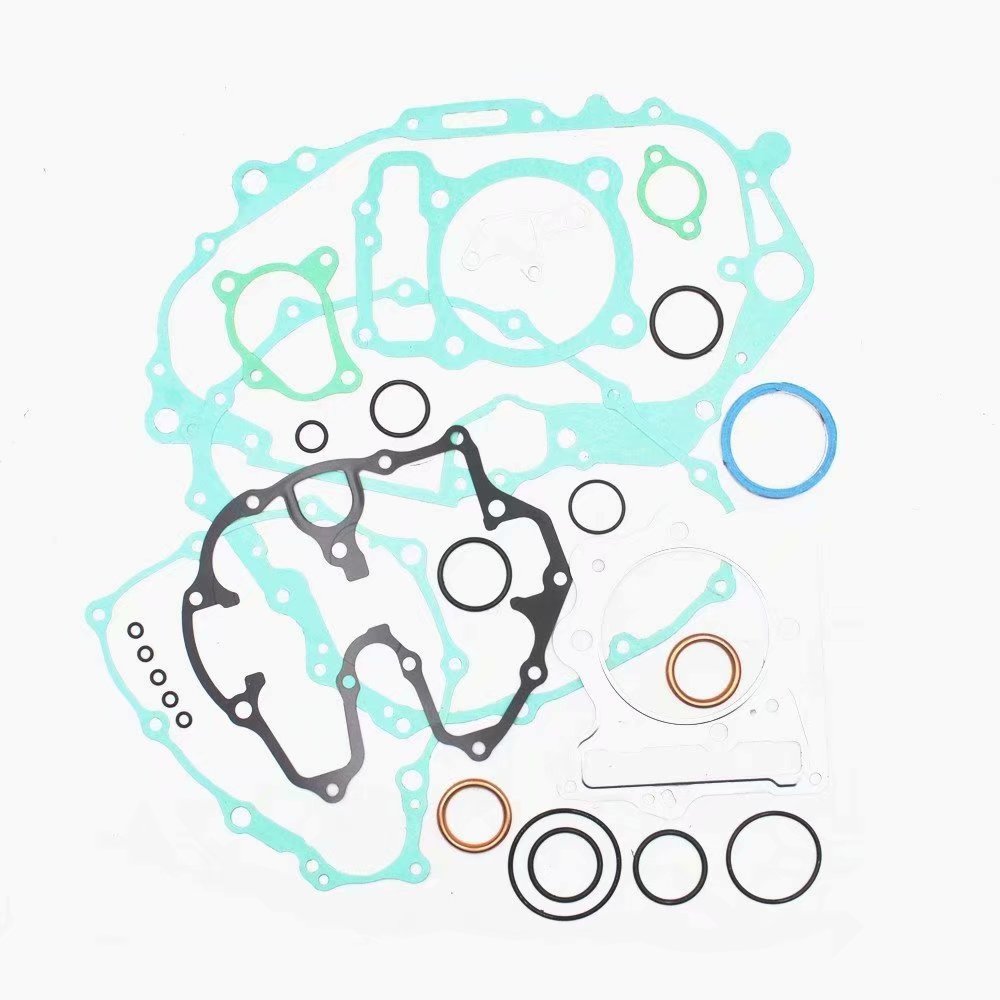
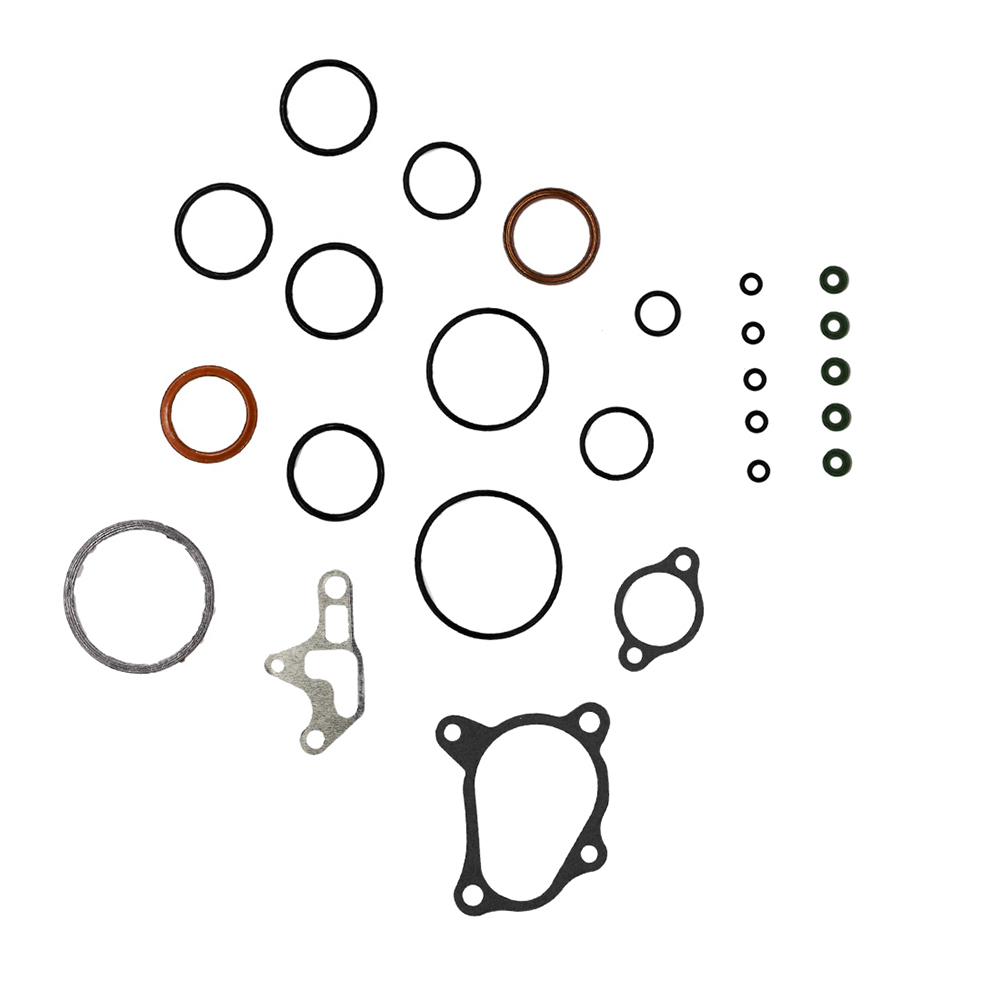
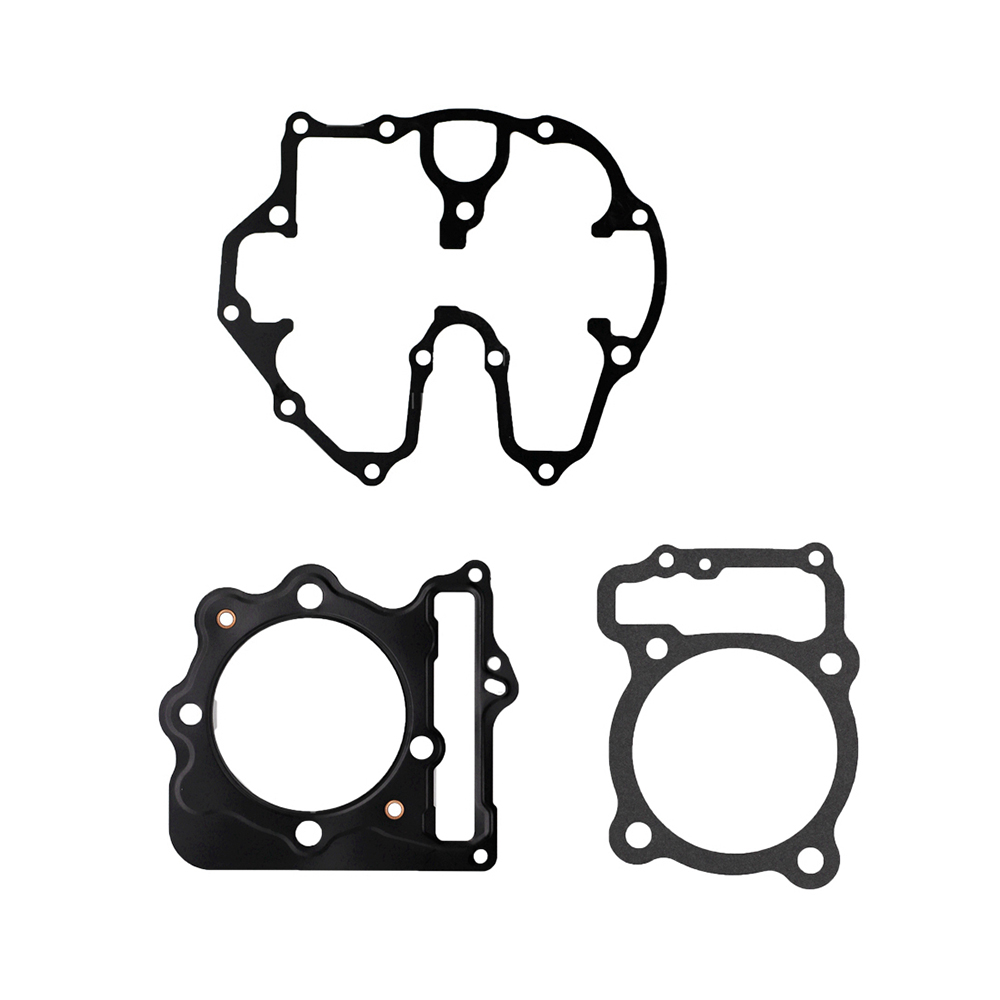
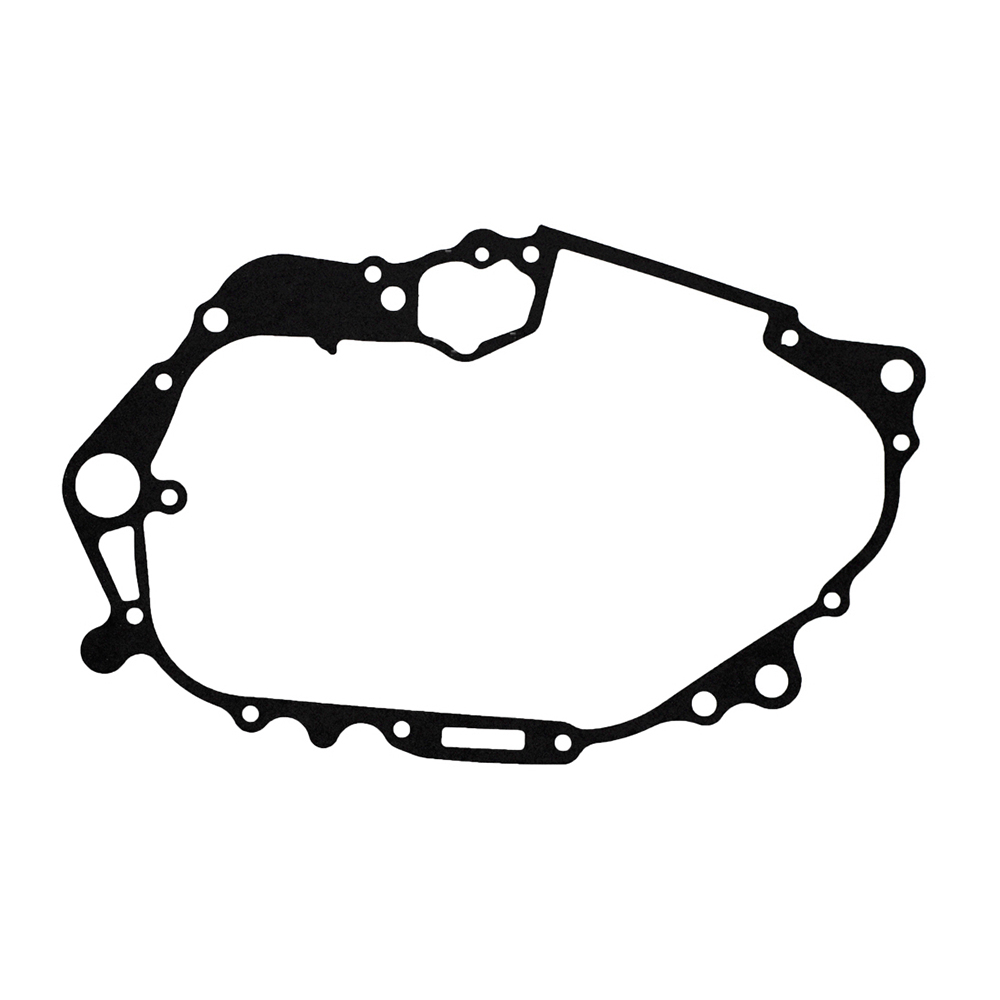
Installation Instructions for Complete Gasket Kit for TRX 400EX 400X (1999-2014) and XR400R (1996-2004)
Tools Required:
- Socket Set: A complete socket set, including various sizes (typically 8mm to 14mm) for removing and fastening bolts.
- Wrenches: Open-end and box-end wrenches for tightening and loosening nuts and bolts.
- Torque Wrench: Essential for ensuring that bolts are tightened to the manufacturer's specified torque settings.
- Screwdrivers: A flathead and Phillips screwdriver for any additional components that may need to be removed.
- Pliers: Needle-nose and standard pliers for handling any clips or tight spaces.
- Gasket Scraper: To remove old gaskets and clean surfaces before installation.
- Clean Rags: For cleaning the engine surfaces before applying new gaskets.
- Sealant (if necessary): Check compatibility as some applications might require an additional sealant.
- Bucket or Container: To store bolts and small parts during disassembly.
- Protective Gear: Gloves and safety glasses to protect your hands and eyes during the installation process.
Installation Steps:
-
Preparation: Make sure the engine is cool to the touch. Disconnect the battery to prevent any electrical issues.
-
Remove Old Components: Carefully take off the parts that are obstructing access to the gaskets. Use your socket set and wrenches for this process.
-
Clean Surfaces: Use the gasket scraper to remove old gasket material from the mating surfaces. Make sure the surfaces are clean and free of debris to ensure a proper seal.
-
Layout New Gaskets: Arrange the new gaskets from the Complete Gasket Kit as per the manual. Ensure the gaskets are the correct size and shape for each component.
-
Install New Gaskets & Seals: Start installing the new gaskets and seals according to the specific instructions for your engine. Make sure to position them correctly.
-
Reassemble Components: Carefully reattach all the components that were removed. Use the torque wrench to tighten bolts to the specified torque settings as per the manufacturer’s guidelines.
-
Final Checks: Before reconnecting the battery, inspect all connections and ensure everything is tightened properly.
-
Testing: Once installation is complete, reconnect the battery and start the engine to check for leaks and ensure everything is functioning properly.
Note: Always refer to the user manual for specific instructions and torque specifications related to your model. Happy DIYing!

