
Gexpress Is a Startup Dedicated to You. Shop With Confidence—Refunds Are Easy Through !

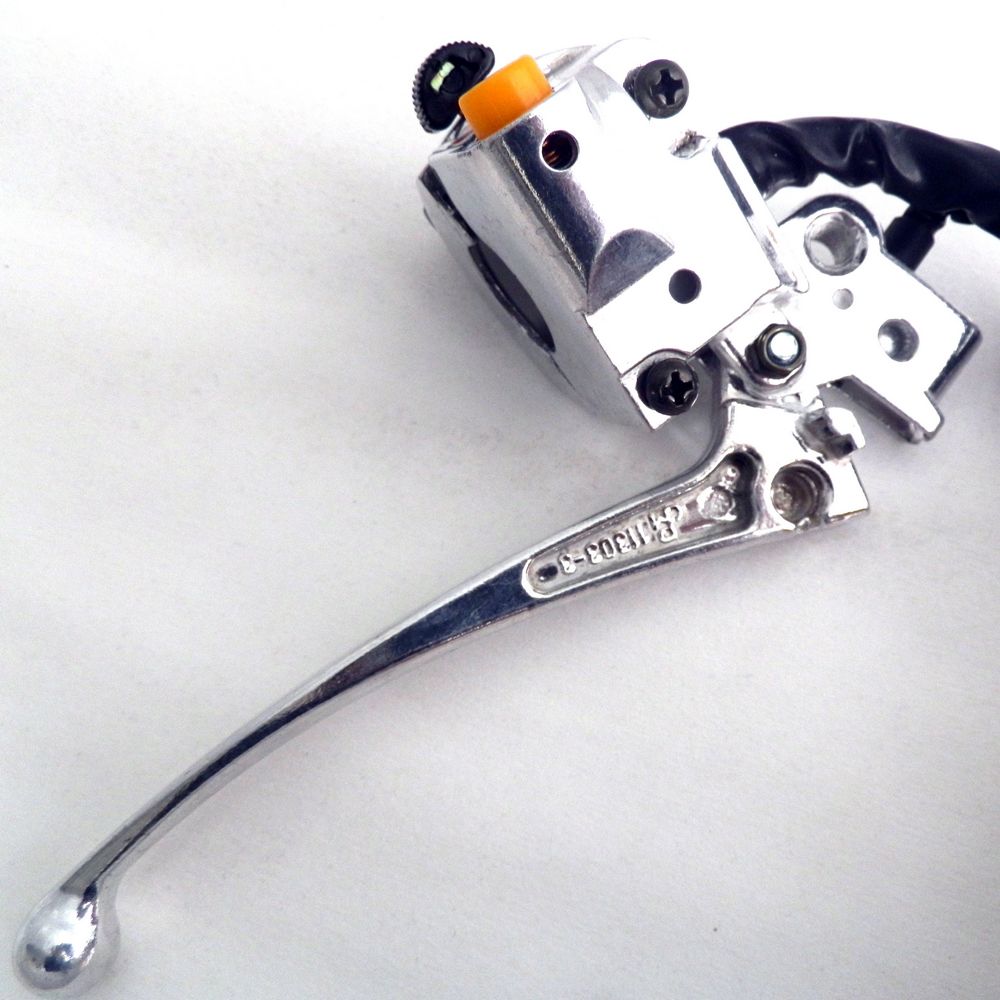
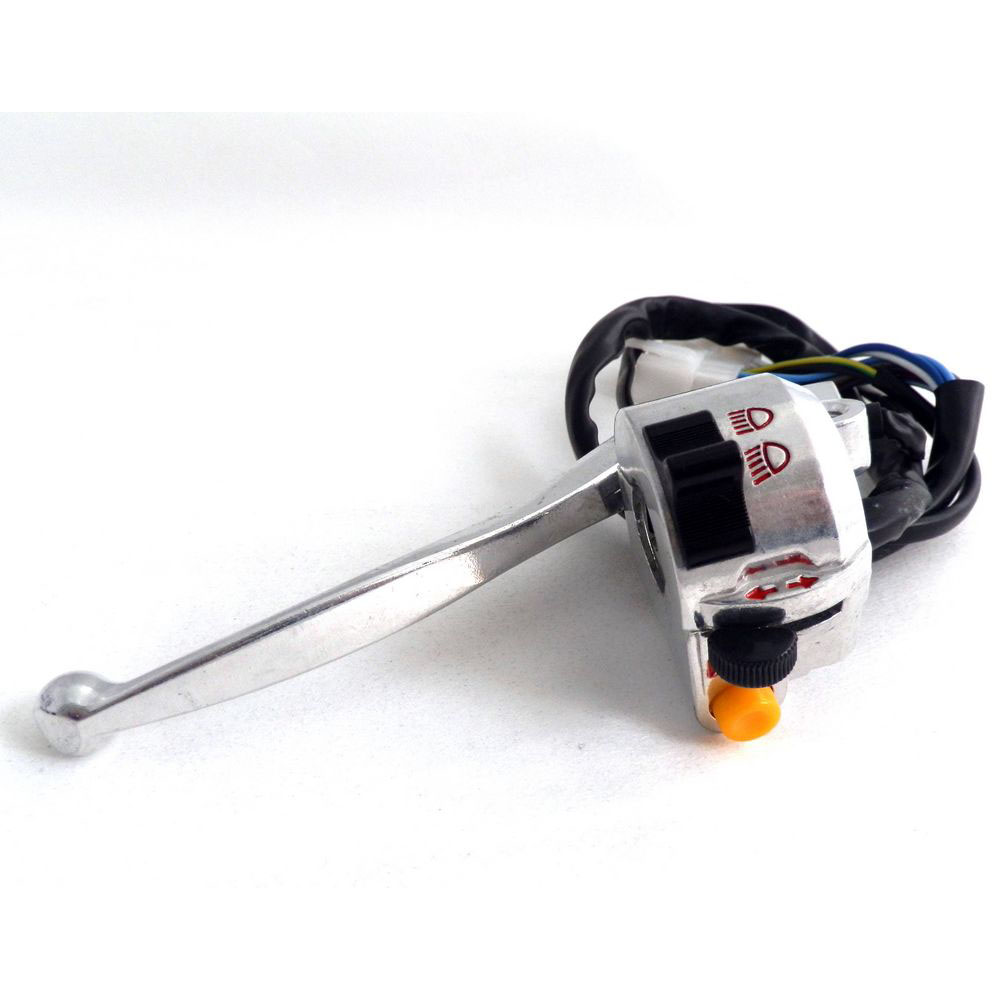
Here is the product installation manual for the Left Handlebar Control Switch for Retro Style 50cc Scooters:
Preparation
Before installing the Left Handlebar Control Switch, please prepare the following tools and materials:
- The Left Handlebar Control Switch unit
- A screwdriver (preferably a Torx or hex key)
- A wire stripper (if necessary)
- Electrical tape or wire connectors
- The user manual for your specific 50cc scooter model
Tools Needed:
- Screwdriver (Torx or hex key)
- Wire stripper
- Pliers (optional)
Step 1: Remove the Old Switch (if applicable)
If your scooter already has a handlebar switch, you may need to remove it before installing the new switch. Use a screwdriver to loosen the screws holding the old switch in place. Gently pull the switch out of the handlebar and disconnect any wires connected to it .
Step 2: Connect the Wires
Connect the wires from the Left Handlebar Control Switch to the corresponding wires on your scooter's electrical system. Make sure to match the wire colors and use electrical tape or wire connectors to secure them.
Step 3: Mount the Switch
Place the Left Handlebar Control Switch into the handlebar and secure it with screws. Tighten the screws firmly to ensure the switch is held in place.
Step 4: Test the Switch
Turn on the scooter and test the switch to ensure it is functioning properly. Check that all controls, such as turn signals, headlights, and brakes, are working correctly.
Tips and Precautions:
- Make sure to consult your scooter's user manual for specific instructions on installing the Left Handlebar Control Switch.
- If you are not comfortable with electrical work, consider seeking professional assistance.
- Use proper safety precautions when working with electrical systems, such as wearing protective gloves and ensuring the scooter is turned off and in a well-ventilated area.
By following these steps and using the necessary tools, you should be able to successfully install the Left Handlebar Control Switch on your 50cc scooter.

