
Gexpress Is a Startup Dedicated to You. Shop With Confidence—Refunds Are Easy Through !

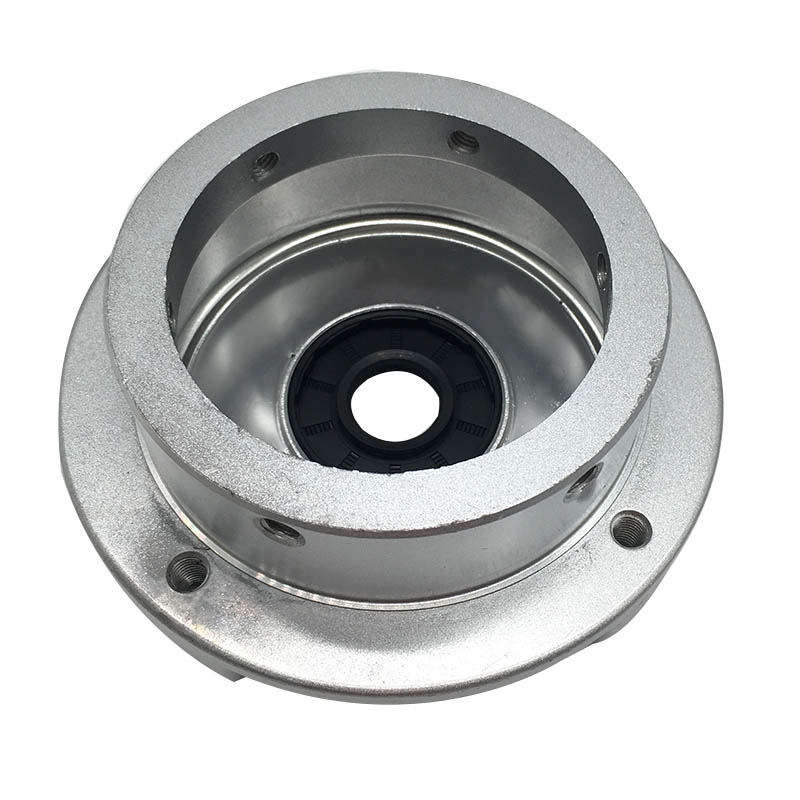
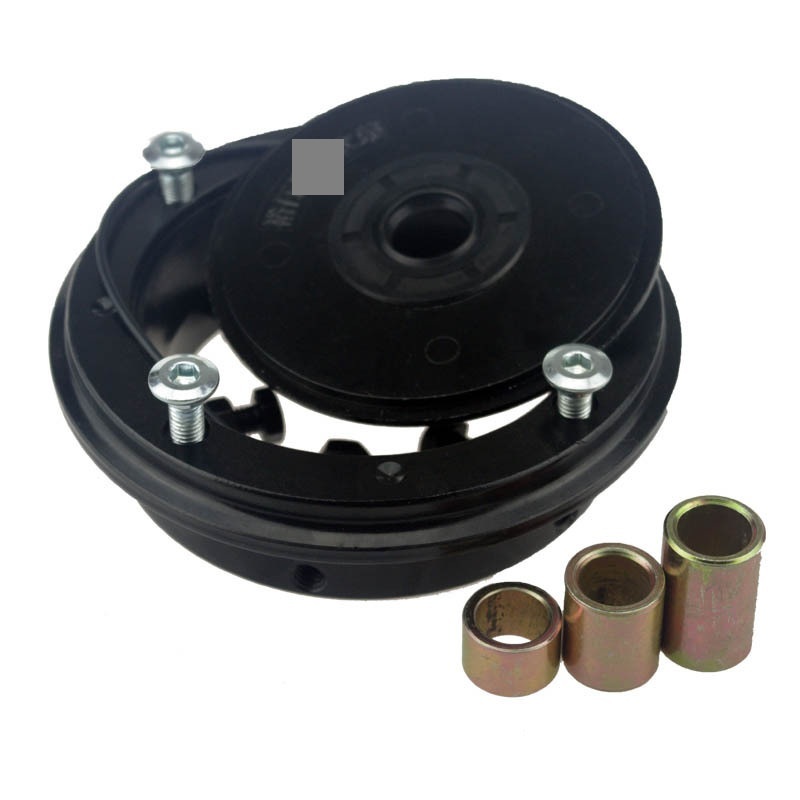
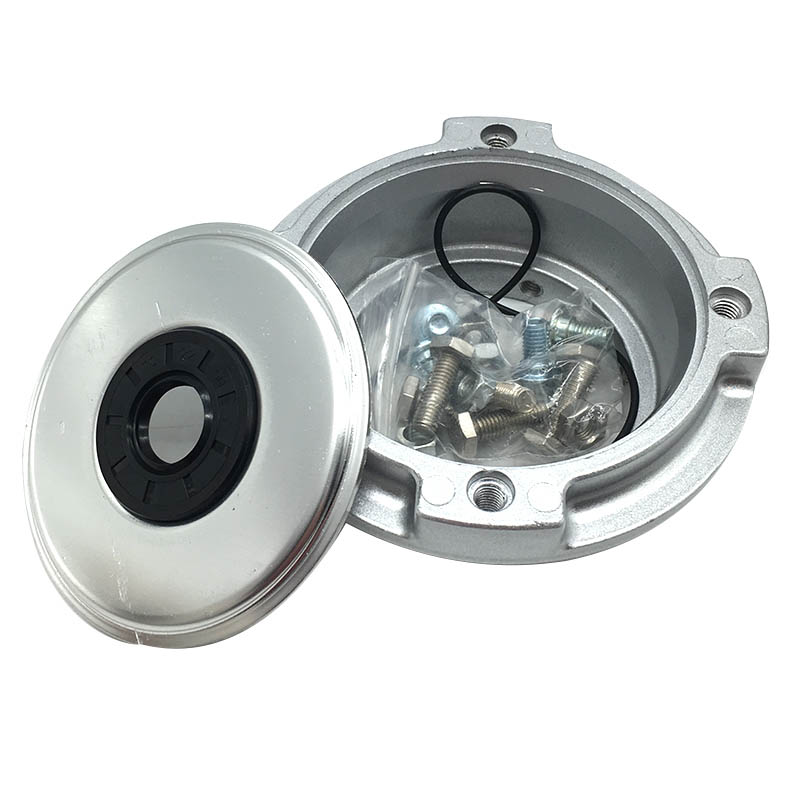
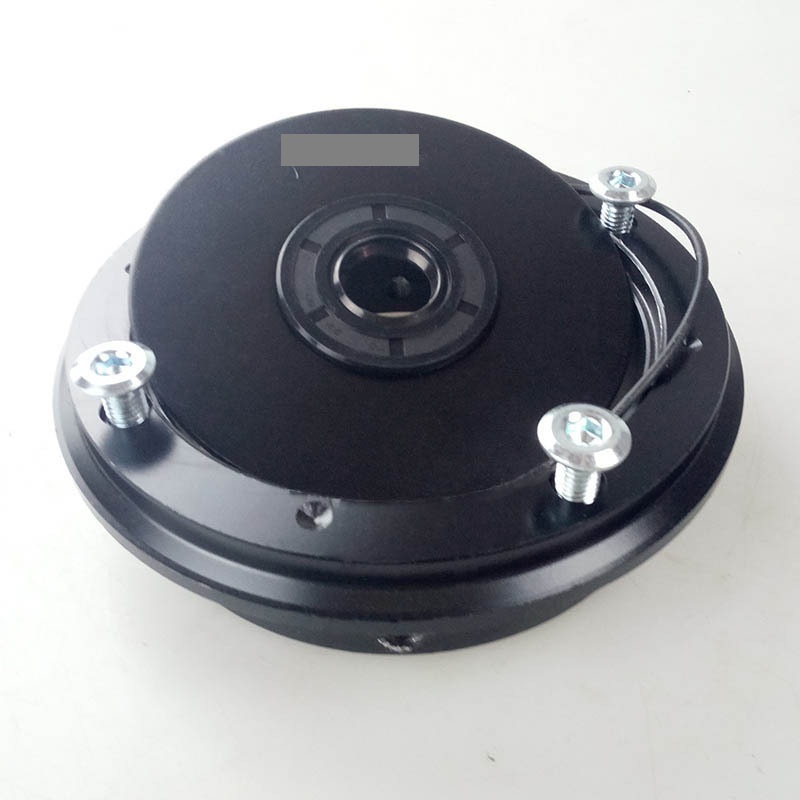
Product Installation Instructions for Universal Aluminum Brake Disc Hub Adapter for Drum to Disc Brake Conversion
Required Tools:
- Socket Wrench Set: To remove and install wheel nuts.
- Torque Wrench: To ensure all bolts are tightened to the manufacturer’s specifications.
- Screwdriver Set: To assist with any small screws or clips during installation.
- Pliers: For grasping and manipulating small parts.
- Brake Cleaner: To clean the brake components during the installation process.
- Jack and Jack Stands: To lift the vehicle safely and support it securely while you work.
- Brake Line Wrenches: If you need to disconnect any brake lines for the conversion.
- Measuring Tape: For checking the fitment of the adapter to ensure compatibility.
- Safety Goggles and Gloves: To protect your eyes and hands during installation.
Installation Steps:
-
Preparation: Park the vehicle on a level surface and engage the parking brake for safety. Gather all the necessary tools.
-
Lift Vehicle: Use the jack to lift the vehicle off the ground and secure it with jack stands.
-
Remove Wheels: Use the socket wrench to remove the wheel nuts and take off the wheels to access the drum brakes.
-
Disconnect Drum Brakes: Follow the manufacturer’s instructions to safely detach the drum brakes and any associated components.
-
Install Brake Disc Hub Adapter: Position the Universal Aluminum Brake Disc Hub Adapter in place, aligning it with the existing mount and holes in the vehicle.
-
Secure the Adapter: Use the provided bolts to secure the adapter. Ensure they are tightened appropriately using the torque wrench.
-
Install Disc Brakes: Attach the new disc brakes according to the manufacturer’s instructions, ensuring that all components are well-fitted.
-
Reconnect Brake Lines: If applicable, reconnect the brake lines, ensuring there are no leaks.
-
Repeat for Other Side: If you're converting both sides, repeat the process on the other wheel.
-
Reinstall Wheels: Place the wheels back onto the hubs, hand-tighten the nuts, and then lower the vehicle. Once it's on the ground, use the torque wrench to tighten the nuts to the proper specifications.
-
Final Check: Inspect all connections and ensure everything is tight and secure.
-
Test Drive: Before driving in traffic, take a short test drive to ensure that the brakes are functioning correctly.
Note: Always refer to the specific installation manual provided with your Universal Aluminum Brake Disc Hub Adapter for any model-specific instructions or guidelines.

