
Gexpress Is a Startup Dedicated to You. Shop With Confidence—Refunds Are Easy Through !

Auto parts
US /en/
USD
Hello, Sign In
Account & Lists
Cart
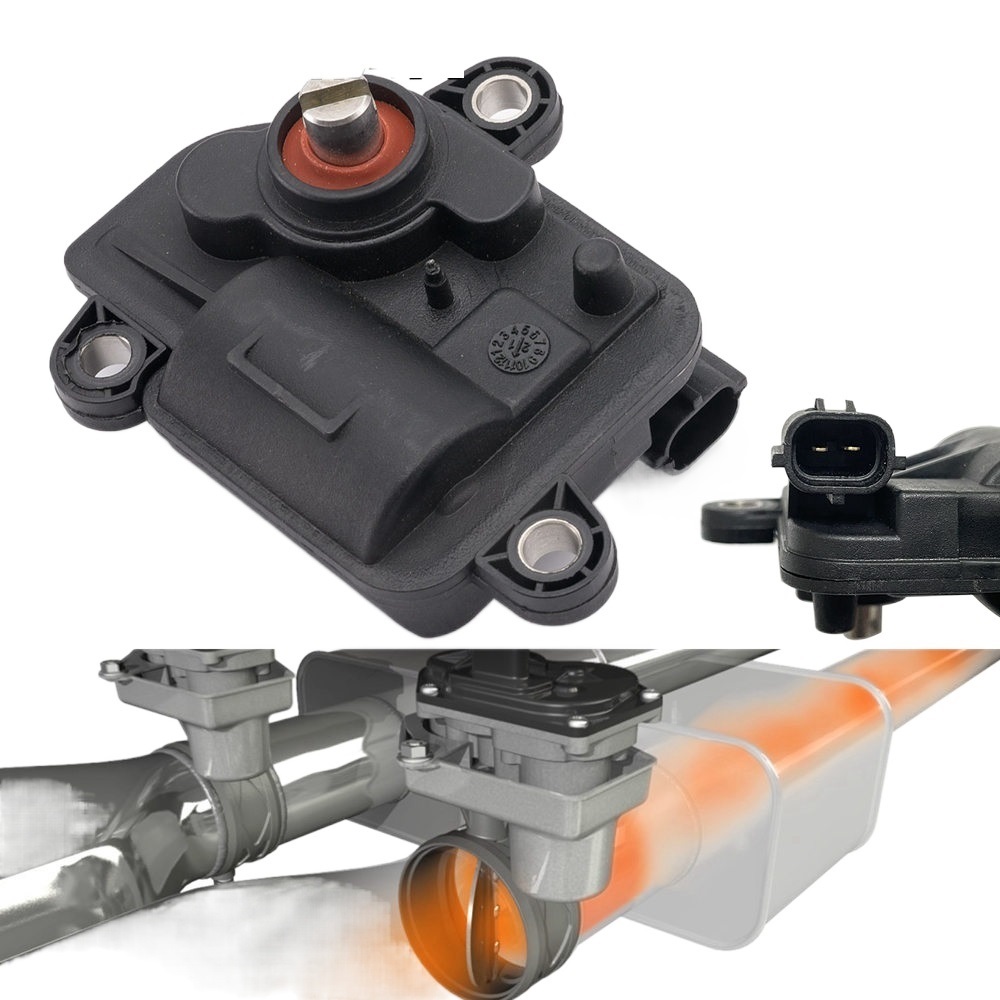
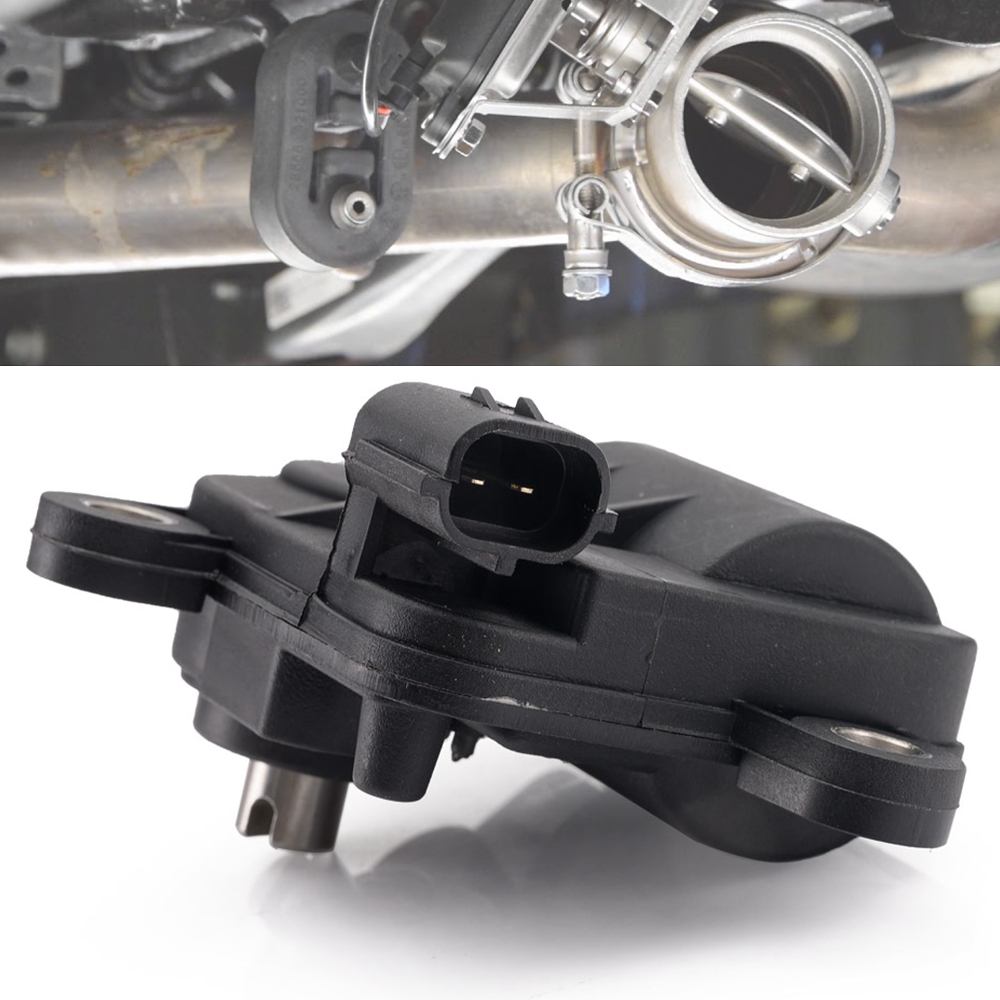
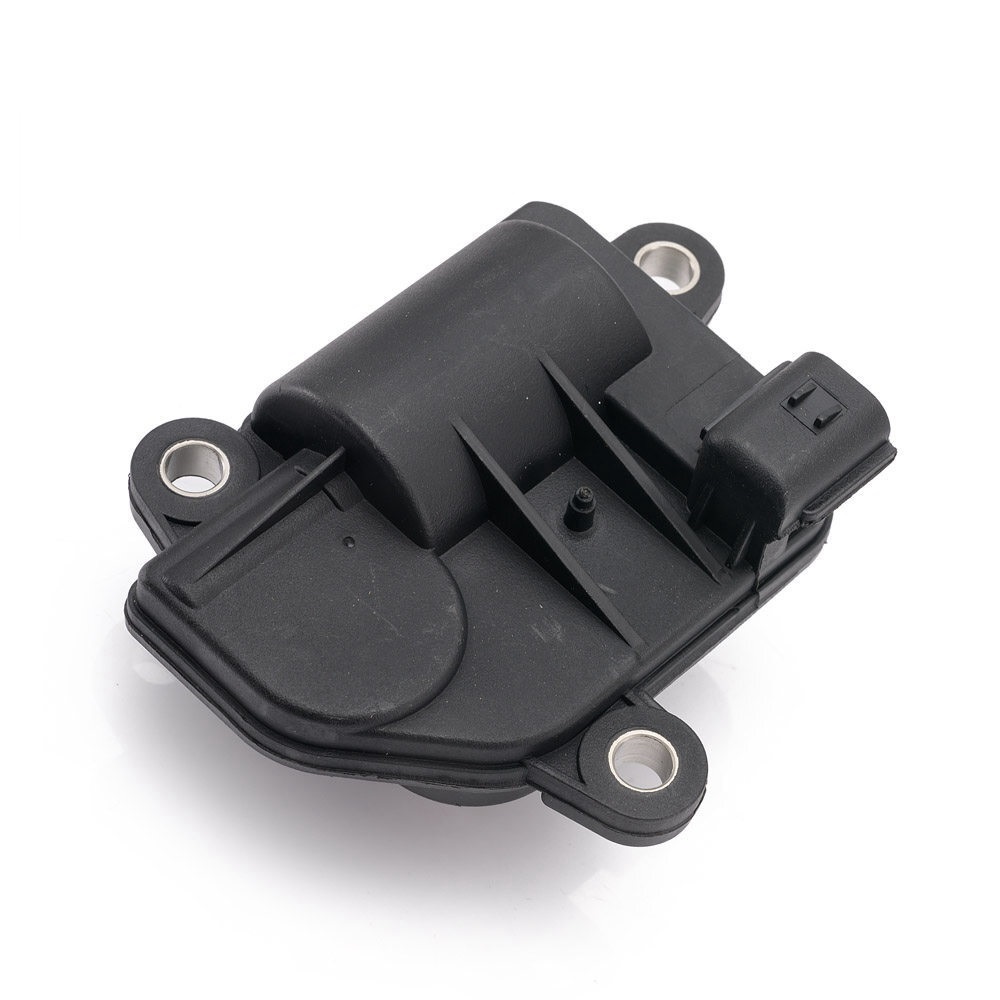
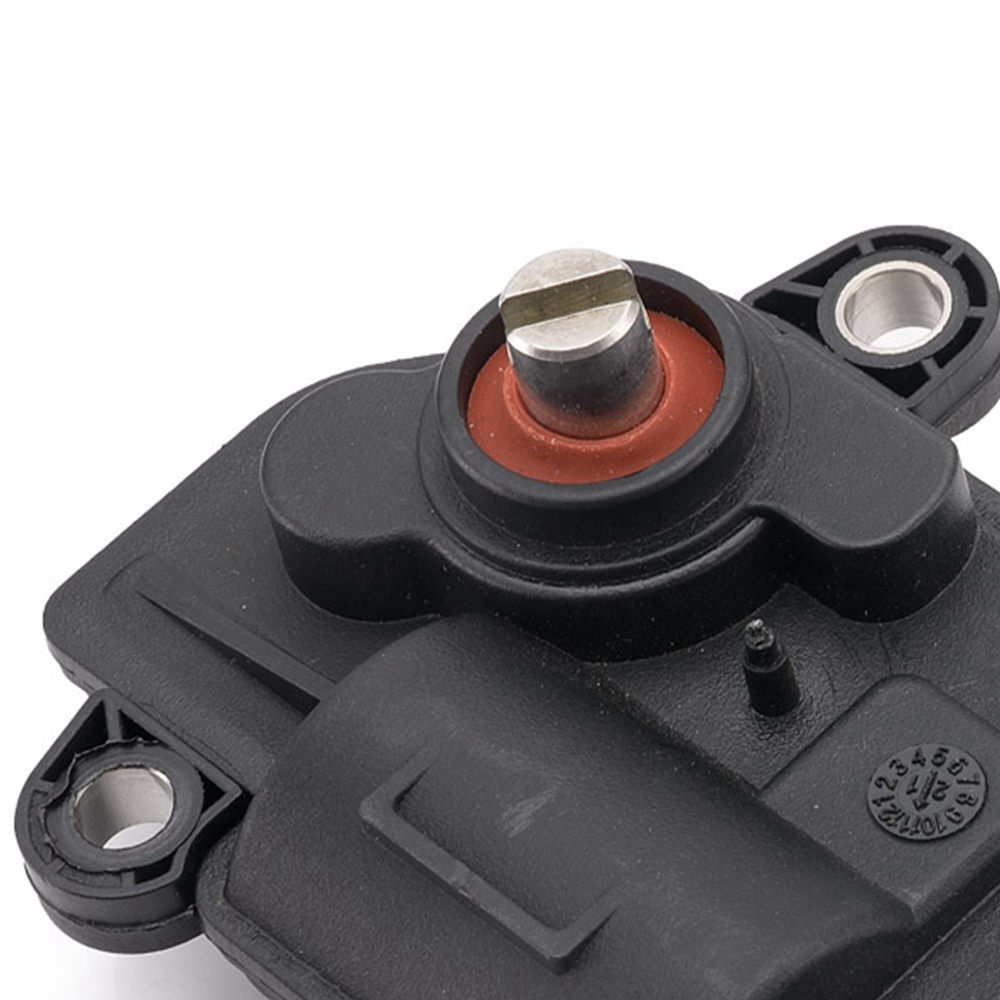
electric exhaust cutout valve actuator motor for 2 to 3 inch sizes replacement for EPC GQ71 model
118 Sold
USD 13.00USD13.39
90% Limited Time
About This Item
High efficiency: This electric exhaust port switching valve drive motor is specially designed for 2 to 3-inch exhaust systems to ensure smooth exhaust and improve engine performance.
Ideal replacement: Compatible with a variety of models, it is the perfect replacement for the EPCGQ71 model and improves the overall performance of the vehicle.
Easy installation: Detailed installation guide is provided, easy to get started, suitable for DIY enthusiasts, no special tools are required.
Durable materials: Made of high-temperature resistant materials to ensure long-term use without wear and tear and extend service life.
Flexible adjustment: Precisely control the exhaust flow, which can be freely adjusted according to needs, bringing a better driving experience.
Sold To
United States
USD 10.02
Delivery: 7-15 Business Days
Fast Delivery
Refund If Package Lost
Refund If Items Damaged
Refund If No Delivery in 30 Days
Quantity
1
Installation Instructions

Installation Instructions for Electric Exhaust Cutout Valve Actuator Motor (EPCGQ71 Model)
Tools Required:
- Socket Wrench Set: To remove and install bolts/nuts.
- Torque Wrench: To ensure proper tightening of bolts to manufacturer specifications.
- Screwdriver Set: Both flathead and Phillips for any connectors or clips.
- Pliers: For gripping and bending wiring or hoses if needed.
- Wire Strippers/Cutters: To prepare electrical connections if necessary.
- Heat Shrink Tubing or Electrical Tape: For insulating any exposed wire connections.
- Drill (if necessary): For any new mounting holes.
- Safety Goggles: To protect your eyes during installation.
- Gloves: To protect your hands from sharp edges or hot components.
Installation Steps:
-
Preparation:
- Make sure the vehicle is parked on a flat surface and the engine is off.
- Disconnect the negative battery terminal to prevent any electrical issues during installation.
-
Remove Existing Exhaust Components:
- Use the socket wrench to remove the bolts securing the existing exhaust component where the actuator will be installed.
- Carefully detach the old actuator if it’s installed.
-
Install the New Electric Exhaust Cutout Valve Actuator:
- Position the new actuator in the intended location.
- Secure it with bolts using the socket wrench, ensuring it’s firmly in place.
- Follow the torque specifications to avoid over-tightening.
-
Reconnect Electrical Wiring:
- Depending on your vehicle, connect the actuator’s wiring using wire strippers and electrical tape or heat shrink tubing.
- Ensure all connections are secure and insulated.
-
Testing the Installation:
- Reconnect the negative battery terminal.
- Start the vehicle and test the actuator to ensure it operates as intended.
-
Final Checks:
- Check for any exhaust leaks around the installation site.
- Ensure everything is securely fastened and no tools are left in the engine bay.
-
Enjoy the Improved Performance:
- Take the vehicle for a test drive to appreciate the enhanced exhaust flow and performance.
By following these steps and using the listed tools, you can successfully install the Electric Exhaust Cutout Valve Actuator Motor and boost your vehicle's performance. Happy driving!
Description
Exhaust Flap Actuator
Package Includes:
1 Exhaust Flap Actuator (same as picture)
Note: Colors might be different due to different monitor display. Please allow slightly difference in size due to manual measurement.
TAG:
Auto parts
Related Items

