
Gexpress Is a Startup Dedicated to You. Shop With Confidence—Refunds Are Easy Through !


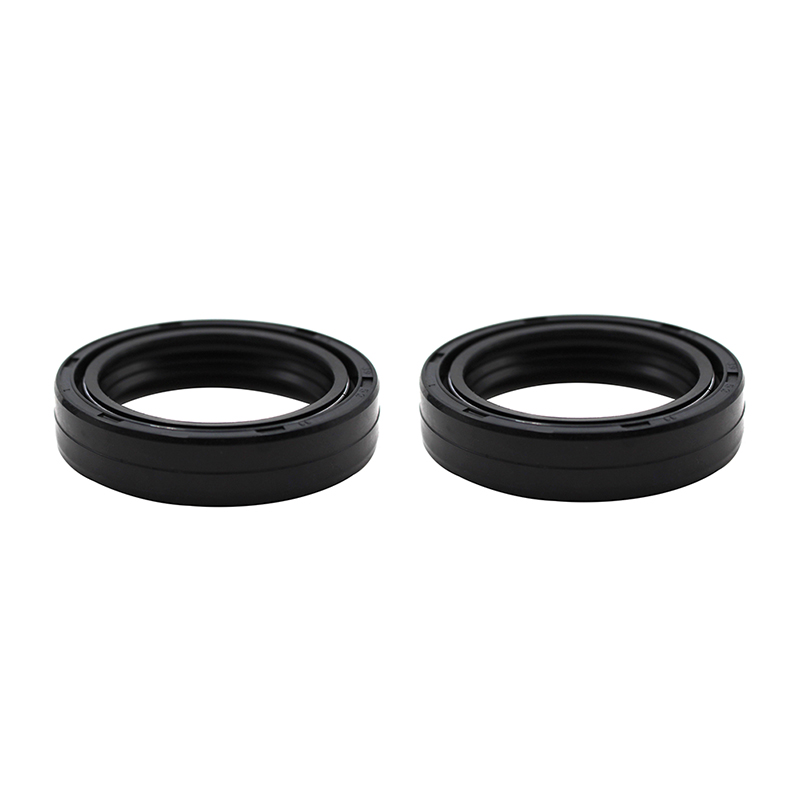
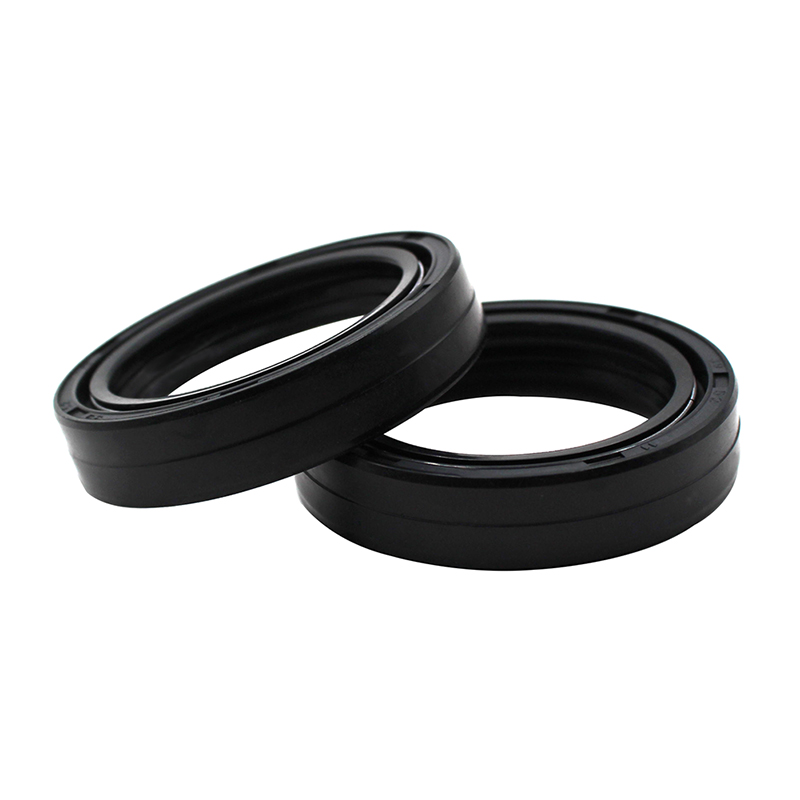

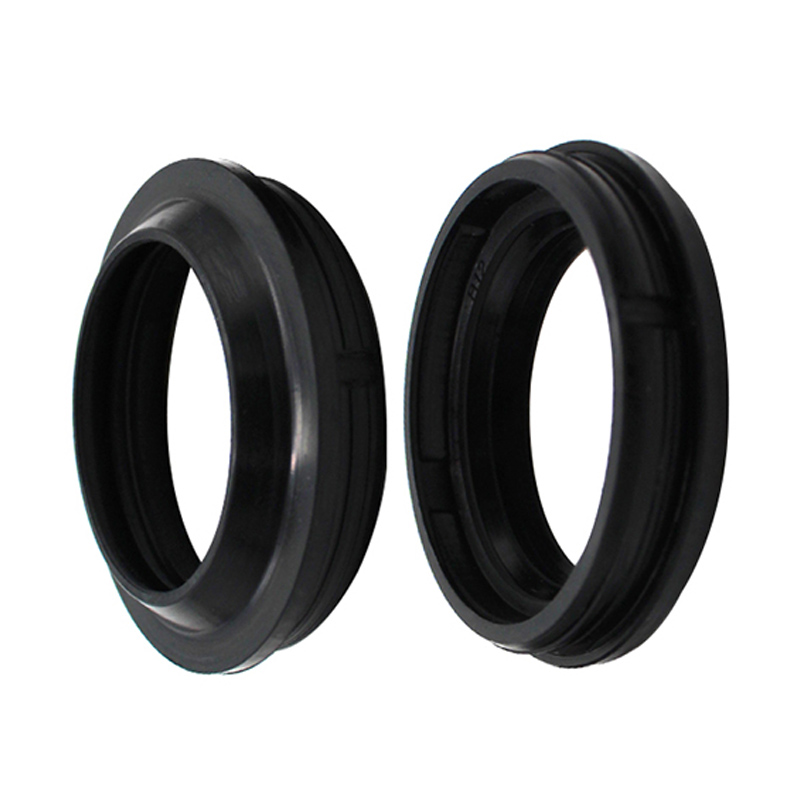

Installation Instructions for Compatible Front Fork Damper Oil and Dust Seal
Tools Required:
- Socket Wrench Set - For removing and tightening bolts on the fork assembly.
- Torque Wrench - To ensure proper torque specifications are met during reassembly.
- Flathead Screwdriver - To carefully pry out the old seals, if necessary.
- Phillips Screwdriver - For any screws that may need to be removed during the installation.
- Pliers - To help grip and remove any stubborn parts.
- Fork Oil - Ensure you have the correct grade of oil ready for refilling the forks.
- Oil Seal Driver Tool (optional) - For properly seating the new dust seals.
- Clean Rags - For cleaning any dirt or debris from the fork components.
- Basin or Container - To catch any old fork oil during the removal process.
- Safety Gloves - To protect your hands during installation.
Installation Steps:
-
Preparation: Ensure the motorcycle is on a stable stand. Always wear safety gloves before beginning the process.
-
Remove Front Wheel and Brake Components: Carefully take off the front wheel and any brake components that may hinder the fork removal.
-
Remove Fork Assembly: Use the socket wrench to detach the fork assembly from the motorcycle frame. Note the orientation for reinstallation.
-
Drain Old Fork Oil: Place a basin or container under the forks. Remove the lower bolt on each fork leg to drain the old oil.
-
Remove Old Seals: Use the flathead screwdriver to gently pry out the old oil and dust seals. Be cautious not to damage the fork tube.
-
Install New Seals: Clean the fork tubes thoroughly before installing new seals. Use the oil seal driver tool (if available) to ensure proper fitment.
-
Refill Fork Oil: Once the seals are in place, refill the fork with the appropriate oil. Follow the manufacturer’s specifications for the correct amount and type.
-
Reassemble Fork Assembly: Reattach the fork assembly to the motorcycle frame, ensuring all bolts are tightened according to the specified torque settings.
-
Reinstall Front Wheel and Brake Components: Carefully put back the front wheel and any braking parts that were removed.
-
Final Check: Inspect the installation for any loose parts or leaks. Ensure everything is securely in place before taking the motorcycle for a test ride.
By following these steps, you can successfully install the Compatible Front Fork Damper Oil and Dust Seal, enhancing your motorcycle's performance and overall riding experience.
No Data

