
Gexpress Is a Startup Dedicated to You. Shop With Confidence—Refunds Are Easy Through !

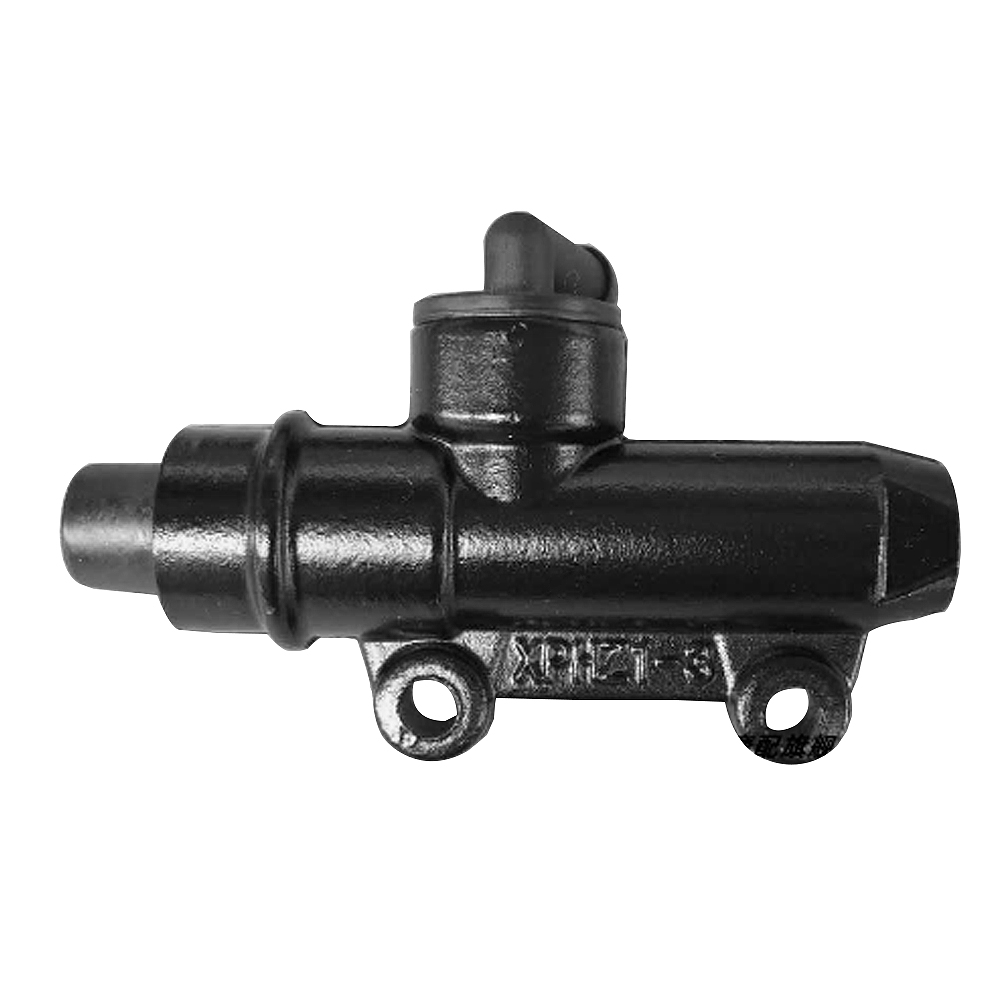
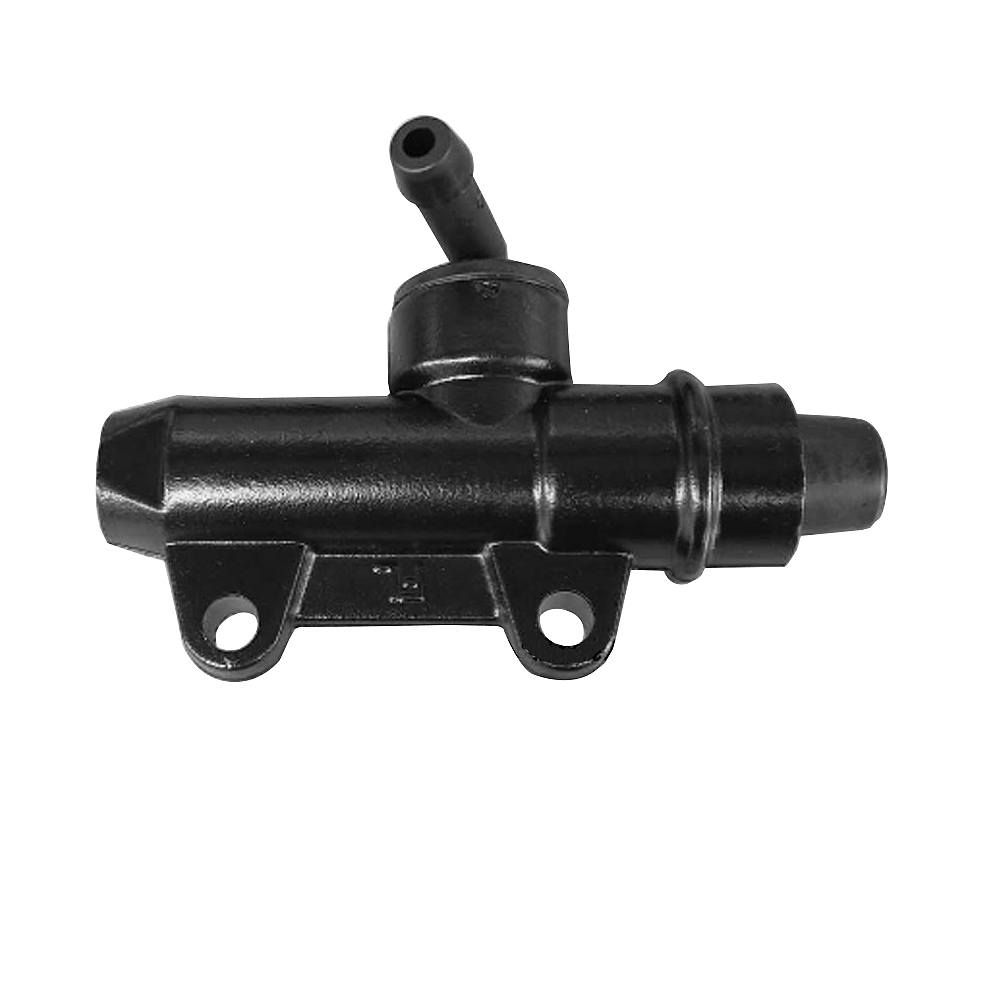
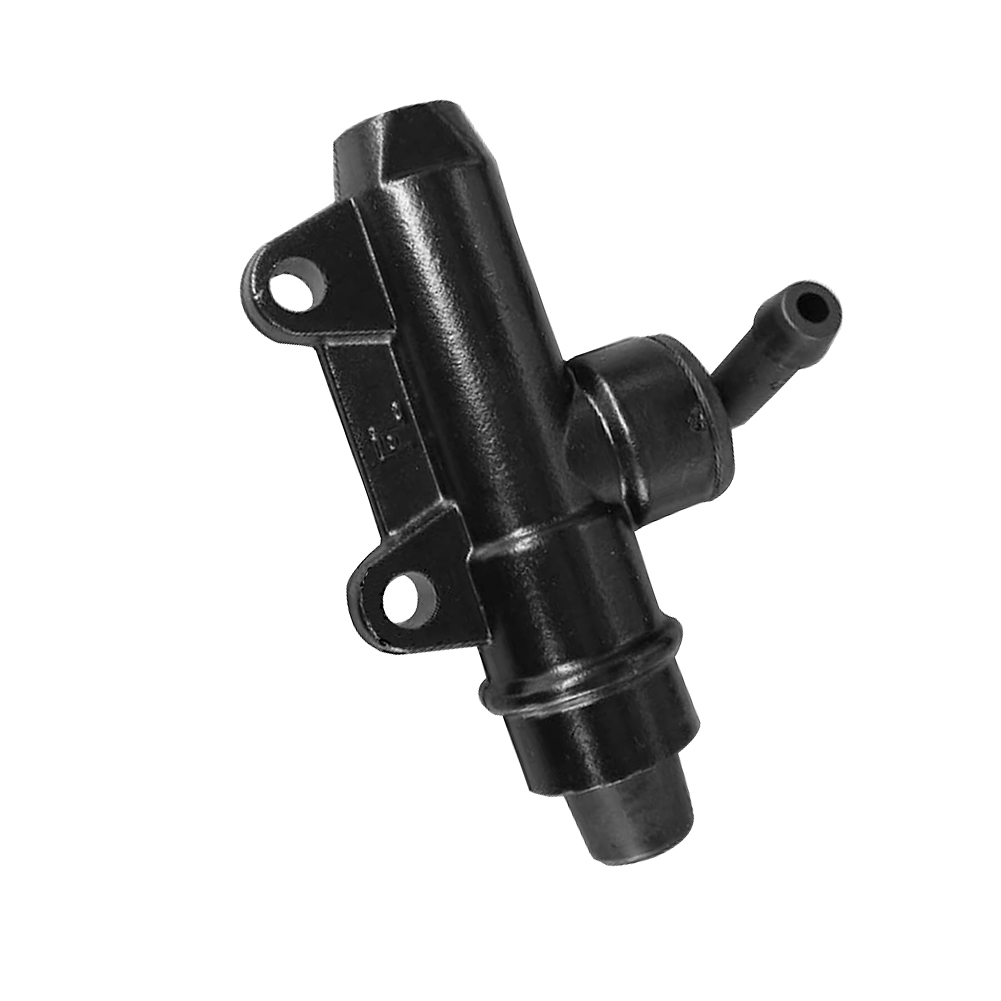
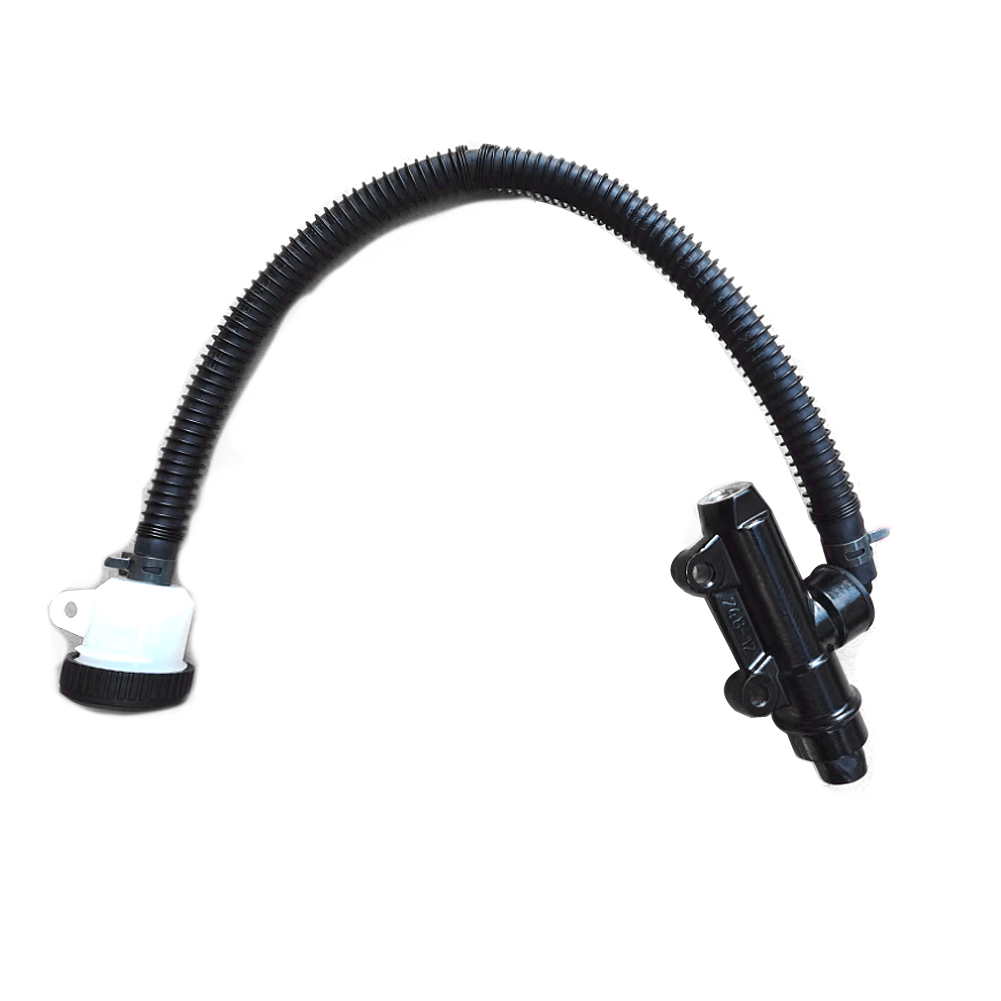
Product Installation Instructions for Universal Motorcycle Rear Brake Fluid Pump for Classic Models Designed for 200CC Vintage Rear Foot Brake Systems
Tools Required:
- Wrenches (10mm and 12mm)
- Screwdrivers (Flathead and Phillips)
- Pliers
- Brake Fluid (suitable for your motorcycle)
- Rags or Cloth (for cleaning)
- Container (to catch any spilled brake fluid)
- Torques Wrench (optional but recommended)
- Safety Goggles (to protect your eyes)
Installation Steps:
-
Prepare the Workspace: Ensure you have a clean, well-lit area to work. Place a container underneath the motorcycle to catch any dripping brake fluid.
-
Remove Old Brake Fluid Pump: Using the appropriate wrenches, disconnect the old brake fluid pump from the rear foot brake system. Carefully remove any mounting screws and detach the hydraulic lines.
-
Clean the Area: Wipe down the area around the brake system to remove any debris or old brake fluid. This will help prevent contamination.
-
Install the New Brake Fluid Pump: Position the new universal rear brake fluid pump in the mounting location. Align it with the holes and secure it in place using the necessary screws and wrenches.
-
Reconnect Hydraulic Lines: Attach the hydraulic lines to the new pump, ensuring a tight and secure fit to prevent leaks.
-
Refill with Brake Fluid: Open the brake fluid reservoir and fill it with the appropriate brake fluid. Make sure to follow the manufacturer’s recommendations regarding fluid type.
-
Bleed the Brake System: To remove any air bubbles in the system, follow the bleeding procedure specific to your motorcycle model. This usually involves pressing the brake pedal several times while loosening and tightening the bleeder valve.
-
Test the Brake System: After the installation and bleeding process, test the brake system by pressing the rear foot brake. Ensure it feels firm and responsive. Check for any leaks around the new pump and connections.
-
Clean Up: Dispose of any spilled brake fluid and dispose of old parts responsibly. Store your tools properly.
Note: If you are not experienced with motorcycle repairs, it is advisable to consult a professional mechanic for assistance. Safety first!

