
Gexpress Is a Startup Dedicated to You. Shop With Confidence—Refunds Are Easy Through !


Installation Instructions for Universal Motorcycle Carburetor Idle Jet Set
Product Compatibility:
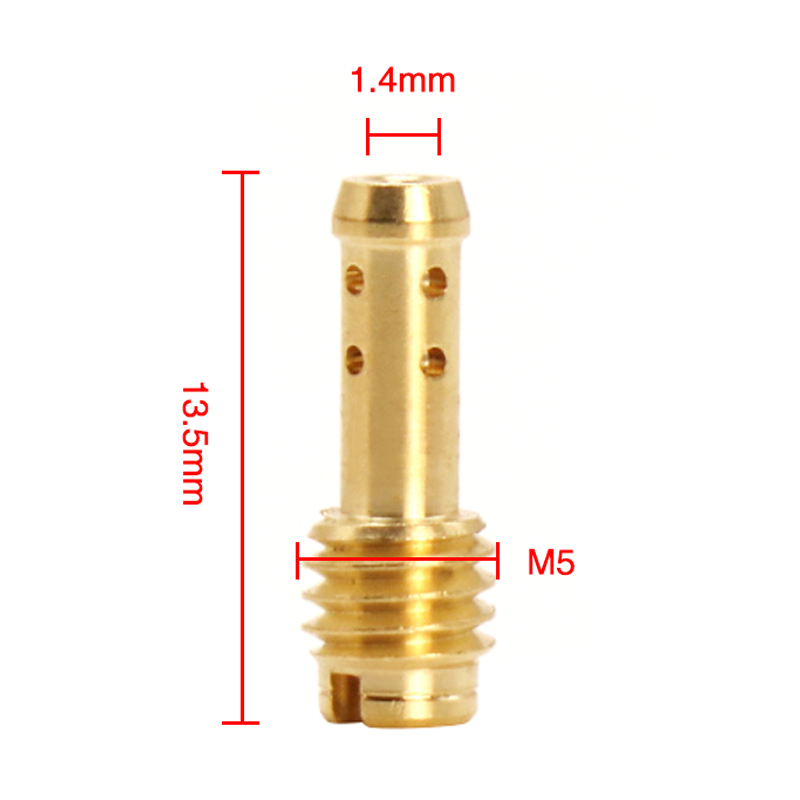
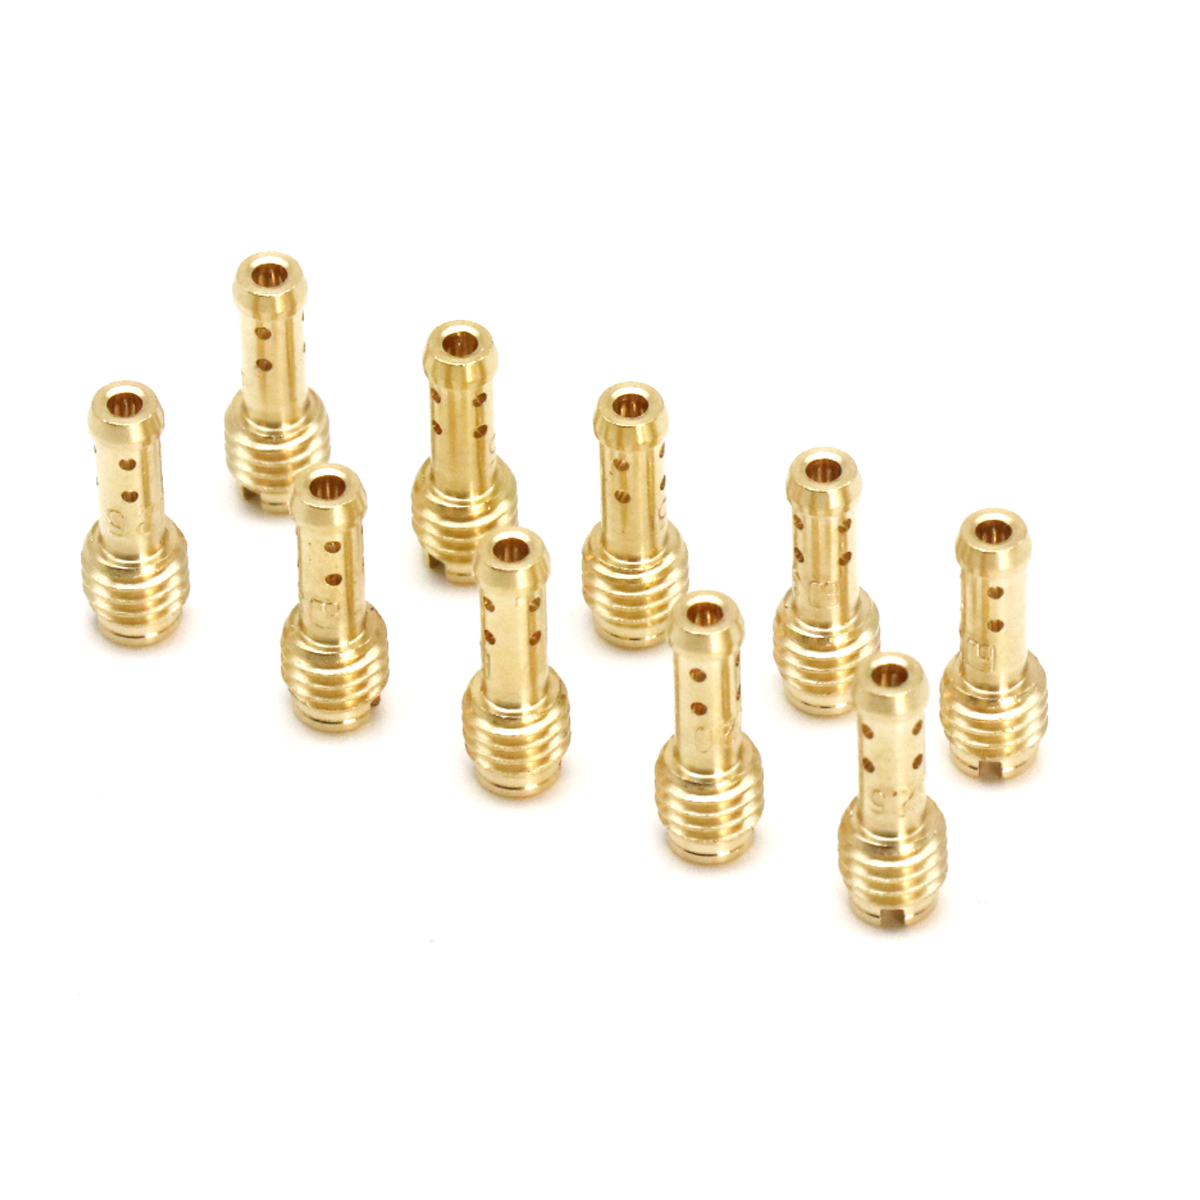
This idle jet set is designed for use with various models, including VM, TM, TMX, and VM22 210 series.
Tools Required:
Before you begin the installation process, please ensure you have the following tools on hand:
- Screwdriver Set - A flathead and Phillips screwdriver.
- Wrench Set - Various sizes to accommodate different bolts.
- Pliers - For gripping and pulling any tight components.
- Safety Goggles - To protect your eyes during the process.
- Clean Cloth - For wiping any spills or excess fuel.
- Fuel Container - To catch any fuel that may spill during the process.
- Service Manual (for your specific motorcycle model) - For reference on disassembly and reassembly.
Installation Steps:
-
Preparation:
Make sure your motorcycle is parked on a level surface. Turn off the fuel valve and disconnect the battery for safety. -
Remove the Carburetor:
Use your wrenches and screwdrivers to carefully remove the carburetor from the motorcycle. Follow the guidelines in your service manual for specific steps. -
Access the Idle Jet:
Once the carburetor is removed, locate the idle jet. It is usually secured by a small screw. -
Replace the Idle Jet:
Carefully unscrew the old idle jet using your screwdriver. Replace it with the new idle jet from the set. Ensure that it is tightly secured without over-tightening. -
Reassemble the Carburetor:
Once the idle jet is replaced, reassemble the carburetor following the reverse steps of disassembly. -
Reinstall the Carburetor:
Reattach the carburetor to the motorcycle. Ensure all connections are secure and there are no leaks. -
Reconnect the Battery:
Once installed, reconnect the battery and turn on the fuel valve. -
Testing:
Start the motorcycle to ensure that it runs smoothly. Check for any leaks or unusual sounds. If everything sounds good, your installation is complete!
Note:
For any assistance during the installation process, you may refer to the installation video guides or consult with a professional mechanic if you encounter any difficulties.

