
Gexpress Is a Startup Dedicated to You. Shop With Confidence—Refunds Are Easy Through !

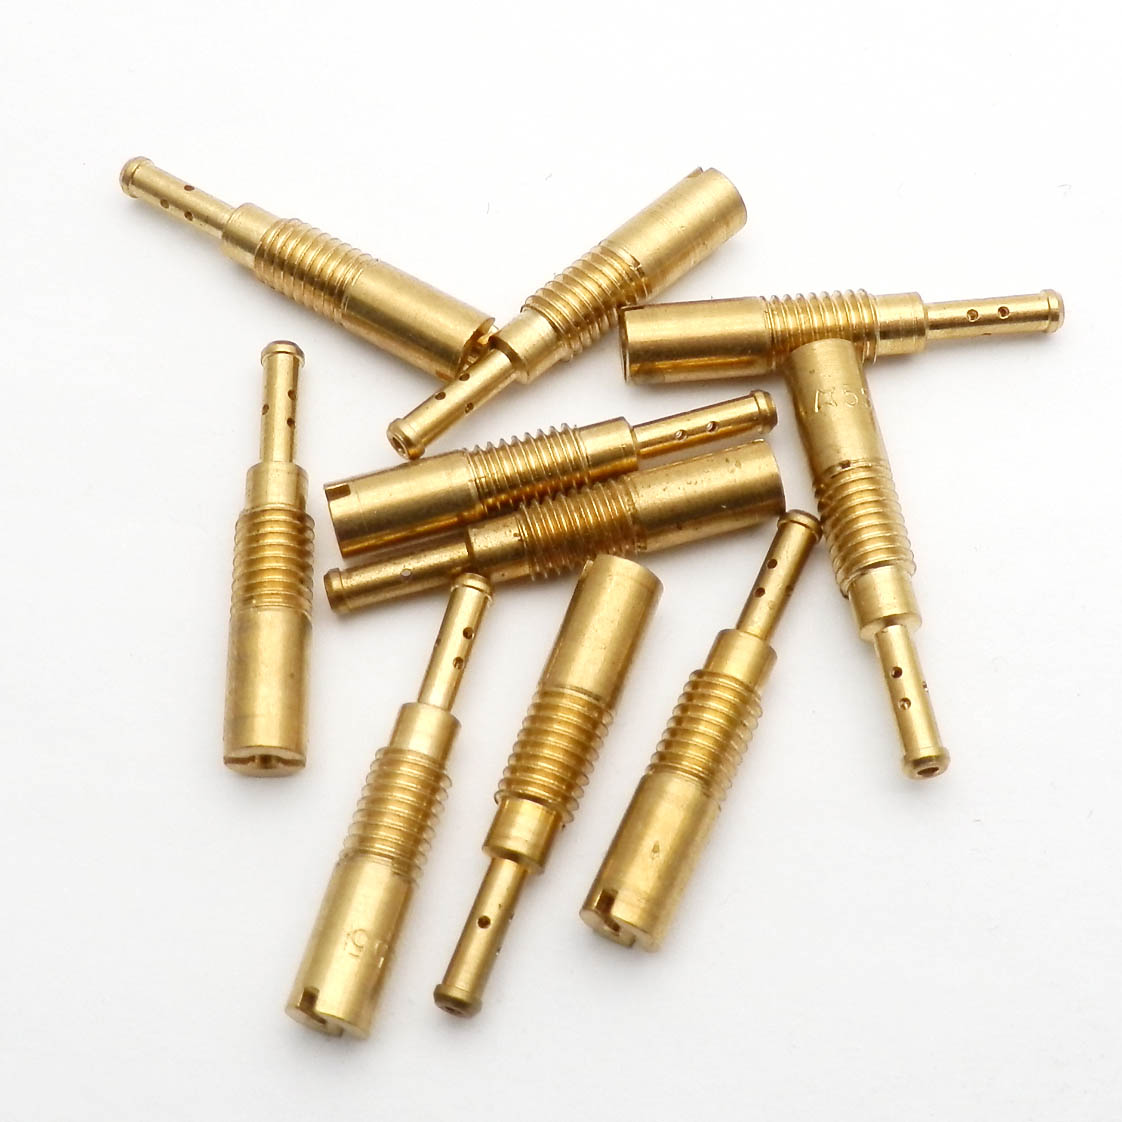
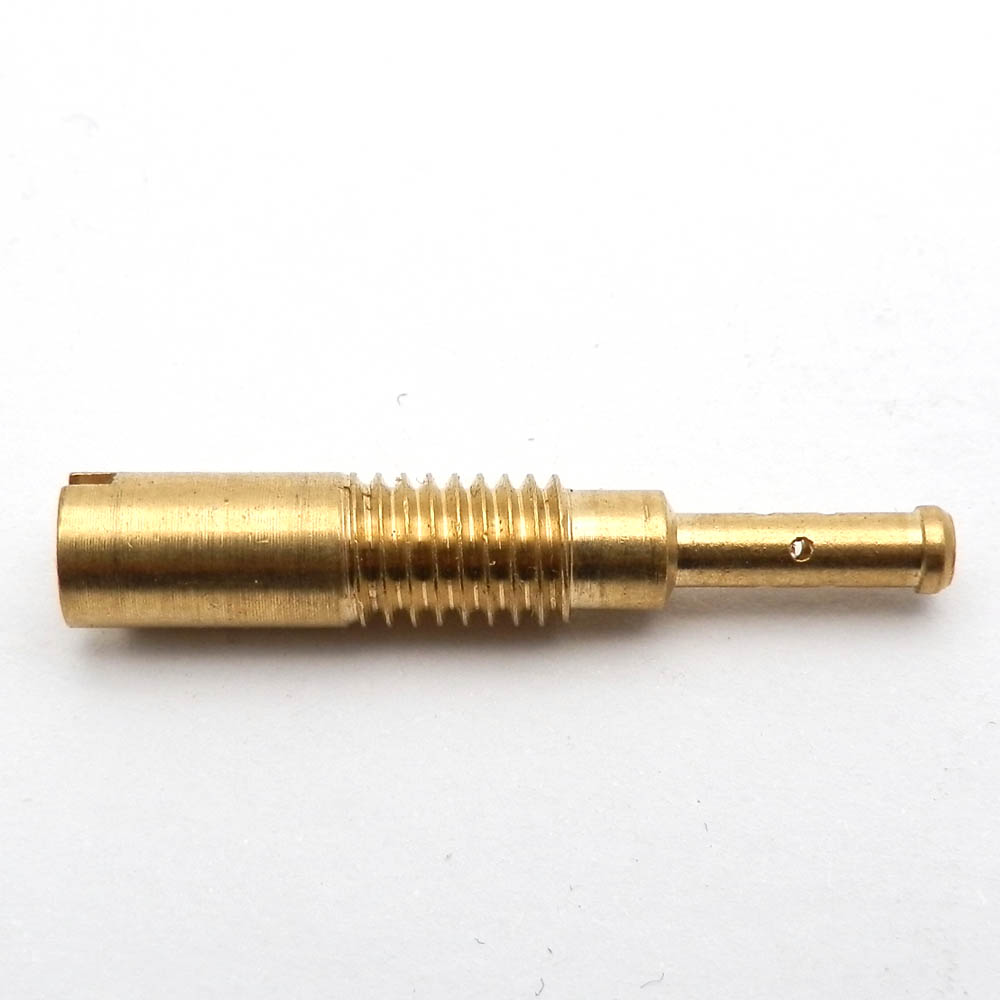
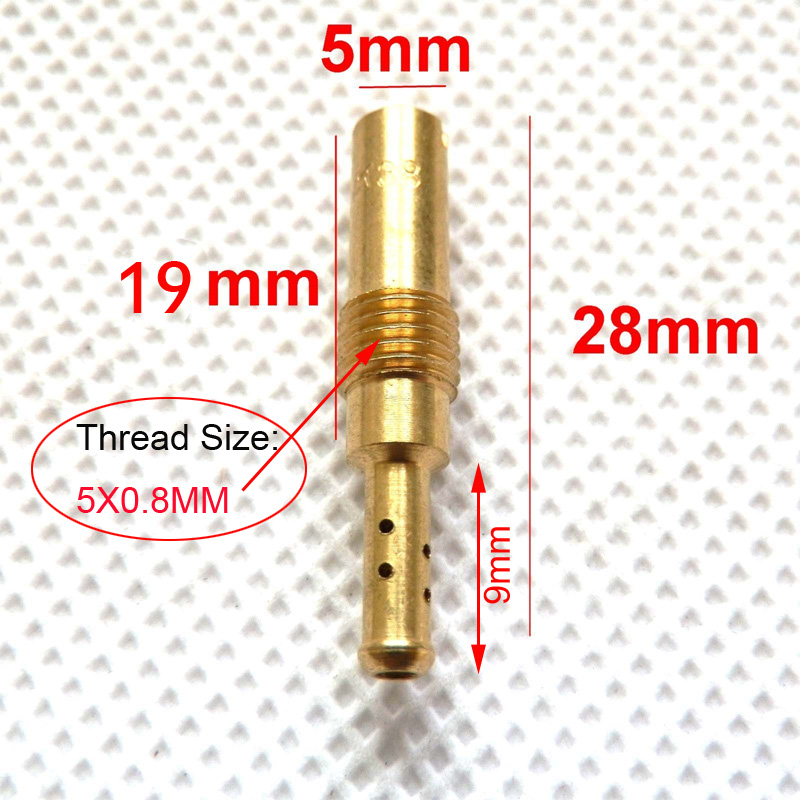
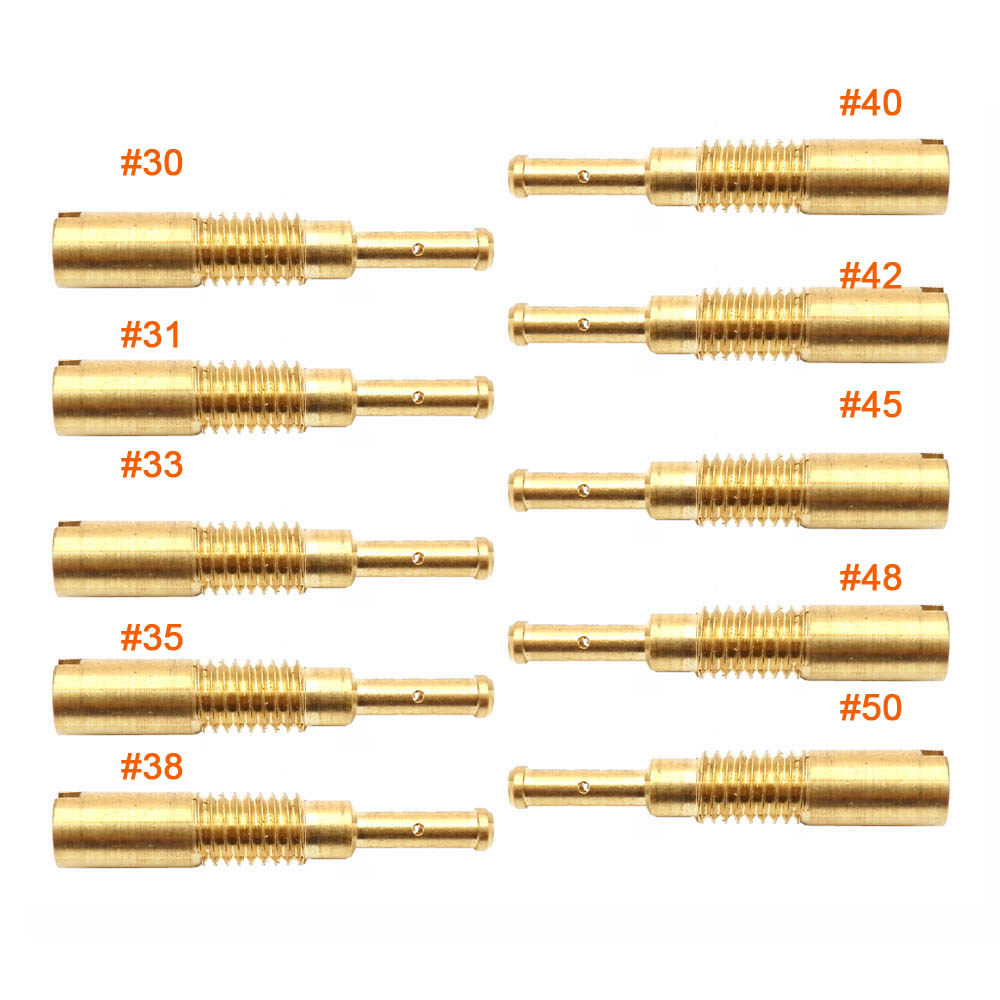
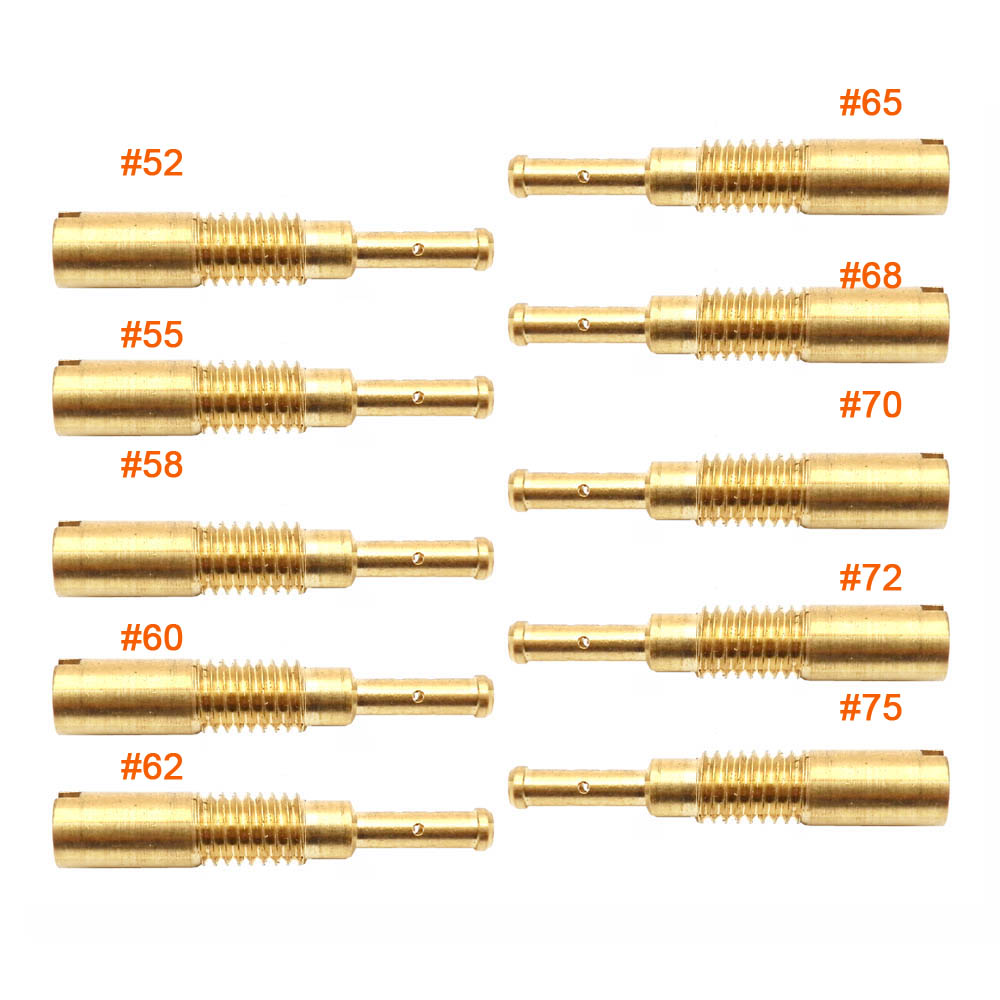
Product Installation Instructions for M5 5mm Slow Idle Jet for PZ19 Carburetor
Tools Required:
-
Screwdriver - A small flathead screwdriver for removing any screws securing the carburetor or carburetor cover.
-
Wrench or Socket Set - For loosening and tightening the carburetor bolts, if applicable.
-
Pliers - To help remove any clips or hoses connected to the carburetor.
-
Cleaning Cloth - To clean the area around the carburetor before installation to prevent any debris from entering.
-
Replacement Gasket (if necessary) - It may be wise to have a new gasket on hand in case the old one gets damaged during removal.
Installation Steps:
-
Preparation: Ensure the motorcycle or engine is turned off and cooled down. Disconnect the battery for added safety.
-
Access the Carburetor: Use the screwdriver or wrench to remove any covers or components that may be obstructing access to the carburetor.
-
Remove Old Idle Jet: Identify the existing slow idle jet. Use a suitable tool to unscrew it gently. Keep track of any washers or O-rings that may be present.
-
Clean Area: Before installing the new jet, use a cleaning cloth to wipe the area to remove any dirt or debris.
-
Install New Idle Jet: Take the new M5 5mm slow idle jet and screw it into place, making sure it is secure but not overtightened to avoid damage.
-
Reassemble Carburetor: If you removed any components, carefully reassemble them in the reverse order and ensure everything is secured properly.
-
Reconnect Battery: Once everything is back in place, reconnect the battery.
-
Test the Engine: Start your engine and allow it to idle. Check for any leaks around the carburetor and observe the engine's performance at low speeds to ensure proper functioning.
Note: If you are unsure about any step or if the engine does not perform as expected, consult a professional mechanic for assistance.
Thank you for your purchase of the M5 5mm Slow Idle Jet! We hope you enjoy an enhanced riding experience.

