
Gexpress Is a Startup Dedicated to You. Shop With Confidence—Refunds Are Easy Through !

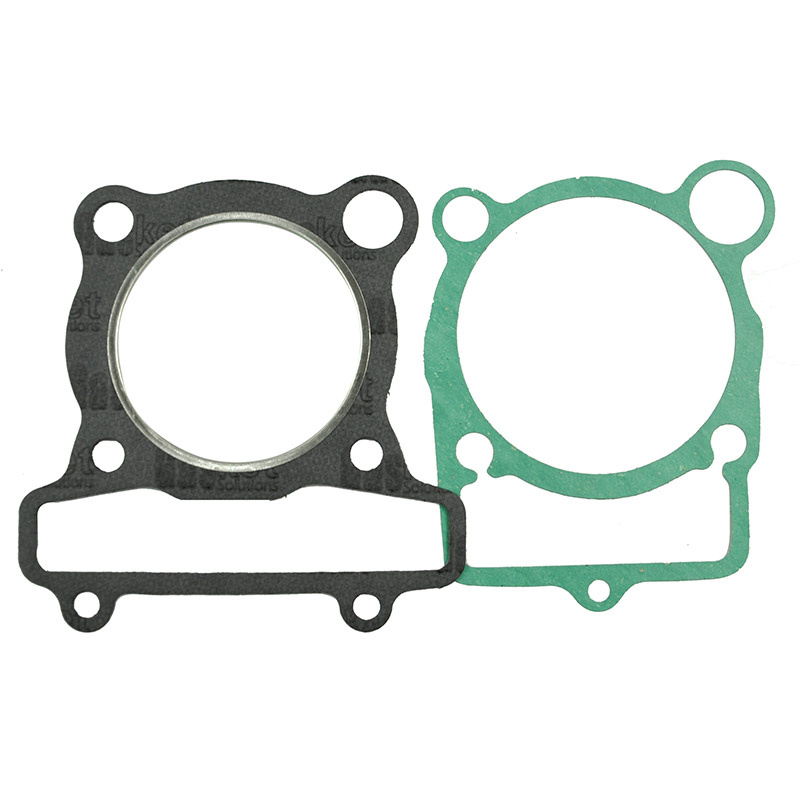
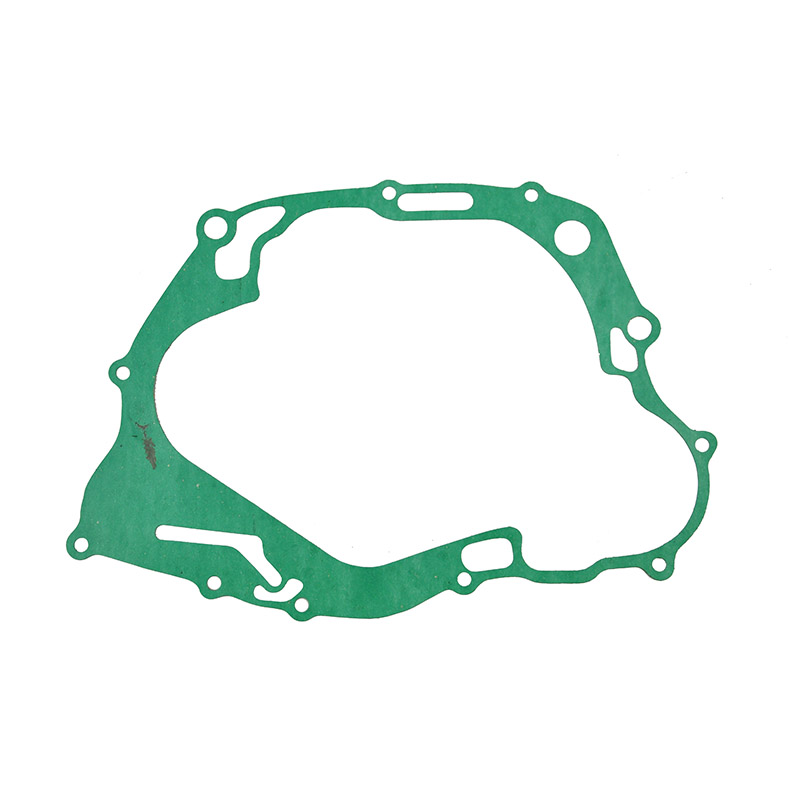
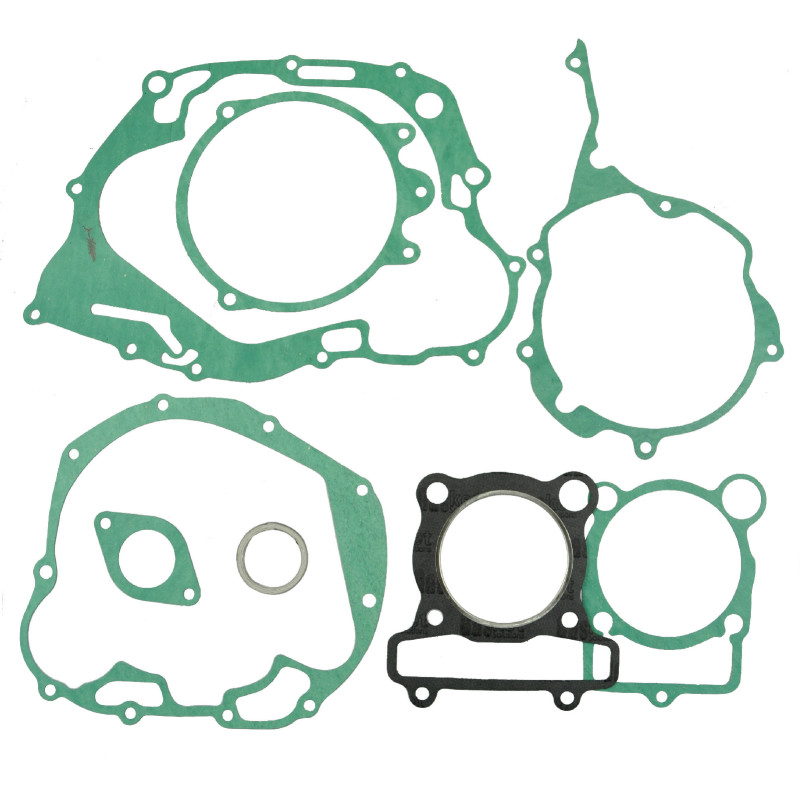
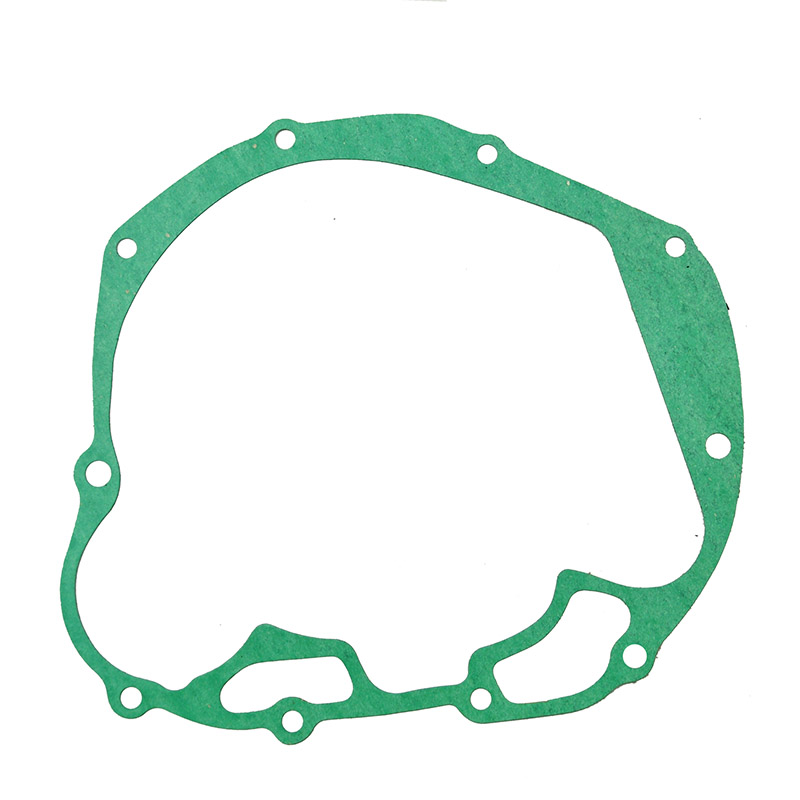
Product Installation Instructions for Motorcycle Engine Crankcase and Cylinder Gasket Kits (250cc Models 1980-1983)
Tools Required:
- Socket Set - For removing and tightening bolts and nuts.
- Wrench Set - To assist with hard-to-reach bolts or areas.
- Torque Wrench - To ensure that all bolts are tightened to the manufacturer’s specifications.
- Screwdriver Set - Phillips and flat-head screwdrivers for various screws.
- Pliers - Useful for removing or holding small components.
- Gasket Scraper or Razor Blade - For removing old gaskets from engine surfaces.
- Cleaning Rags - To wipe surfaces clean before installation.
- Adhesive Silicone or Gasket Maker (if necessary) - depending on the specific requirements of your engine.
- Protective Gloves - To keep your hands clean and protect against engine oils.
- Safety Glasses - To protect your eyes while working on the motorcycle.
Installation Steps:
-
Preparation: Ensure the motorcycle is on a stable surface. Disconnect the battery to prevent any electrical issues.
-
Removing Old Gaskets: Use a gasket scraper to carefully remove the old gasket material from the crankcase and cylinder surfaces. Make sure not to scratch the surfaces.
-
Cleaning: Wipe the surfaces with cleaning rags to remove any oil, dirt, or debris. This step is crucial for ensuring a proper seal with the new gaskets.
-
Installing New Gaskets: Carefully place the new gaskets in their respective positions. Make sure they are aligned correctly and seated properly.
-
Reassembling Components: Reattach the crankcase and cylinder components. Use your socket and wrench set to secure all bolts and nuts.
-
Torque Specifications: Use the torque wrench to tighten the bolts to the specified torque settings as per your motorcycle’s manual.
-
Final Checks: Double-check all connections, ensuring everything is tight and correctly positioned.
-
Reconnect Battery: Once everything is reassembled and checked, reconnect the battery.
-
Testing: Start the engine and let it run for a few minutes while checking for any leaks or issues.
By following these instructions and utilizing the required tools, you should be able to successfully install the Motorcycle Engine Crankcase and Cylinder Gasket Kit, ensuring optimal performance for your 250cc motorcycle. Happy riding!

